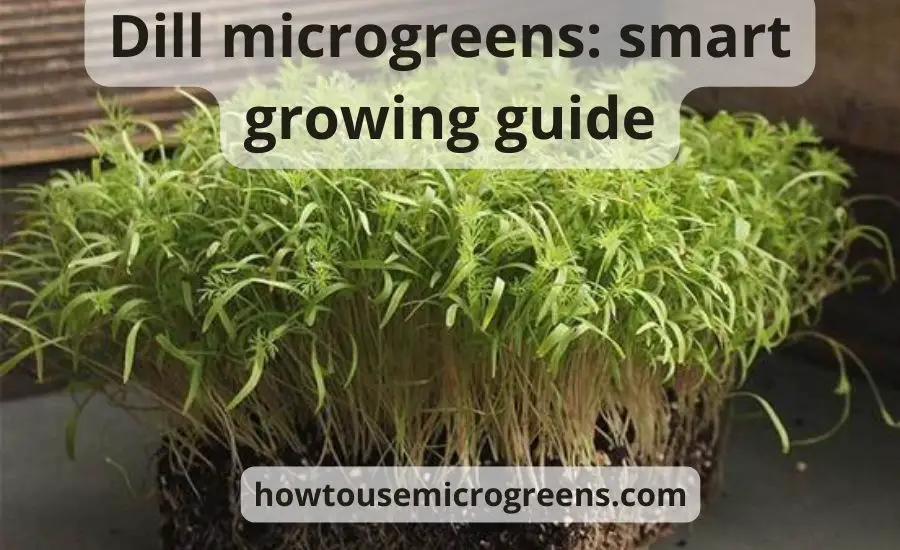
Have you ever thought about dill microgreens? If so, it is high time to start your taste microgreen home project! Since this plant is one of the easiest to grow at home, don’t be afraid and try to grow dill microgreens by yourself.
We are here to equip you with several tips on how to grow dill microgreens at home and get a good tasty crop.
Contents
Revealing some dill microgreen secrets
Since dill is a valuable herb for multiple reasons, no wonder that many people start growing dill microgreens at home.
They are a great healthy addition to your diet and a popular culinary option for many dishes.
You can drop some micro-dill seedlings in the fresh salad, sprinkle them on top of the meat or fish dishes, or use them as a tasty and savory alternative to maple syrup when eating pancakes.
Let’s find out more about these delightful microgreens before you start your first growing project!
Can dill be grown as a microgreen?
The answer is “yes”! You can easily grow dill microgreens in your home. Caring for microdill is easy if you follow all the growing instructions correctly.
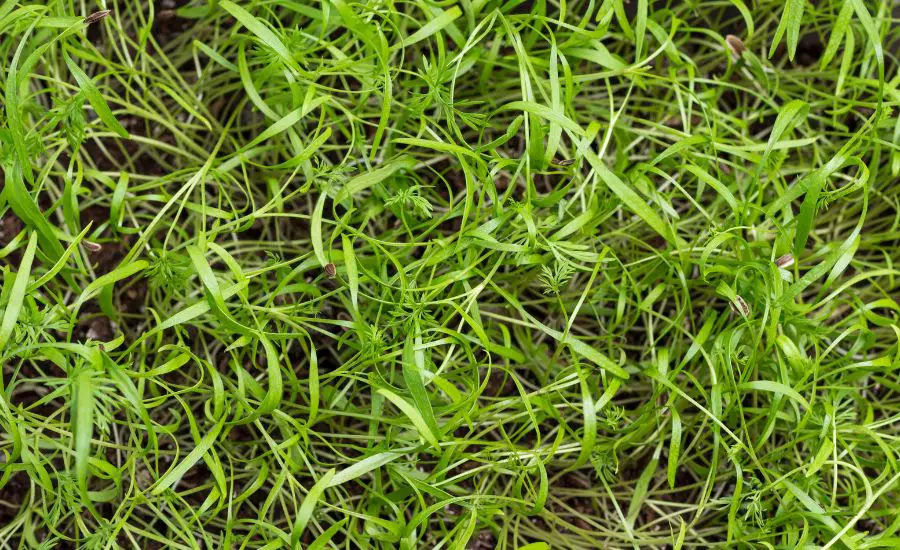
However, keep in mind that dill microgreens are one of the slow growers. In general, it takes about three weeks when the dill microgreen seeds germinate and you can see the first tiny feathery leaves.
Like all microgreens, the dill seedlings have a brighter flavor and taste when young. If you also grow dill as a kitchen herb, you have an opportunity to compare the characteristics of a grown dill herb and the dill microgreens.
What are the benefits of dill microgreens?
Since dill microgreens are full of nutritional benefits, they are one of the popular options to grow at home. They are packed with a great vitamin and mineral complex, and provide lots of dietary fiber as well.
Here is a full list of nutrients that dill microgreens contain:
- Vitamin A
- B-group vitamins
- Vitamin C
- Vitamin E
- Vitamin K
- Amino acids
- Calcium
- Carotene
- Chlorophyll
- Iron
- Magnesium
- Manganese
- Phosphorus
- Potassium
- Sodium
- Zinc
The health benefits of dill microgreens make them one of the most popular microgreens.
As a universal aid, dill microgreens can help with intestinal and neurological issues, treat menstruation pain, clean your mouth, and keep your breath fresh.
Along with treatment hacks, dill microgreens are extremely popular in culinary. Fresh dill microgreens taste perfect when added to many types of food:
- Baked food
- Egg dishes
- Fish dishes
- Meat dishes
- Pasta
- Pickles
- Pizzas
- Potato dishes
- Smoothies
- Salads
- Salsa
- Sandwiches
- Sauces
- Savory pancakes
- Soups
- Wrapped food (spring rolls, tacos, etc.)
The only drawback of dill microgreens is that some people have an allergic reaction to this plant. So, before eating too many dill microgreens, try with a small amount to see your reaction. If everything is okay, you can eat more with no worries. However, if you notice any signs of an allergic reaction, stop consuming dill microgreens immediately.
How long does dill microgreens take to grow?
Young dill seedlings belong to the slow-growing microgreens. If you have already experienced growing microgreens at home, then you will see that dill is not the fastest plant to harvest.
The germination period usually takes about a week. After that, you have to wait 8 to 13 days more until you can harvest dill microgreens. In general, the whole process takes about three weeks.
5 easy steps on growing dill microgreens
Dill microgreen growing is fun. Even if you have no experience on how to grow microgreens at home, dill microgreens are definitely a good start.
Here are just 5 easy steps on how to grow microgreens indoors.
Step 1: Prepare the tools and items
Start with growing all the proper items that you need for growing dill microgreens:
- Dill seeds
- Two or three grow trays (one with drainage holes)
- Growing soil (or soilless medium – optionally)
- LED grow lights (optionally)
- Spray bottle
- Heating mats (optionally if the home temperature is too low)
Step 2: Sow the dill microgreen seeds
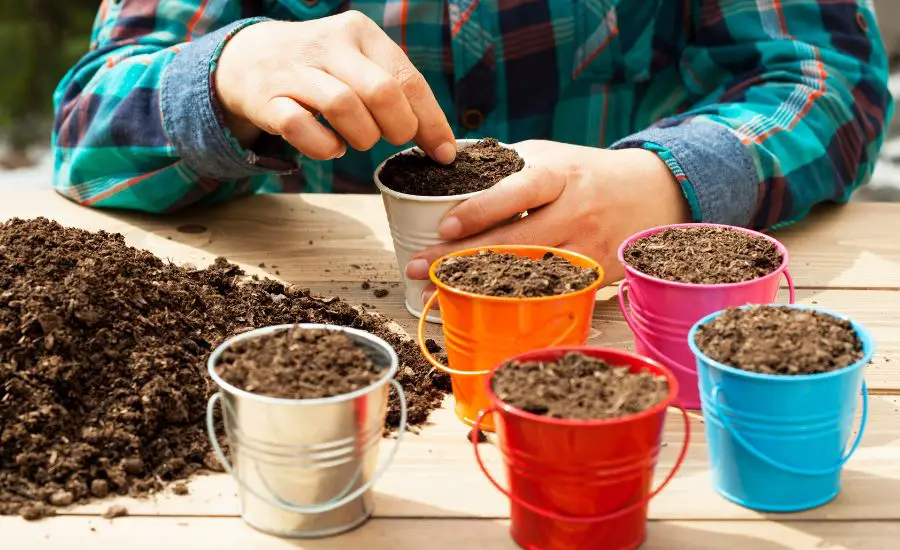
Fill the drained growing tray with the soil. You need to fill it almost up to the brim, as it will make the harvesting process much easier. The higher the soil line is, the easier it is to prune the microgreens. Then, place this tray into the second one, with no holes in the bottom. This tray should be a bit larger to contain both the main tray and the water inside it.
In case the growing medium is too dry, moisten it moderately. Make sure there is no excess water before sowing the dill seeds! You can’t grow dill microgreens properly if the soil contains too much moisture.
Now, spread the dill microgreen seeds evenly on the soil. The sprouting process doesn’t need soaking and rinsing, as the dill seeds are tiny. You just sprinkle the dry dill seeds over the growing medium. However, you may optionally soak the seeds in cold water for 4 hours before sowing to soften their coating and boost germination.
Don’t sow too many seeds at once, as they shouldn’t touch in groups or clump on each other.
If you opt for previous soaking, you will have problems with sowing the damp seeds evenly in the soil.
Since the planted seeds are tiny, there is no need to cover them with a thin layer of soil. Instead, moisten them with a spray bottle if the soil is not previously moistened.
Step 3: Let the seeds grow
When growing dill microgreens, you can opt for any of 2 different growing methods:
- The blackout method means placing the seeds in the darkness for several days.
- If you choose this method, you need the third tray for covering the seeds. Keep your seeds in this handmade dome for 4-5 days until they germinate. Keep watering 2-3 times per day but avoid over-moistening the growing medium. The optimal way is to mist the dill microgreens with clean water.
- Don’t worry when you see the pale stems and leaves after opening the dome! This is absolutely okay as your seedlings didn’t have access to the light. Let them recover in a few days in the sunlight or under the grow lamps, and you will get positive results soon.
- The natural growing method doesn’t require any extra steps or items to use. Just let the seeds naturally germinate in the sunlight or under the grow lamps. When getting enough light from the very beginning, the young seedlings look brighter and healthier and don’t need any extra time to gain the necessary characteristics.
Keep your grow trays away from the other plants to prevent molds and pest invasion.
Step 4: Supply enough light and water
Native to central and eastern Europe, dill microgreens prefer warm and sunny climates. So, the proper growing conditions always matter.
The key point is to grow dill microgreens in a warm and sunny room, with enough watering and proper drainage.
Provide your crop with enough light while growing. A good rule of thumb is to grow dill microgreens on the window sill with enough moderate light. Remember that the dill plant is native to sunny countries, so your goal is to create similar growing conditions.
If the natural light is not enough, add the grow light to supply your growing microgreens. Direct the light over the young greens so they can grow straight up and even. However, avoid too much direct sunlight that can dry your dill microgreens out. The optimal light time is about 12 hours per day. The grow lamps are your best helpers at this point as they can provide enough light in any weather and season.
Keep the soil adequately moist and lit. Too much light can dry the crop out, and too much moisture can lead to rot and mold accumulation. While microgreens continue to grow, a good idea is to rotate the crop and distribute the sunshine evenly on the whole tray.
When watering, you can pour water inside the bottom tray. This method gives you two benefits: you can feed the dill roots quicker and avoid excess moisture in the main tray. Remember that over-watering can kill your dill microgreens!
Step 5: Harvest your micro-dill
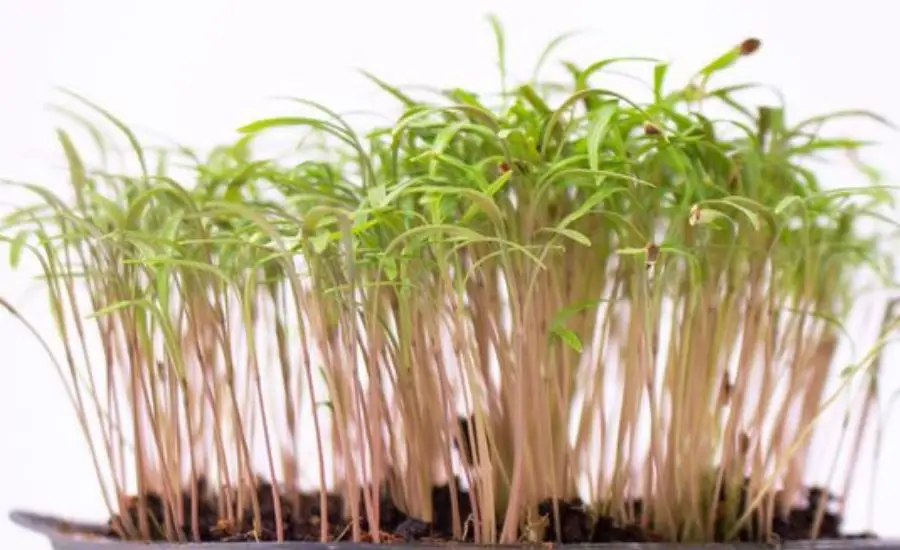
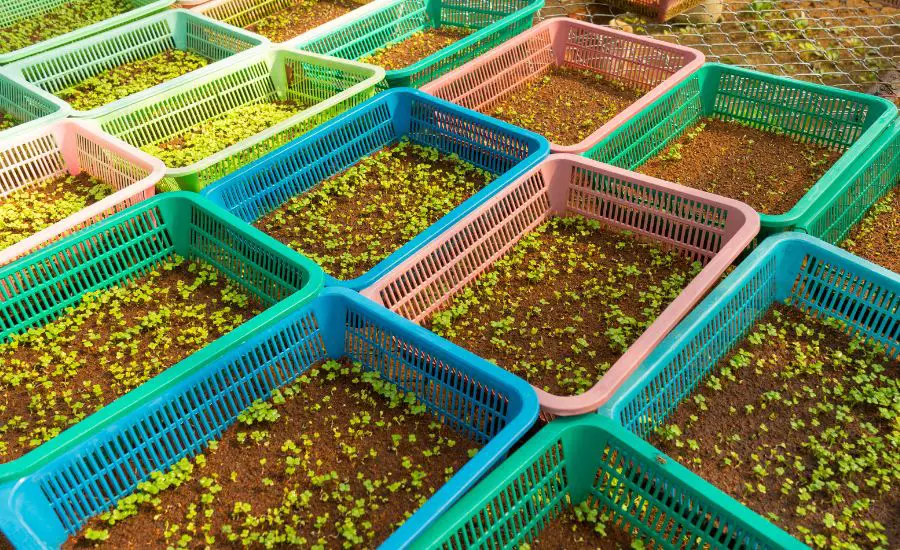
After germination, you can see the first tiny seedlings. A young dill microgreen has a stem of pinkish-white color and tender green leaves. However, keep in mind that you should grow dill microgreens until they are tall enough to harvest!
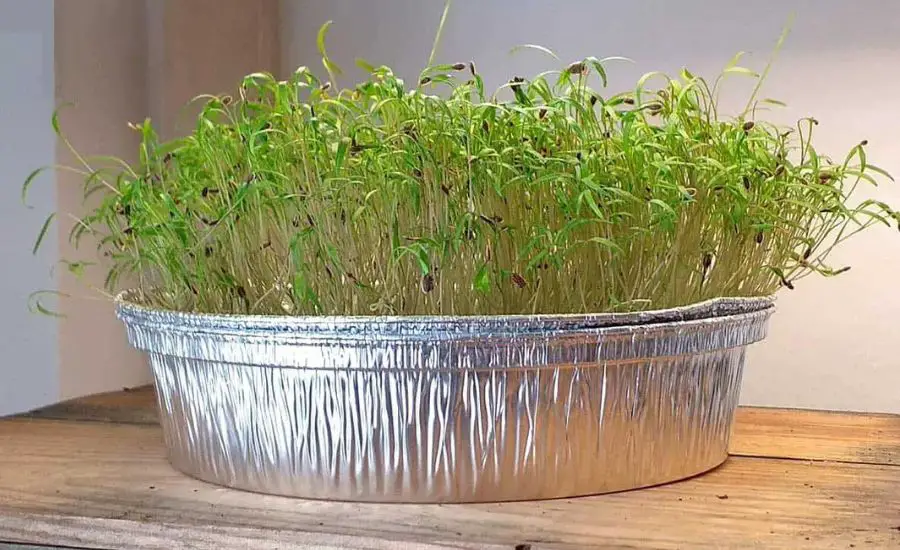
The best time to harvest dill microgreens is when they reach up to 3 or 5 inches tall. If you can see that the seedlings are too weak and thin, let them mature for several extra days.
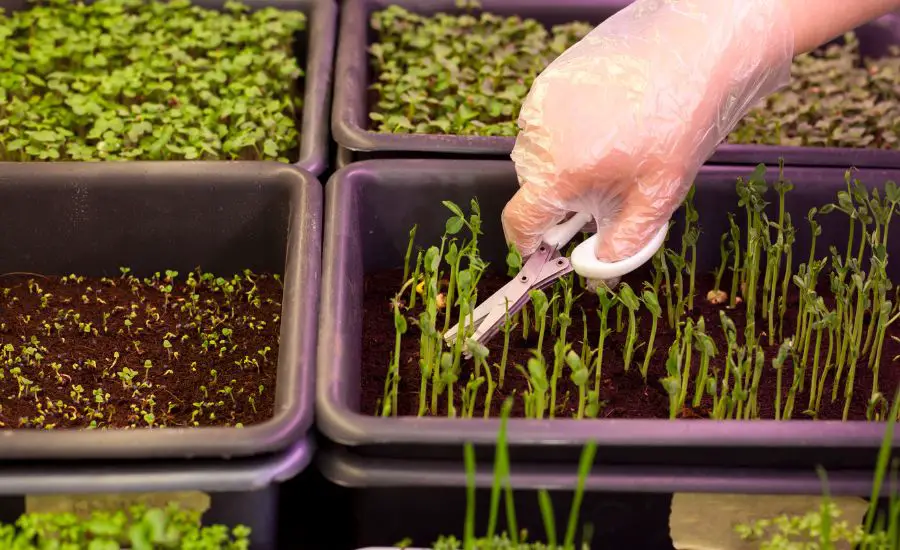
Prune the dill microgreens above the soil line so as not to get any soil remains in your crop.
Use a sharp knife or scissors to make a clean cut without any damage.
Store dill microgreens in an airtight food container or a plastic bag. This way you can keep them in the fridge for about a week. To avoid wilting and drying, wrap your micro-dill in damp paper towels. Don’t rinse the harvested dill microgreens to avoid excess moisture!
FAQ
What are the hardest microgreens to grow?
Although some microgreens are super-easy to grow, some species are quite tricky to grow as microgreens.
The top 6 hardest microgreens to grow are:
• Amaranth
• Basil
• Beet
• Carrot
• Chard
• Chives
Final thoughts
As you can see, you can grow dill microgreens at home with no specific troubles. We hope that our article is helpful for you, and now you can start your mini-growing project!

