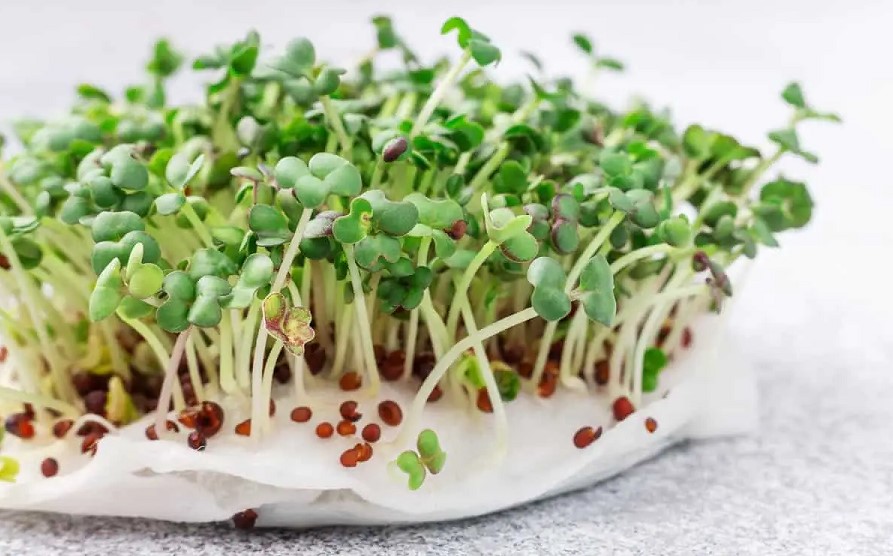
Recently, growing microgreens without soil is increasingly in demand. This is explained by the fact that growing microgreens, when soil is not required, reduces indoor pollution. Read more about how to grow microgreens without soil in this article.

Contents
- 1 Reasons for not using soil
- 2 Growing microgreens with/without soil: comparison
- 3 What microgreens are suitable for hydroponics?
- 4 Proper cultivation of microgreens indoors
- 5 What is the best way to grow microgreens?
- 6 The difference between germinated seeds and microgreens
- 7 Choosing the right environment for growing microgreens
- 8 Step-by-step instructions for growing microgreens
- 9 What plant varieties are suitable for growing microgreens?
- 10 Growing microgreens on paper towels
- 11 Ability to grow sunflower microgreens
- 12 FAQ
- 13 Results
Reasons for not using soil
You need to understand that growing microgreens without soil has several advantages. First, you won’t face clutter at home.
As you know, growing microgreens in an apartment or house is difficult because the earth constantly crumbles, and you have to clean up more often.
It is believed that growing microgreens in the soil contributes to the development of bacterial and fungal diseases.
Because of this, microgreens seeds do not germinate well, or the cultivation of microgreens fails.
By using fiber pads while growing your microgreens, you can reduce the amount of time you spend washing your microgreens in the future. This means you don’t have to wash it before use.
Growing microgreens with/without soil: comparison
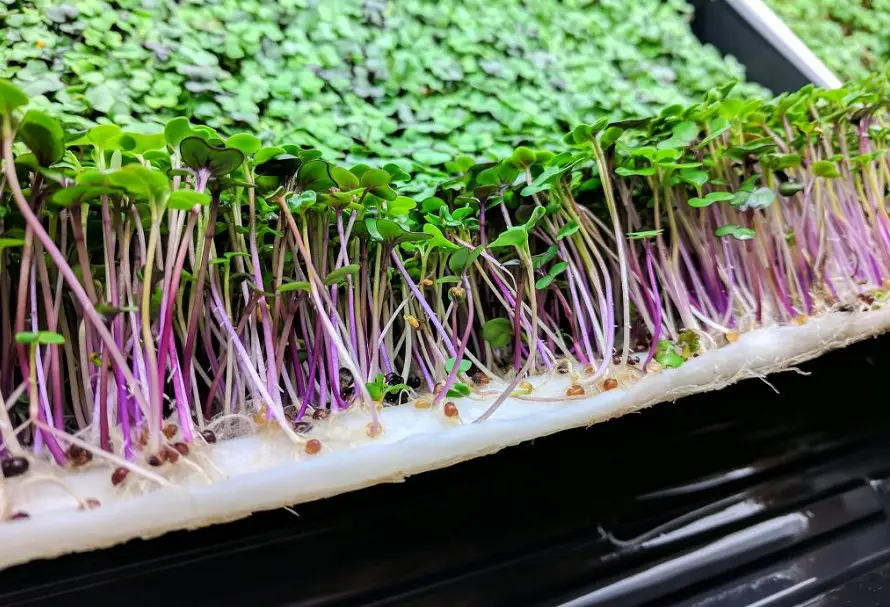
Growing microgreens without using soil has certain benefits. Growing microgreens without using soil can be done by people with busy schedules. It’s also a good solution for those who forget to water their microgreens.
Mats for growing help retain moisture inside much better when compared to common potting soil.
Even if manufacturers claim that growing microgreens in potting soil is easier, it isn’t. If you grow your microgreens hydroponically, you can provide them with more nutrients.
Microgreens seeds grow quickly. However, if you are growing microgreens using hydroponic methods, you may add a nutrient solution more efficiently.
A nutrient solution is required even if you choose to grow microgreens on coconut coir, which is beneficial to the plants in its own right.
What microgreens are suitable for hydroponics?
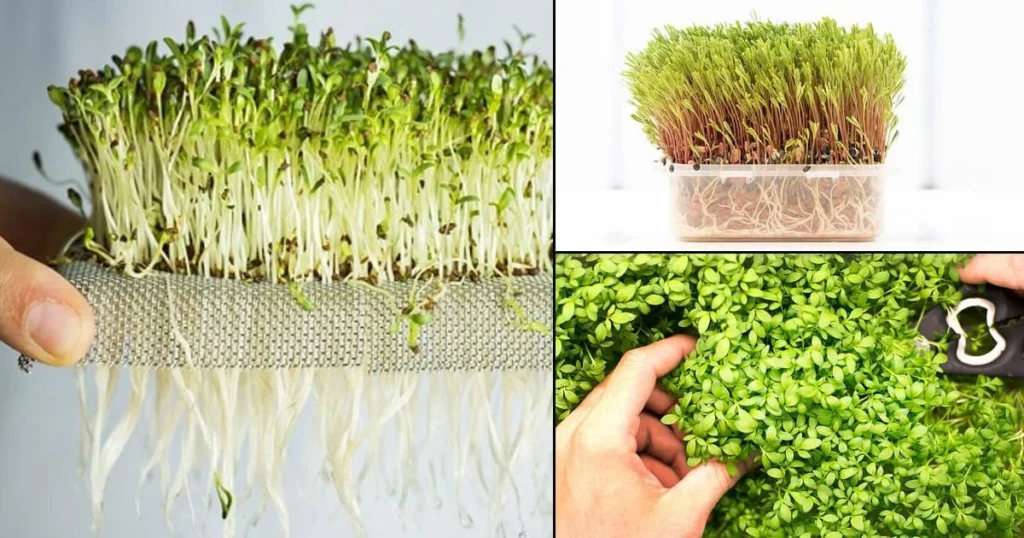
Many people like to grow microgreens hydroponically.
Varieties
However, for these purposes, several varieties of plants are appropriate, namely:
- mustard and radish;
- chia seeds and broccoli;
- watercress and turnip;
- salad mix.
Proper cultivation of microgreens indoors
Growing microgreens is not as difficult as it might seem at first glance. Even beginners can easily cope with the work if they follow certain rules.
There is a high popularity of growing microgreens at home because they may be rare in stores, and are very useful.
If you grow microgreens at home, you can enjoy delicious and healthy plants at any time. However, the cost of growing microgreens in hydroponics or on grow mats is negligible. Additionally, microgreens decorate the room and make it more comfortable.
What is the best way to grow microgreens?
If you decide to start growing microgreens at home, you can do it in soil or hydroponics. Most often, people prefer the use of soil.
However, the process of growing microgreens in hydroponics allows you to quickly achieve the desired result. This keeps you out of the mess.
The difference between germinated seeds and microgreens
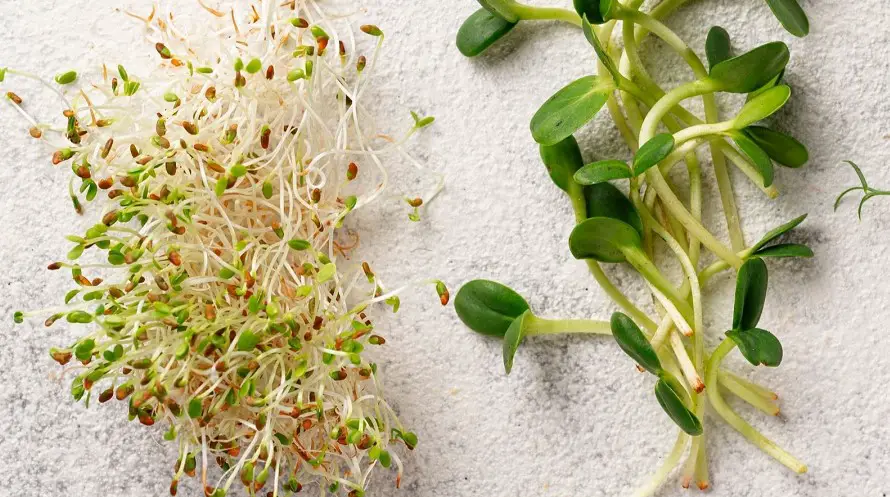
In recent years, people who adhere to proper nutrition have included germinated plant seeds in their diet. And the logical question arises, how do they differ from microgreens?
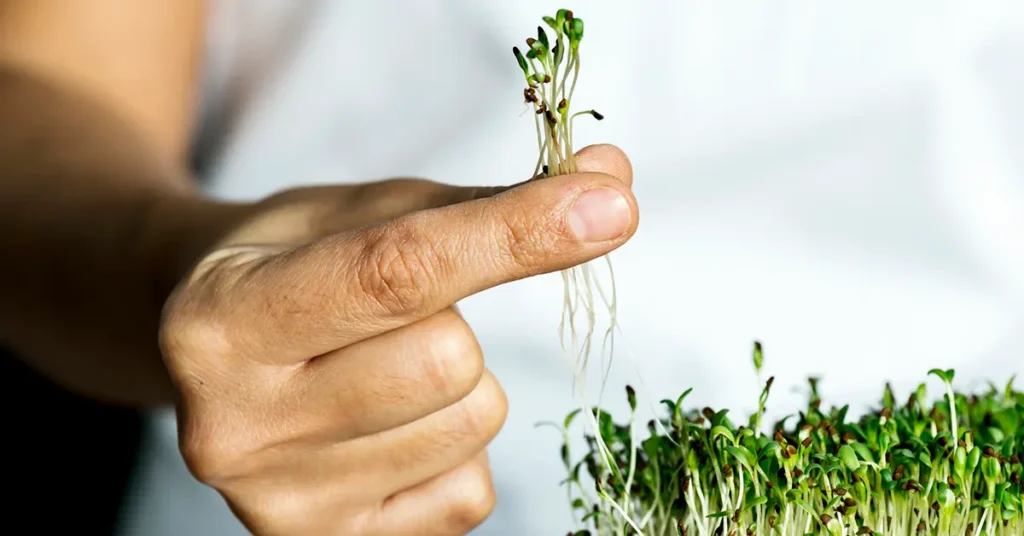
You need to understand that sprouts and microgreens themselves are in different stages of seed development. The concept of microgreens refers to mature sprouts, on which real leaf blades can already form.
Given that microgreens take longer to grow, the plants have a richer flavor and aroma. However, they are useful.
Choosing the right environment for growing microgreens
If you decide to grow microgreens yourself, you have to choose the right growing medium.
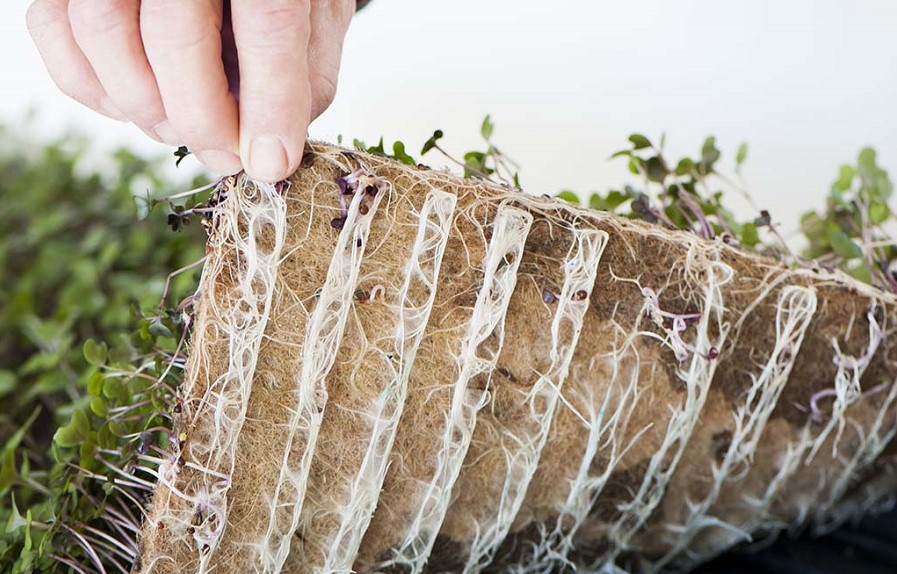
The best option would be special pads made of coir.
Regular soil, as already mentioned, takes up a lot of space and can create a mess.
Also, given the weight of the bags with soil, they are more difficult to bring home. If you decide to use special delivery services, this requires large financial investments.
Coir pads
Many people like to grow microgreens on FoxFarm Coconut Coir. These grow mats contain wood, perlite, bat waste, crushed algae, and dolomite lime.
There are also impurities of earthworms and useful mycorrhiza of fungi. You can find such mats in any gardening store.
Jute fiber pads
You can grow microgreens on special mats that are made from jute. It is a natural material that helps maintain moisture levels. However, it is appropriate for home hydroponic gardening.
Step-by-step instructions for growing microgreens
If you prefer growing microgreens hydroponically, as mentioned, the process is quite simple.
To begin with, you need to collect the necessary materials, the cost of which is negligible, and you do not have to risk money.
Once the materials are ready, it is possible to proceed with the main stages of growing microgreens.
Collection of inventory
To start growing microgreens, you must first assemble the tools. It is not necessary to spend huge sums of money to buy trendy and expensive tools.
If you are just starting to learn the principle of growing microgreens, you can first focus on affordable and simple models.
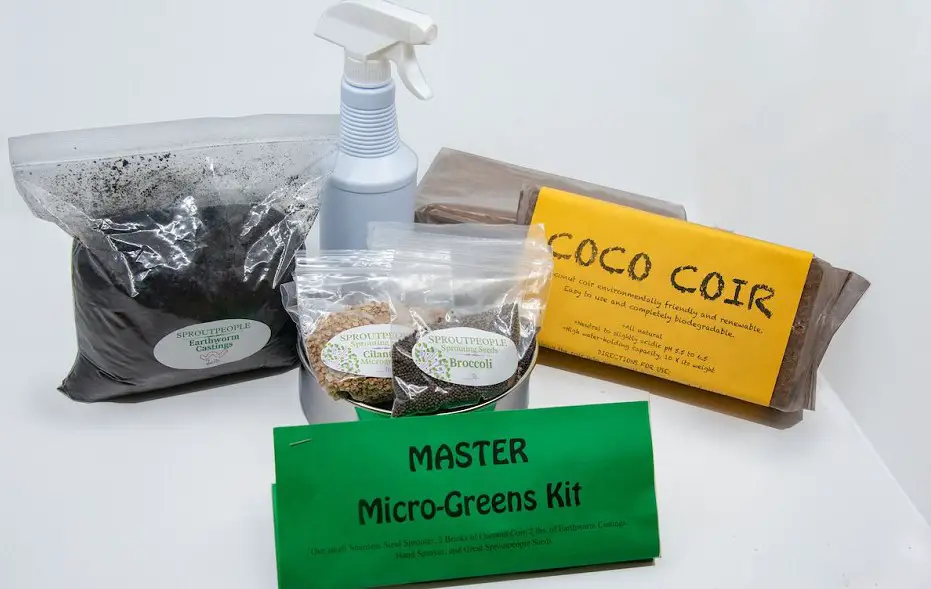
First, you need to choose the optimal place in which you grow hydroponics. You should also have a light source, seeds, containers, and pads.
Necessary items
A detailed list of required items:
- Containers. They can be made of plastic, metal, or glass. If you’re saving money, you can take regular salad bowls from the kitchen and drill holes in them. To keep hydroponically grown microgreens, opt for durable containers.
- A grow tray is required, both with and without holes. You should also prepare a growing tray, which has special covers to protect it from moisture.
- Coconut coir. A grow mat made from this material is available at most gardening stores. If necessary, you can order a microgreen grow mat online. If coir is not available, mineral wool cubes can be used.
- Light sources. You can use the LEDs you have at home.
- Sprayer. It is required for watering microgreens.
The most important thing is to find quality microgreen seeds.
Choose non-GMO seeds. It is also better to focus on simple rather than hybrid varieties. The easiest way to grow sunflower seeds, arugula, and broccoli.
Finding a place
To grow microgreens, you need to find the right place. Choose areas where containers can remain permanently.
Thanks to this, you do not have to constantly move them. The room should be well-lit and have enough space to accommodate containers.
You can grow microgreens in a basement that has no windows. In this case, artificial lighting is required. Only in this way, do seeds sprout and produce a stable crop.
Container selection
Microgreens grow in special containers and give an excellent harvest. Opt for containers that have drainage holes.
If you’re on a budget, you can also opt for an old shoebox. It is better to choose durable trays that last a long time.

Seed soaking
If you decide to grow your microgreens without soil, you don’t need to soak your microgreen seeds.
However, if you are not limited in time, it is better not to skip this stage when growing microgreens. Soaking does not require if the microgreen seeds are small.
Seeds germinate better if you soak them. Therefore, it is recommended to soak sunflower and pea seeds.
Instruction
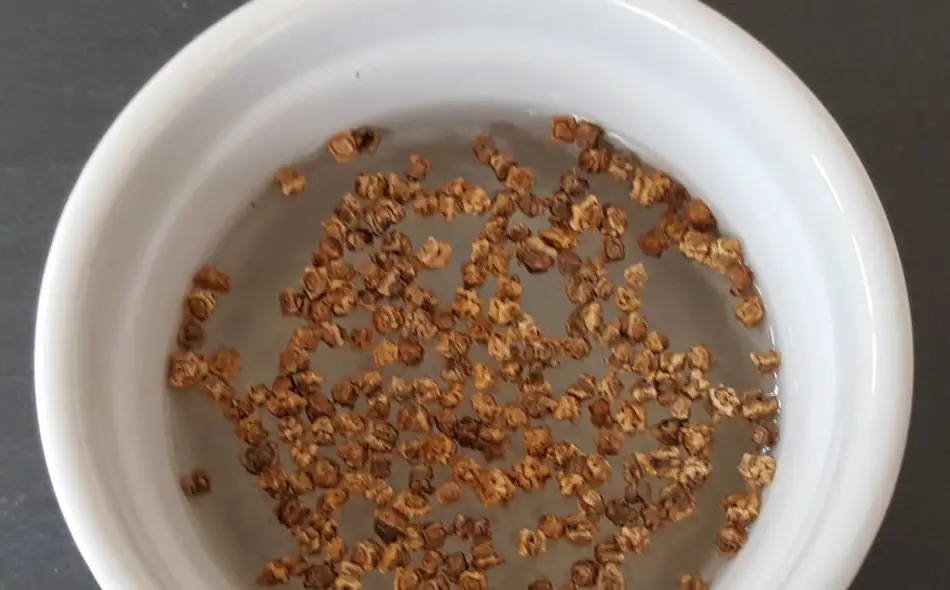
To soak microgreen seeds, pour a few inches of water into the container. Then put the seeds inside and mix them a little.
Once you add the seeds, leave them for 7 hours. Let them infuse and increase in size. It is extremely important when growing microgreens to choose the right ratio of seeds and containers. If the container is 16×12 inches, it fits 1 tablespoon of seeds.
If you use a large container, you can grow your own microgreens of several types at the same time. This significantly diversifies your diet.
Preparing the container and seed
Once you find the optimal container, it must be properly prepared for growing microgreens. Inside the container, you need to place the prepared growing medium.
Instruction
Pre-fill the container with water then lay the grow mat for growing microgreens.
After that, you need to wait a little time for the water to begin to soak into the growing medium.
As soon as the mat is completely wet, you can start sowing seeds. To improve the survival of seeds, you can spray them with a nutrient solution. For hydroponic microgreens to germinate better, drain the water from the seeds and spread them throughout the growing medium.
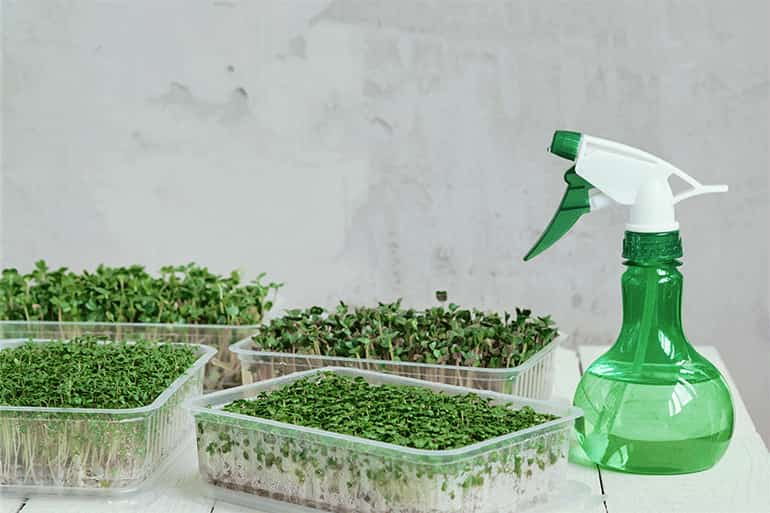
After that, you need to treat the hydroponic microgreens with water from a spray bottle.
It is believed that this way you can get your own microgreens much faster. As soon as you process the seeds from the sprayer, you should cover the container with a lid.
Humidity
Microgreens grow best in high-humidity conditions. If you cover the containers, you notice that the microgreens grow better. If there is no lid for the container, you can use a regular plastic bag. This helps retain moisture.
Check the humidity readings inside the container every day to see if the microgreens are growing well and not getting sick.
If necessary, you can periodically spray the plants with a spray bottle. You need to spray the plants with nutrients every 15 hours.
Seed germination
If you are growing vegetables indoors, you have to constantly monitor how the seeds behave.
You can grow microgreens without soil for 5 days. As soon as 2-3 days after sowing, you notice that microgreens regrow back if the room is warm.
Often, growth is evidenced by the microgreen roots, which begin to be seen. After 3-5 days you can eat greens and enjoy their benefits.
Remember that you need to constantly monitor the humidity indicators. If you grow microgreens without soil and do not follow the watering, you may encounter mold.
To keep healthy microgreens from spoiling, it is best to open the containers of the hydroponic system for a few hours.
This helps the excess moisture to evaporate, making it easier to grow microgreens without soil. If the seeds are too dry, periodically spray them with a spray bottle.
Harvesting
Once you’ve finished growing your microgreens without soil, once they’re 1.5-2 inches tall, you’re ready to start harvesting.
Commonly, grown microgreens reach this height as early as 5 days after planting. You can harvest when the plants have 1-2 true leaves.
If you choose to grow your microgreens without soil in the winter, the process can take several weeks. However, many choose to harvest when the microgreens are only 1-2 inches tall. It is tastier and healthier.
The principle of harvesting
If you’ve finished growing your microgreens without soil, you’ll be ready to harvest.
The easiest way to do this is if there is one type of plant in each container. After the formation of the first leaves, harvesting is available at any time.
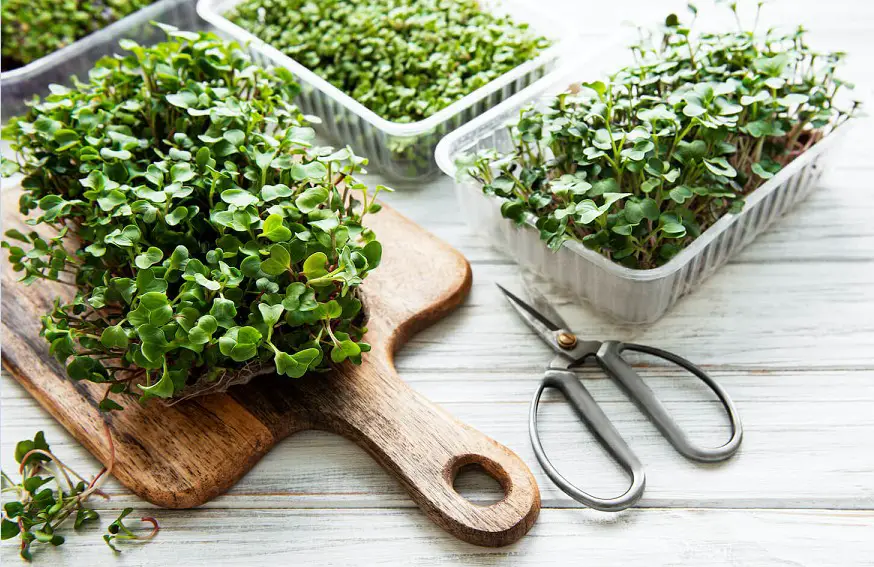
You need to support the top of the plant as you cut the base. You can harvest microgreens in small amounts, or cut the whole crop and keep it in the refrigerator.
What plant varieties are suitable for growing microgreens?
If you have just decided to start growing microgreens, then it is better to stop at simple varieties. It can be broccoli, cabbage, or sunflower. You can combine different varieties for better results and variety.
When growing microgreens, you can focus on bright varieties, including radishes, basil, and amaranth. It is believed that saturated shades indicate a large number of nutrients. Pea shoots have excellent taste.
However, you need to understand that pea shoots are easiest to grow if the conditions are warm. At the same time, you can get pea shoots even in the open ground because this type of microgreen is easy to grow.
Growing microgreens on paper towels
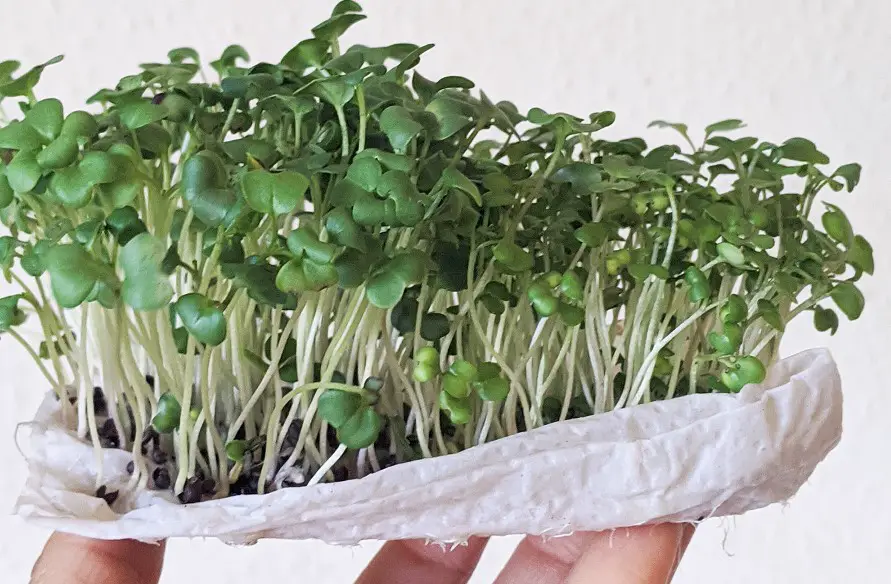
If you can’t find special growing mats, you can use regular paper towels. This is the best solution if you decide to grow microgreens without soil in small containers, and do not plan to do this for selling.
You can grow microgreens without soil using paper towels is possible if you use plants with shallow roots.
For what greens is it better?
This applies to lettuce and arugula. It is recommended to use paper towels that are free of dyes and fragrances.
Do not completely wet paper towels. The more moisture in them, the higher the likelihood of root rot and mold.
You need to soak paper towels in water and then wring them out. Lay out paper towels in layers to fill the bottom of the container.
In the future, you can grow microgreens without soil according to the same principle as in the case of growing mats. Spray paper towels periodically to keep them damp. After a few days, shoots are formed.
Starting on the fifth day, you can remove the lid to allow the microgreens to receive light. If there are no drainage holes in the container, and bottom watering is not possible, you have to water the microgreens with a watering can. Harvesting is possible within a week and a half after sowing.
Ability to grow sunflower microgreens
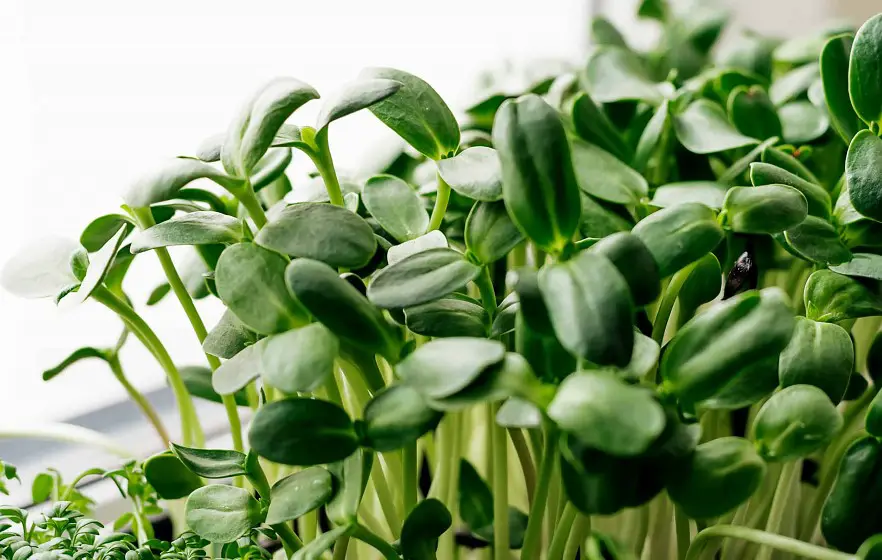
If you decide to grow microgreens without soil, then sunflowers are a good solution. For these purposes, it is better to find a coconut bed so that the roots have enough room to develop. Coconut coir promotes moisture retention and allows air to circulate.
Instruction for beginners
You can make your own coir. To do this, you need to take an ordinary coconut shell and soak it in water.
This allows the shell to soften and increase in size. Before planting, you need to soak the sunflower seeds for a day. Due to this, the seed coat becomes softer and germination improves.
As soon as you sow the seeds, it is recommended to lay a load on top.
This improves germination. At the same time, thanks to the load, the roots are fixed in the coconut coir.
After a few days, the first shoots appear. But you can harvest in 2 weeks.
You should try this growing option, as these microgreens are very useful.
FAQ
When it comes to growing microgreens without soil, many questions can be asked. I tried to answer the most frequent and interesting ones. I would love to see more questions in the comments.
Can you grow microgreens with just water?
If necessary, you can start growing using only water. This implies hydroponic gardening. It is water that ensures that the roots receive enough oxygen and water. It also saturates the plants with nutrients.
Are microgreens grown without soil nutritious?
Yes, microgreens grown without soil contain enough nutrients. It is very useful if you include it in your diet on an ongoing basis. In this case, you do not even have to wash it before use.
Can I grow microgreens on paper towel?
As mentioned, you can start growing microgreens without soil using paper towels. They are available, and it is quite simple to form a nutrient medium from them. At the same time, you can save on the purchase of expensive material grow.
To grow, you need a paper towel and seeds. After a few weeks, you can enjoy delicious and healthy plants.
What are the benefits of eating microgreens?
As you know, microgreens are much healthier when compared to chocolate and sandwiches. Although low in calories, microgreens are high in nutrients.
If you consume microgreens regularly, you can saturate the body with vitamins and minerals. The main thing is to do it regularly. You can add microgreens to any dish.
Results
As you can see, growing microgreens without soil is not difficult if you know the basic rules. The most important thing is to choose the right growing medium, as well as prepare the seeds.
Remember that growing such greens is a very interesting activity. If it seems to you that a grow hydroponically is difficult – do not be afraid, you just need to start and be careful. And you will definitely succeed. Study my guide in detail and carefully, and move on to growing healthy greens.
Learn More: How Do You Grow Microgreens Without Soil?

