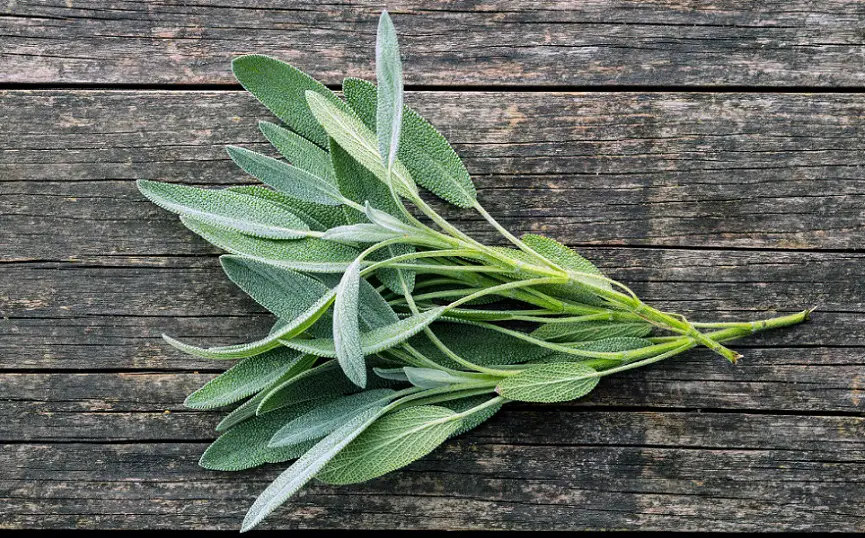
Sage drying is a great way to preserve fresh sage leaves because dried sage lasts longer for use in various culinary creations. This article provides information to give a comprehensive guide to how to dry sage, with a specific focus on using the oven as the drying method.
Contents
Overview of the process of sage drying
Dried sage has been a favored method for preserving the aromatic and culinary qualities of this herb for generations. It offers a convenient solution for those who want to enjoy the distinct flavor and fragrance of fresh herbs throughout the year, regardless of its seasonal availability.
Whether you have an abundant sage harvest from your herb garden or have purchased fresh bundles from a local market, you need to dry sage to harness its essence and enjoy its benefits long after it has been harvested.
Advantages of dried sage
One of the key advantages of sage drying is that it concentrates the flavors and intensifies its aromatic properties. The process removes excess moisture from the leaves, allowing them to retain their unique taste and fragrance.
By removing the water content, the essential oils within the sage leaves become more potent, resulting in a more concentrated flavor profile.
This transformation enhances the herb’s ability to infuse dishes with its earthy, slightly minty undertones, making it a beloved ingredient in numerous culinary traditions worldwide.
Furthermore, if you try to dry sage, you will not only preserve its flavor but also extend its shelf life. By removing moisture, the growth of bacteria, mold, and other microorganisms is inhibited, ensuring that the dry herbs remain safe to use for an extended period.
If you store dried sage properly, you can retain its potency and quality for up to a year, allowing you to have a steady supply of this versatile herb at your fingertips whenever inspiration strikes in the kitchen.
Use of dried sage
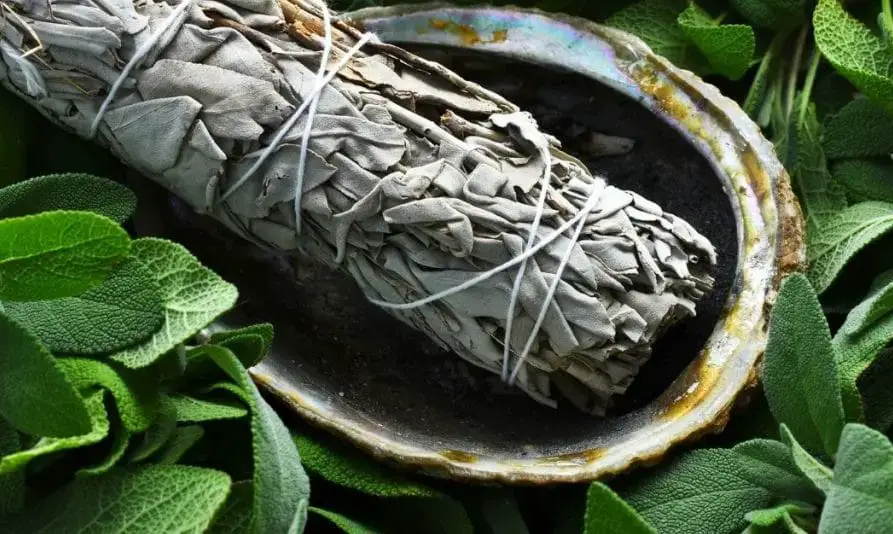
Moreover, dried sage serves purposes beyond culinary endeavors. It has long been utilized in various cultural practices and traditions for its spiritual and medicinal properties. Sage smudging, a ritual involving the burning of dried sage bundles, is believed to cleanse and purify spaces, ward off negative energies, and promote spiritual well-being.
The dried leaves can also be used to prepare sage butter, herbal teas, infusions, or tinctures, offering potential health benefits such as digestive aid, immune support, and anti-inflammatory properties.
Whether you are a culinary enthusiast, a wellness seeker, or someone who appreciates the beauty of dried herbs, the process of drying sage allows you to tap into its full potential. By preserving its captivating aroma, potent flavor, and medicinal attributes, you can embrace the essence of dry herbs year-round.
The overview of the drying process
Drying sage involves transforming fresh sage leaves into dried sage, which can be used in various culinary dishes such as pasta sauces and as a seasoning. The process helps extend the shelf life of fresh sage and allows you to enjoy dried herbs throughout the year.
In the process of sage drying, it is important to remember about starting with fresh sage leaves. The correct process of drying sage helps to enhance its flavor and aroma, making it a versatile and long-lasting ingredient in various dishes.
Different techniques for sage drying
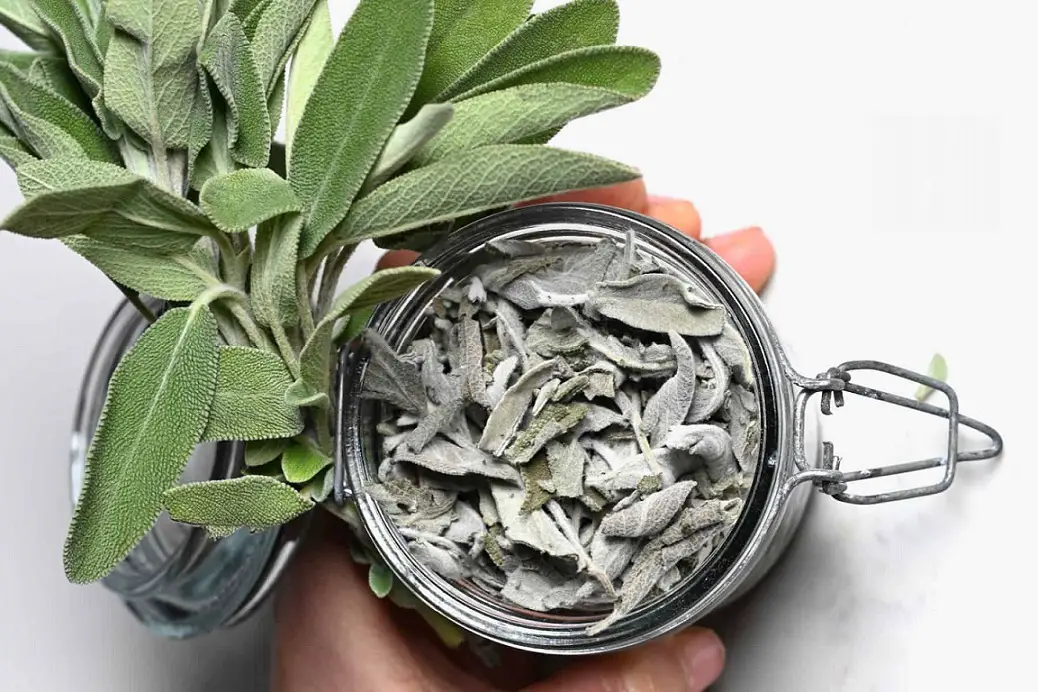
When it comes to sage plant drying, there are various effective methods available, each with its own drying times and equipment requirements. Regardless of the chosen technique, the initial step remains the same: gather fresh sage, either from your herb garden or by purchasing sage bundles from a local grocery store.
Start by separating the freshly picked sage leaves from the stems, ensuring that any dried-out or discolored leaves are discarded. Rinse the leaves thoroughly in a colander under running water, and then remove any excess moisture by shaking them gently. Pat them dry using a tea towel or paper towel.
Now that your sage leaves are clean and ready, you can proceed with one of the following methods to dry sage effectively.
- Utilizing a food dehydrator. If you happen to own a food dehydrator, this method is ideal. Arrange the rubbed sage leaves in a single layer on the dehydrator racks. Set the temperature between 95 and 115 degrees Fahrenheit (35–46 degrees Celsius).Periodically check on the leaves in the food dehydrator, roughly every hour or so, until they crumble easily when touched. This ensures that the sage is thoroughly dried.
- Drying in the oven. For those without a food dehydrator, drying sage in an oven is a viable option. Begin by lining a baking sheet with parchment paper. Lay the sage leaves on the sheet in a single layer, working in batches if necessary. Preheat the oven to its lowest temperature setting.Place the sheet in the oven and monitor the leaves every fifteen minutes. Continue this process until the sage has completely dried.
- Microwave drying. If you wish to dry sage quickly, the microwave can be used. Arrange the sage leaves on a microwave-safe plate, making sure not to overcrowd them. Microwave the leaves in thirty-second increments, pausing to check their dryness after each interval. Repeat this process until the sage is thoroughly dried.
- Air drying. An age-old method of drying herbs is air drying, fitting for ground sage. Gather your leaves into small sage bundles of about five or ten leaves each. Secure each bundle with twine or a rubber band. Next, cover the bundles with a perforated paper bag to allow for air circulation. Hang these bundles in a well-ventilated area, away from direct sunlight.Depending on the humidity levels, air drying may take several days. Monitor the sage bundles regularly until they are fully dry.

Image source: pinterest.com
Effective tips for drying sage at home
Before we begin to dry sage, we need to explain some tips for drying at home.
When it comes to drying sage at home, a few essential considerations can significantly enhance the process and ensure optimal results.
- Select high-quality sage. To achieve the best possible outcome, it is crucial, to begin with the sage of the highest quality. Ensure that the sage you choose is fresh, free from any moisture, and devoid of any imperfections or discoloration. Starting with clean and pristine sage will lay the foundation for a successful drying process.
- Proper storage practices. Once you have dried your sage to perfection, proper storage is key to preserving its flavor and aroma. Take care to store your dried herbs in an airtight container or a slightly damp paper towel, protecting them from exposure to light and maintaining a dark environment.This precaution prevents oxidation and helps retain the full potency of the essential oils of ground sage. By safeguarding your dried sage in this manner, you can enjoy its robust flavor for up to a year, ensuring a lasting supply of this versatile herb.
- Consider humidity levels. Humidity levels can significantly impact the drying process, especially when air-drying is the chosen method. If you reside in an area with high humidity, it is advisable to explore alternative techniques, such as using an oven or microwave. Air drying allows for more controlled drying environments, mitigating the risks of moisture-related issues.By adjusting your approach based on the prevailing humidity conditions, you can ensure consistent results when drying sage.
By incorporating these three indispensable tips into your sage-drying routine, you can maximize the flavor, quality, and longevity of your dried sage.
With a little attention to detail and the right techniques, you’ll have a well-stocked supply of aromatic herb like dry sage at your disposal.
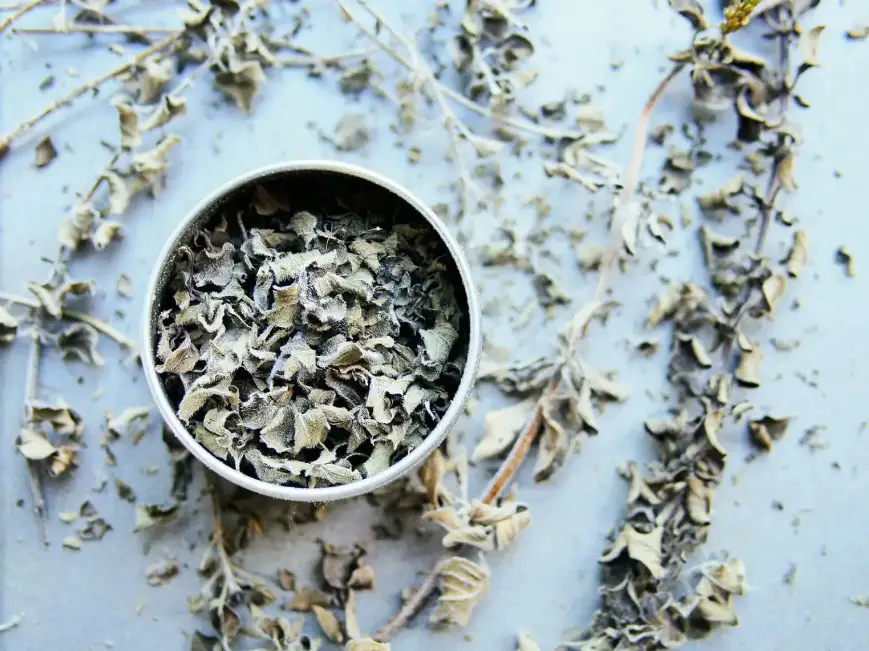
Image source: pinterest.com
Oven sage drying
- To dry sage in an oven, start by preheating it to a low temperature.
- Line a baking sheet with parchment paper and place the fresh sage leaves in a single layer on the sheet. Make sure the leaves are clean and free from excess water by patting them dry with paper towels. This helps prevent the sage from turning brown during the drying process.
- Place the baking sheet with the sage leaves in the oven and keep the door slightly ajar to allow moisture to escape. The recommended temperature for this is typically around 100-120 °F (38-49 °C). This low heat helps retain the herb’s flavor and color while gradually drying it.
- The drying time can vary depending on the oven, the thickness of the leaves, and how much dried sage you are trying to make, but it generally takes around 1-3 hours. It’s essential to check on the sage regularly to ensure it doesn’t become over-dried or burned. The leaves should feel dry and crumble easily when gently pressed between your fingers.
- Once the sage leaves are dried, remove them from the oven and let them cool. Crumble the dried sage leaves into smaller pieces or use a mortar and pestle to create rubbed sage, which is perfect for seasoning dishes. Store the dried sage in an airtight container, away from direct sunlight, to maintain its flavor and freshness for an extended period.
Using dried sage offers numerous culinary possibilities. It can be added to pasta dishes, tomato sauces, or used to make sage butter. When substituting dried sage for fresh sage in recipes, remember that the dried form is more potent, so use about half the amount of dried sage compared to fresh sage.
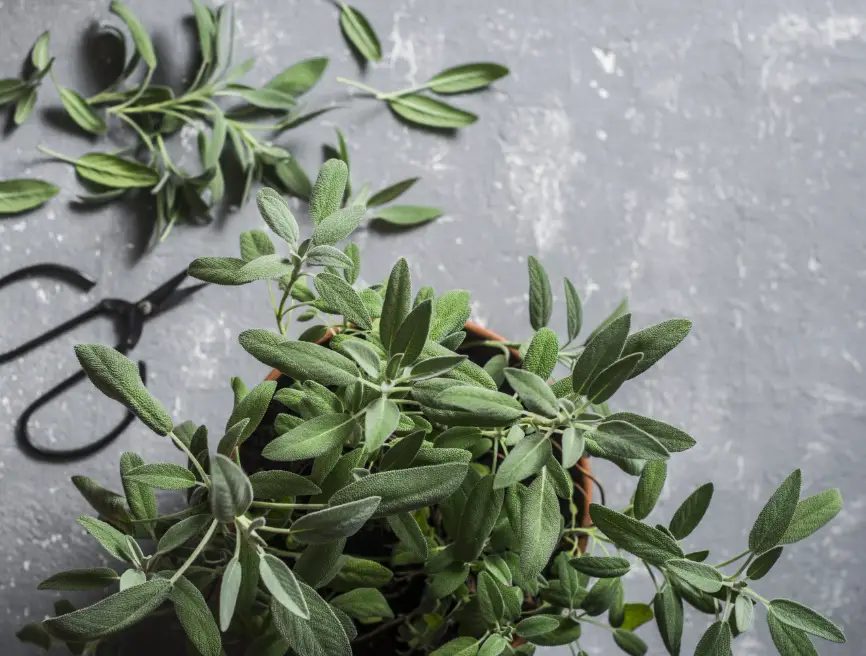
Conclusion
Sage drying in the oven is an effective method for preserving fresh sage leaves and ensuring their long-term use in the form of a dried sage. By following the steps from the article, such as setting the oven at a low temperature, using parchment paper, and allowing the sage leaves to dry completely, you can achieve perfectly dried sage that retains its aromatic qualities.
Whether you prefer to use dried sage in your pasta dishes or as a seasoning in various recipes, the oven-drying method provides a convenient way to enjoy the flavors of your own sage throughout the year.
If besides learning how to dry sage in the oven you would like to know how to store parsley, just open the link and read the post on our website.
FAQ
Q: What is the best way to dry fresh sage?
A: One of the best ways to dry sage is by using the oven drying method. It involves placing fresh sage leaves on a baking sheet lined with parchment paper and drying them at a low temperature in the oven.
Q: What temperature do you dry sage in the oven?
A: To dry sage inside the oven, it is typically recommended to keep the temperature around 95-115 °F (35-46 °C). This low temperature allows the sage leaves to dry slowly and retain their flavors.
Q: How long to dehydrate sage in the oven?
A: The drying time for sage in the oven can vary depending on factors like leaf thickness and humidity. Generally, it takes approximately 2-4 hours to dehydrate sage thoroughly in the oven.
Q: How do you dry sage without turning brown?
A: To prevent sage from turning brown during the drying process, it’s crucial to remove excess water from the leaves before placing them in the oven. Gently blotting the leaves with paper towels or allowing them to air dry for a while can help avoid browning.
Do want to learn more on how to dry sage in the oven? Please open the link and read one more article on this topic.


