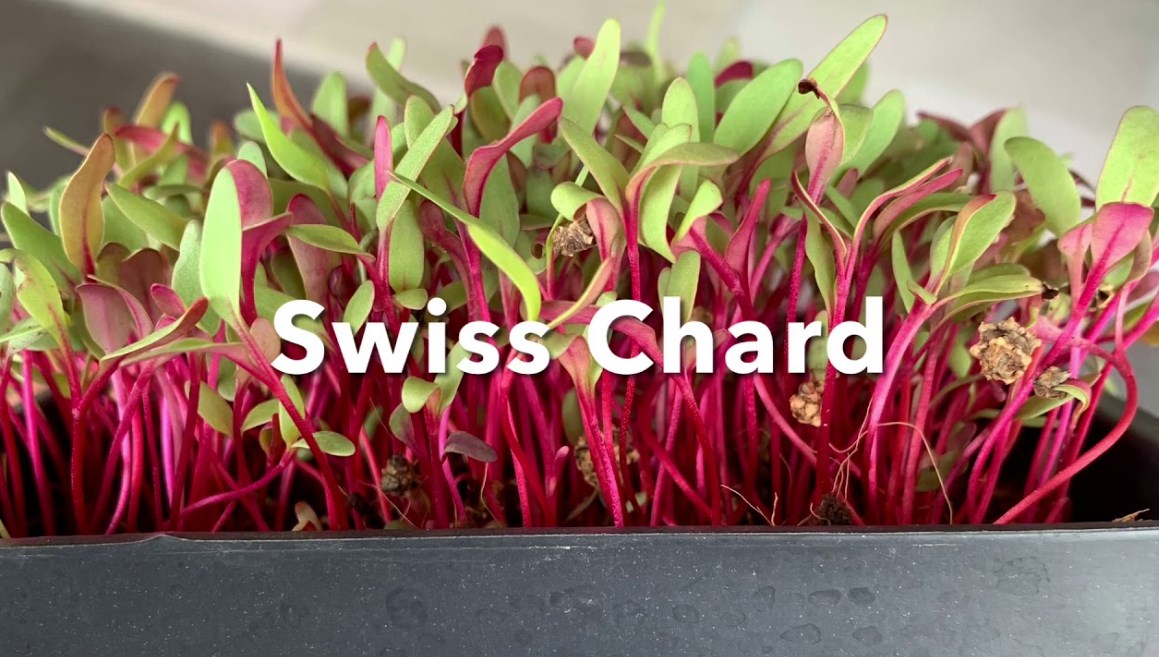
Swiss chard microgreens come in many vibrant varieties. In this article, we will look at how to grow different varieties of plants.
Swiss chard microgreens are not the easiest to grow. We hope that you will follow our advice and overcome a large number of simple mistakes.
Contents
- 1 Can you grow Swiss chard microgreens?
- 2 Number of Swiss chard microgreen seeds to plant
- 3 What are the most sought-after microgreens?
- 4 Materials for Swiss chard microgreens
- 5 Soaking of Swiss chard microgreens
- 6 Planting Swiss chard seeds
- 7 Growing Swiss chard microgreens seeds
- 8 Harvesting microgreens
- 9 Microgreen crop storage
- 10 Summing-up
Can you grow Swiss chard microgreens?
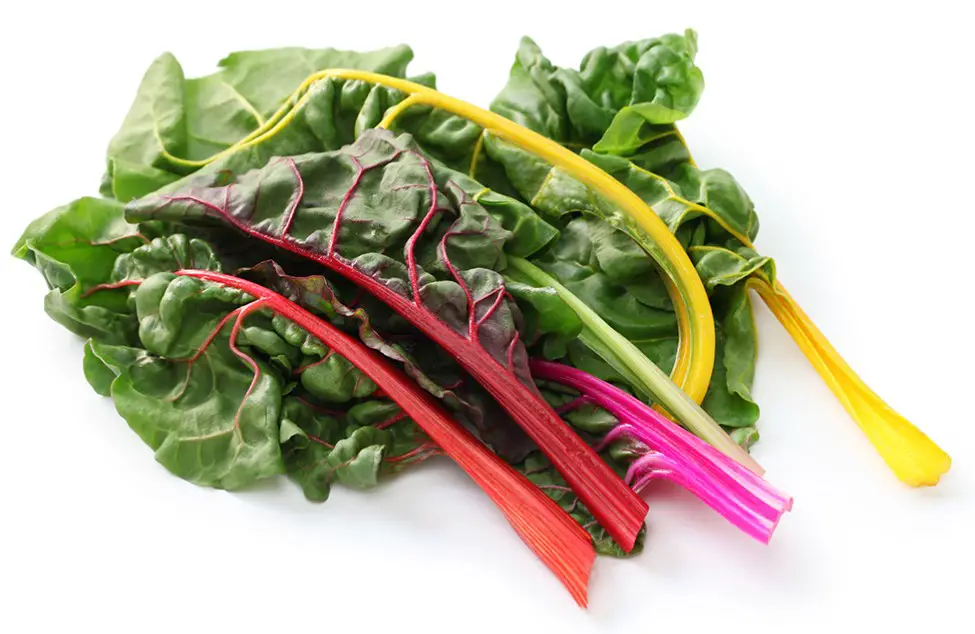
So, there are three Swiss chard microgreens:
- Ruby Red Swiss chard
- Golden Sunrise
- Fantasia orange Swiss chard
All varieties are tasty and rich in nutrients. Therefore, when you buy a variety, you do not need to think about what to prefer. Let’s consider them in more detail.

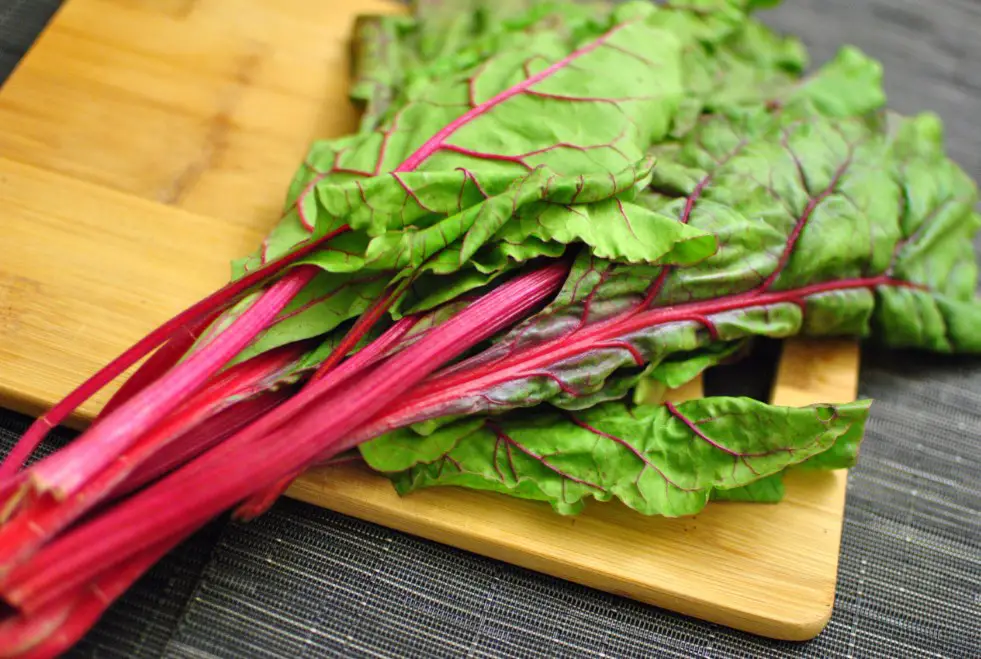
Ruby Red
Ruby Red Swiss chard will be a wonderful decoration for your garden and plate. It has a long growing season and produces fresh greens from early summer to fall. And also all year round in a mild climate.
Ruby Red Swiss chard seeds are loaded with vitamins and minerals, and the young leaves are great for salads, keeping them fresh. Just add Ruby Red to a salad and see for yourself.
The leaves of Ruby Red Swiss chard are suitable for both steaming and roasting. You can add not only to salads but also to lasagna, and soups or mix with other herbs universal variety!
Golden Sunrise
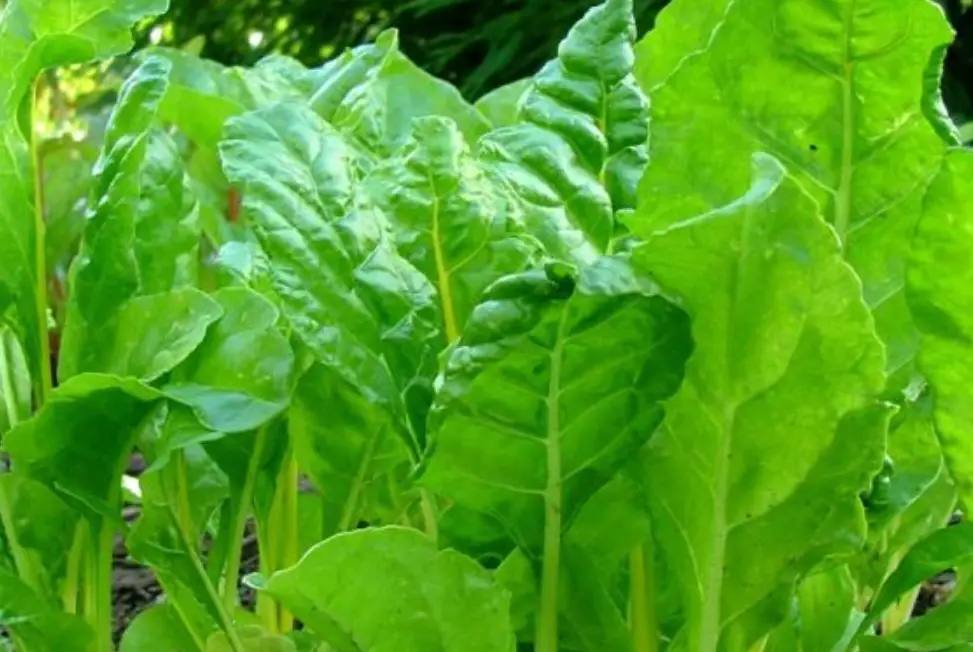
Golden Sunrise Swiss Chard has rich, slightly Savoyard green leaves and deep golden stems.
The species retains excellent color whether harvesting young leaves or fully mature. Therefore, we strongly advise you to pay attention to it.
Also, Golden Sunrise Swiss chard microgreens refer to produce plants that are considered very tender and juicy.
Chard gives more than three crops, so it must be harvested continuously. The crop will return every two years and will tolerate light frosts.
Fantasia orange Swiss chard
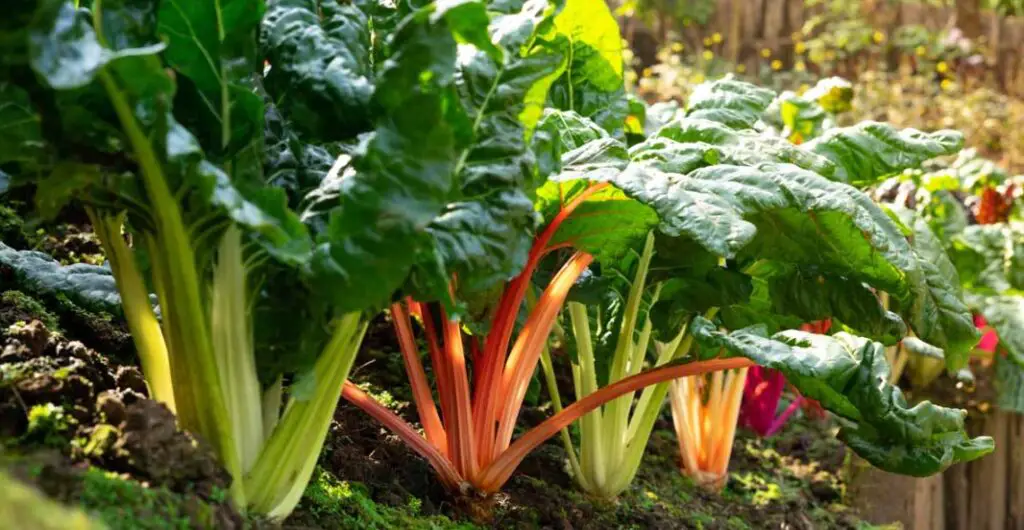
Fantasia orange Swiss chard seeds are very useful. The plant has bright orange stems, broad in size, with a crunchy and pleasant chard flavor.
Slow growth and good resistance to bolting can be distinguished. The harvest from the plant is dark green, with orange stems.
Fantasia orange Swiss chard microgreens are a great addition to salads. But the leaves must be young. You can also boil Fantasia orange Swiss chard, its color will not fade.
The variety is resistant to heat and cold, so Fantasia orange chard is an excellent choice for the home garden.

Number of Swiss chard microgreen seeds to plant
Seeding density depends on the number of plants per square inch of planting area. It also depends on the final size of the edible greens.
Like beets, Swiss chard microgreens often produce more than one plant. They may also show delayed germination. Therefore, you need to be careful.

What are the most sought-after microgreens?
So, chard seeds, after planting, end up in different sizes. This is found not only among varieties but can also be obtained from the same batch.
For example, the orange Swiss chard microgreens have the largest Swiss chard seeds. In second place is red chard, and in third is yellow.
The smaller the Swiss chard seeds, the less mass of seeds you need to produce a full tray of microgreens.
Materials for Swiss chard microgreens
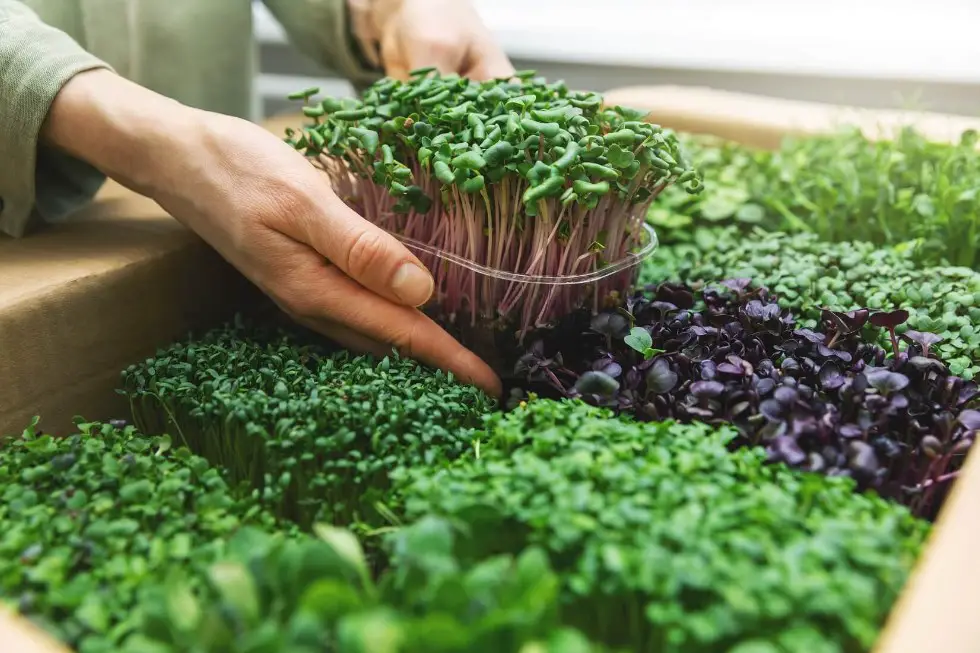
To grow Swiss chard microgreens, you will need:
- Swiss chard seeds
- Growing medium
- Lighting
- Spray bottle
- Sharp scissors
- Thermal mat
- Tray
Boats must be shallow. They have many planting benefits, such as hydration: try to plant Swiss chard seeds!
Roots don’t need a lot of soil, so a little soil in a shallow pot will keep the moist soil enough that you don’t run the risk of drying out the Swiss chard microgreens as quickly.
You will need three trays to start growing Swiss chard microgreens. One will help with the bottom watering, the other will hold the soil and chard seeds. The third tray will be on top of the first two and will serve as a blackout.
The tray with holes will be the one in the middle. The holes will help with airflow and humidification.
The pallets can be the same size, but you may find it easier if you have a larger pallet. You can at least get by with two trays and use a kitchen towel to cover the Swiss chard seeds.
For quick and healthy growing microgreens, we recommend placing plants in front of a sunny window. Sunlight will help you grow microgreens.
Soaking of Swiss chard microgreens
Good news! Soaking Swiss chard microgreen seeds is optional. But it will be very useful in the future if you soak them for a day before planting.
Soaking will soften the seed husks and allow your Swiss chard seeds to germinate faster.
But if you haven’t soaked the chard seeds ahead of time, then there’s nothing to worry about. The seeds will just grow microgreens a little slower, which will lengthen the waiting time before harvest.
Planting Swiss chard seeds
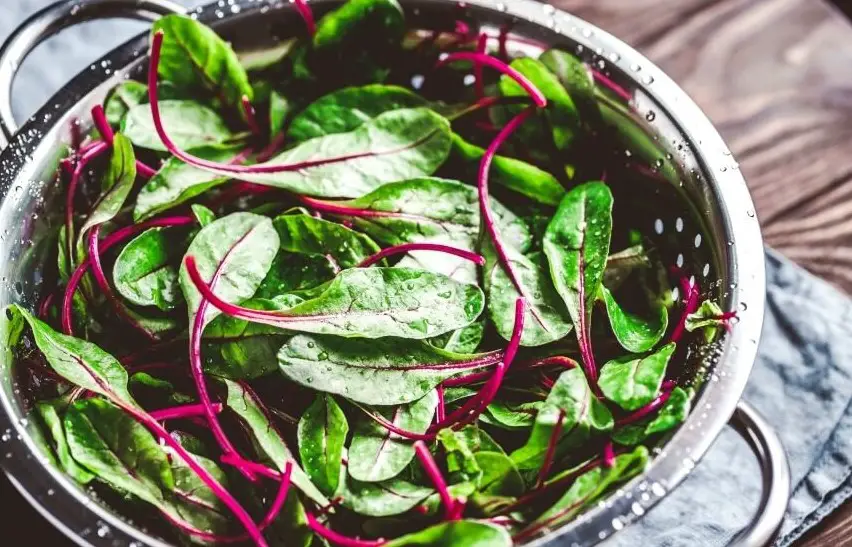
Once the materials and seeds are ready, it’s time to install the trays. This is where the fun begins!
1 step
The perforated tray should be filled with growth medium. It should be just below the edge of the tray. Next, the environment must be leveled, that is, the surface of the soil must be made flat. This will prevent the chard seeds from falling off and causing clumps.
2 step
Distribute the Swiss chard seeds correctly. Plant density should be dense, but do not place seeds close together. Plants can overflow to the point of death. Arrange the seeds in a thin layer, but not on top of each other.
Swiss chard Mongold seeds are large. They are about the same size as beet seeds, so they don’t need much density to fill the planting surface.
3 step
Take a bottle of water and start spraying the surface of poverty. Do this until the soil is completely wet.
Do not use running water, it will move the seeds and form clumps. Swiss chard seeds’ density should be maintained even after watering.
4 step
In terms of coverage, you don’t need to cover your Swiss chard seeds with additional growing microgreens. Plants will not have problems germinating as long as they have contact with the soil.
Once the Swiss chard microgreens seeds are moistened, place the third tray on top and set it aside.
Growing Swiss chard microgreens seeds
Within 3–4 days, the seeds should be in the dark. Sometimes you can remove the top tray to spray the soil.
Remember to keep the soil moist. Spray the surface 2–3 times a day.
Waterlogging of the soil
The first thing you need to pay attention to is hydration. It is important not to over-moisten the seeds. Too much water in the soil will cause mold. If you see mold, discard the plant. Start over.
Swiss chard sprouts
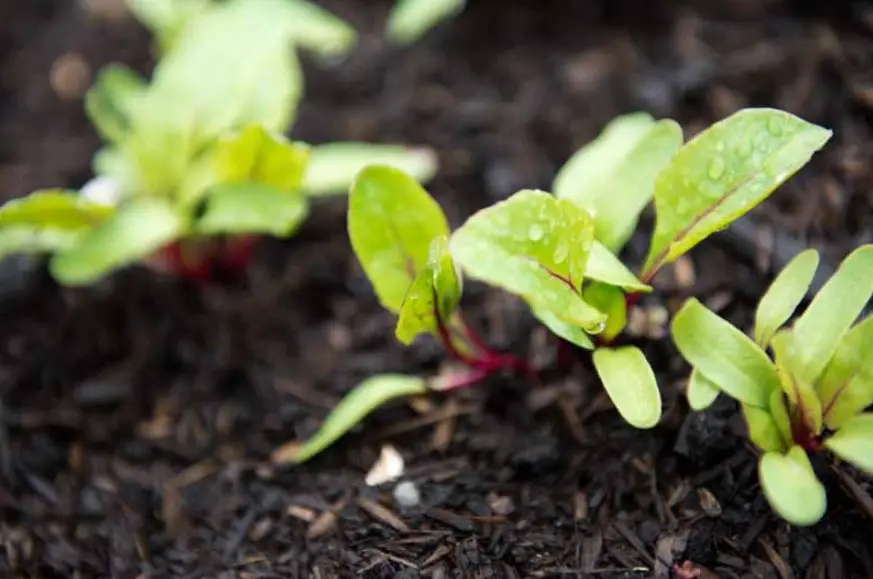
On days 3-4, you will see the Swiss chard sprouts look sore. They will be yellowish, not green. This is normal because the plant did not have access to natural light, and it could not develop chlorophyll, which could give it a green tint.
Growing trays
If you still don’t have a microgreens tray in another tray, now is the time to do so. Fill the plant peas bottom tray with some water and place the seed tray in it. Bottom watering is important after the seeding stage because it will prevent mold growth on the chard microgreens.
Holes in the seed tray allow the soil surface to soak in as needed. This method can also prevent waterlogging. Fill the water tray when it is empty. But try not to overdo it. Make sure that the tray is not waterlogged.
You can also remove the top tray permanently and let the Swiss chard microgreens get light. The watering tray should be kept under a grow microgreens lamp for 12–18 hours: grow lights can be changed to daylight in the afternoon.
These mimics plant growth under natural light and ensures that your microgreens get enough light. If you keep the light close to the tray, the Swiss chard microgreens won’t get long.
Swiss chard color
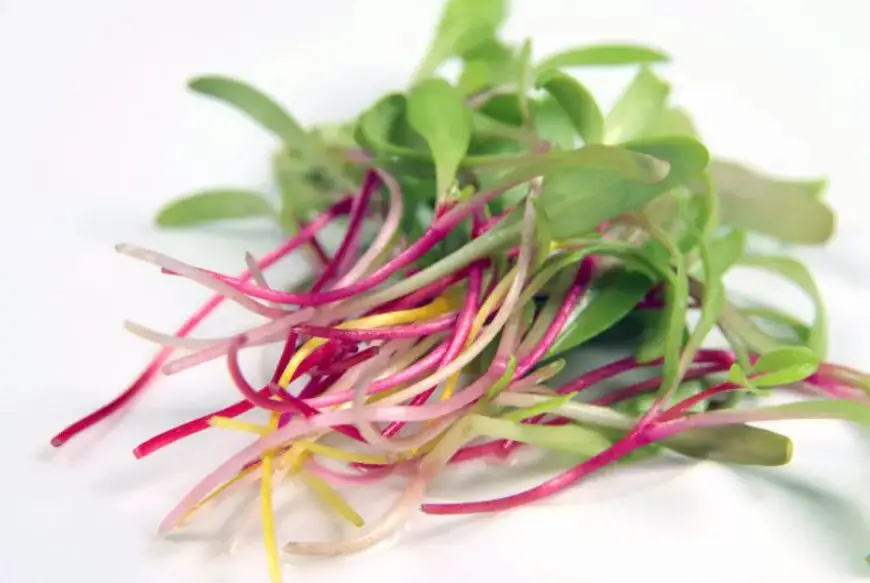
As the Swiss chard grows, you will see the stems begin to take on color. If you chose Ruby Red Swiss chard microgreens, you will see deep red stems.
If you choose a lighter variety, such as yellow or orange chard, don’t be alarmed if your Swiss chard microgreens remain yellow or light green.
Their natural yellow or orange color will not be as bright at this early stage of development. If you select grown rainbow chard, you will have a plethora of flowers to look at.
Harvesting microgreens
When it’s time to harvest, make a small jig, that’s ok!
You need to harvest microgreens after the Swiss chard microgreens have cotyledons and one or two leaves. They appear 9–12 days after the day of planting.
If you’re short on time and your Swiss chard microgreens have their first leaves, you can still harvest them. Try them, and you will find that the Swiss chard microgreens taste is less sweet. But microgreens will still be quite tasty.
Also, before harvesting, you can notice that the seed husk is stuck to the cotyledons. Run your hand over the tops of the chard leaves to gently remove the nasty seed husks.
If some part does not come off, then you can simply tear them off one by one. Do this carefully so as not to damage the seed itself.
Use sharp, clean scissors to cut the Swiss chard microgreens. Cut the greens just above the soil surface and make sure that the growing Swiss chard microgreens do not mix with the harvested Swiss chard microgreens.
Microgreen crop storage
Once you’ve harvested your Swiss chard microgreens, you may want to wash them. If you are going to store it in a container, then do not do it right away. Excess moisture can lead to mold.
Store microgreens in an airtight or plastic bag. Place a paper towel inside the container to help absorb excess moisture. Harvest should keep for a week, but the sooner you eat it, the better.
What is the healthiest microgreen to grow?
All varieties of Swiss chard microgreens are delicious. Swiss chard microgreens have a sweet, slightly crunchy taste. If the plant has been stored for more than a week, and you feel some kind of wrong taste, then it’s time to say goodbye to this batch.
When you’re ready to eat your harvest, you can wash your microgreens. This is not necessary if it looks clean. But still, we recommend rinsing it just in case. In our experience, even the cleanest-looking crop can have a little inconspicuous dirt.
If the crop is harvested with no seed husks or growth media on them, and you know the cultivation was good and pest-free, then there is no reason to wash.
Is Swiss chard a microgreen?
Definitely yes. These microgreen seeds are worth growing microgreens as a gourmet side dish. Their color, mild beet-like taste, and concentrated nutrients are perfect for salads, for example with fresh mozzarella cheese and balsamic vinegar, and any other dishes.
Swiss chard microgreens Magenta Sunset microgreen seeds are designed for growing nutritious microgreens. What’s more, microgreens are rich in vitamins K, A, and C. Other benefits include protein, dietary fiber, and antioxidants.
Also, Swiss chard microgreens are easily absorbed in the body, so nutrition with it is completely absorbed by the human body. This is a very important advantage because such a light and nutritious snack will suit everyone.
Summing-up
It’s not hard to grow Swiss chard microgreens, as long as you cover the seeds with soil to remove the tough, nasty seed husks.
Be patient, as the tasty microgreens take some time to come out of the soil and grow large enough to be placed under light.
Try not to spill them. A small amount of water is often better than flooding a watering tray. Do these three simple things, and you will be rewarded with wonderful Swiss chard microgreens.
Read also: Quinoa microgreens: health benefits and growing tips

