A simple cauliflower can be very difficult to grow, especially for beginner gardeners. Moreover, it will take not less than 130 days to grow a mature vegetable. On the other hand, cauliflower microgreens are much easier to grow and the process takes only a week.
If you want to grow cauliflower microgreens, you can easily do it on your own. What follows will tell you how successfully grow your own cauliflower microgreens at home. Keep reading.

What are cauliflower microgreens?
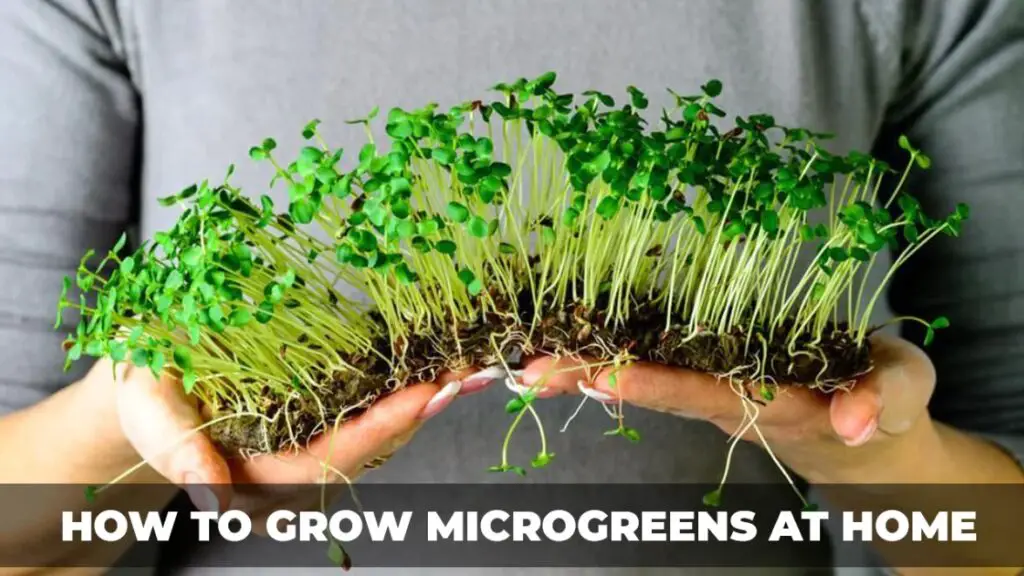
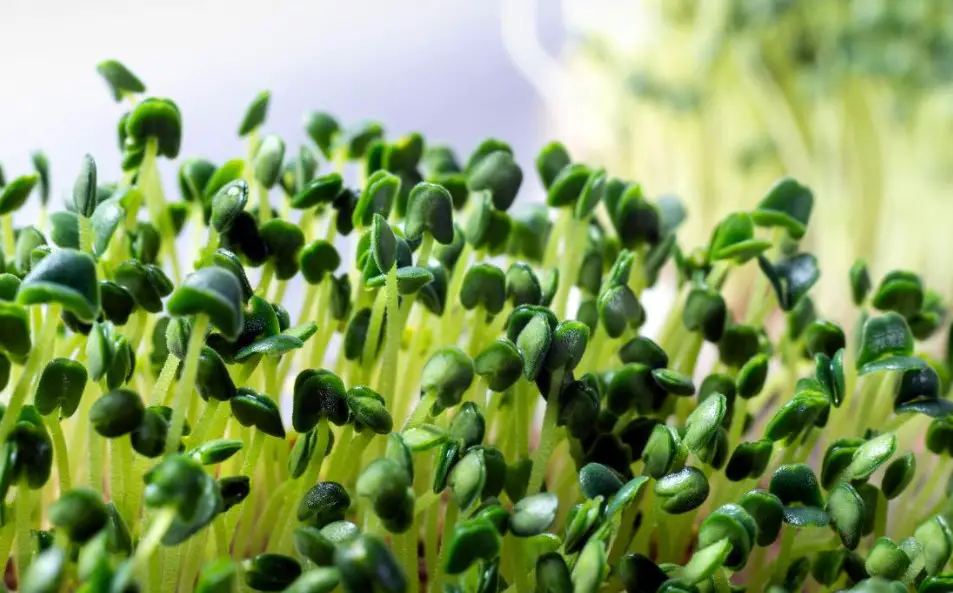
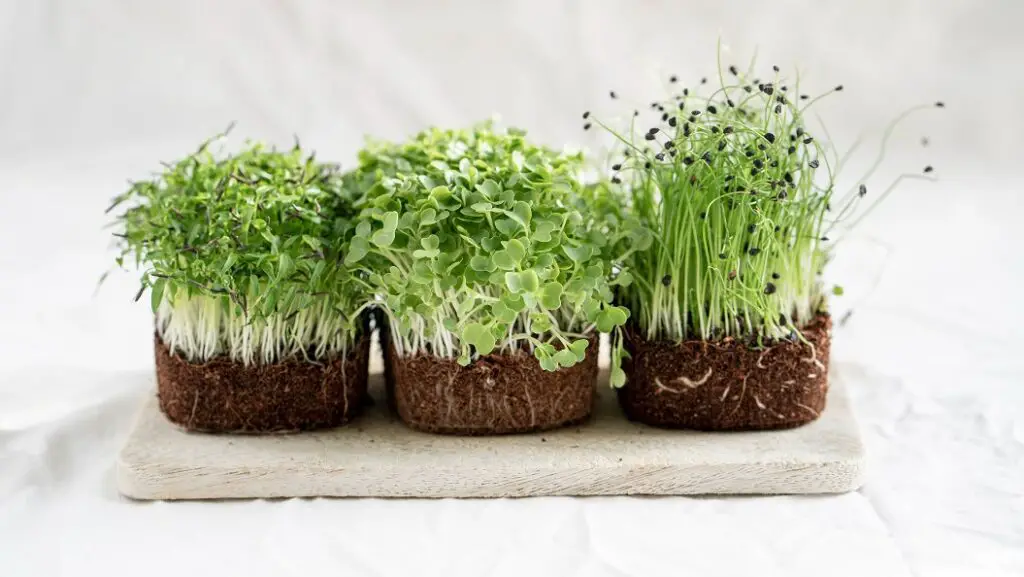
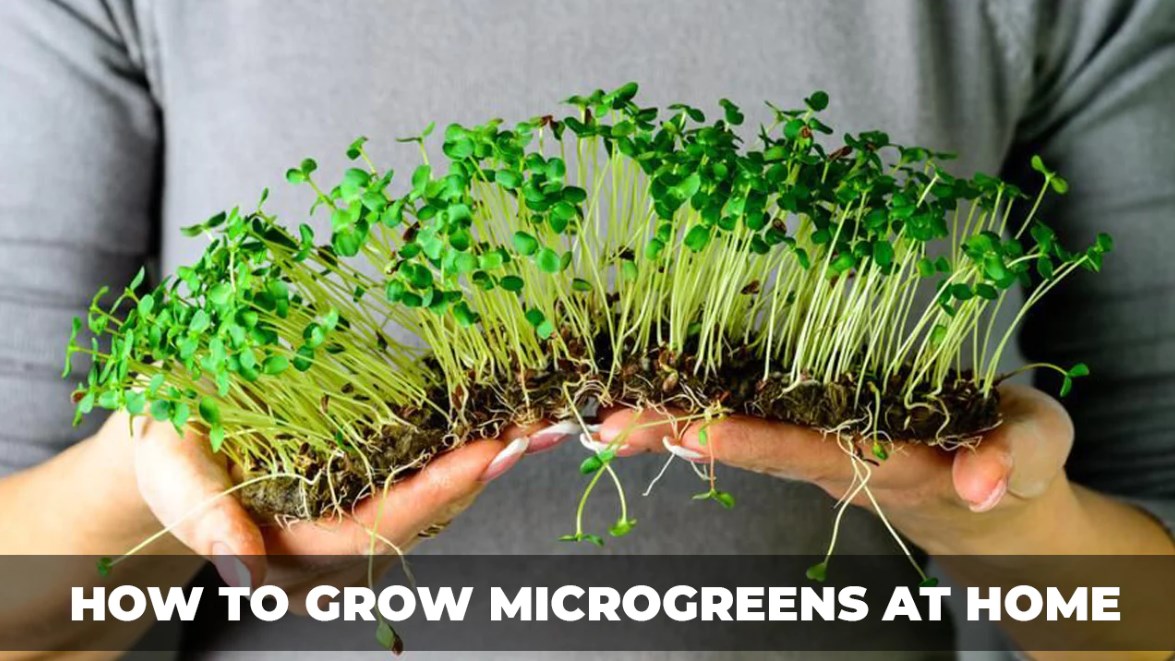
Even though it is the same plant as simple cauliflower and belongs to the Brassicaceae family (broccoli, brussels sprouts, collard greens ), they look pretty different. The cauliflower microgreen doesn’t have a white head. Cauliflower microgreens look like bushel-full of vibrant, bright green or purple leaves with white stems and pink highlights.
The flavor is the same as mature cauliflower, with a fresh and crispy texture and mild peppery undernotes which most other microgreens (for example, kale microgreens or cabbage microgreens) also have. Microgreens are usually eaten raw and can be a part of the salad mix.
What concerns health benefits, they contain a lot of vitamins and minerals, which help to prevent cardiovascular diseases and reduce the risk of cancer. It also contains such nutrients as beta-carotene and iron.
The reason why people love microgreens is that they are considered to be the easiest microgreens to grow and can be harvested after 9 days of growing. The average germination time is 1 to 5 days.

How to grow cauliflower microgreens?
Equipment
For growing cauliflower microgreens you will need high-quality cauliflower microgreen seeds (you can get them from True leaf market), a growing medium (coco coir or seed-starting mix), a light source (T5 grow lights are the best), a container (microgreens tray and one tray with drainage holes), a misting bottle and kitchen shears.
If this is your first time growing microgreens, you can look for starter kits in the market that provide all the necessary supplies you require, including seeds, coco coir, soil, misting bottles, and growing trays.
You are likely to spend around $100 to $200 on equipment and supplies, but then the only expense will be growing medium and microgreen seeds.
Before growing cauliflower microgreens
Now you are going to grow your own microgreens. We recommend you grow different types of microgreens to create a healthy colorful salad mix. For example, you can grow radish microgreens, carrot microgreens, cabbage microgreens, and other nutrient-dense microgreens at your home.
Do I need to soak cauliflower seeds?
Sometimes microgreens seeds need a pre-soak in cold water to activate the germination process, but cauliflower seeds are not one of them.
Growing tray and soil
Prepare the growing tray. It can be any decent container, which is not too deep and has drainage holes that are useful for watering and helps to prevent water logging.
The next thing to do is to fill the container with sterilized soil or coco coir. You should leave a little space at the top of 0,03 ft. Then take the tray filled with soil. We are going to water it. This is the only time we will water the microgreens tray until after the cauliflower microgreens germinate and start growing.
You can water the tray by using a fine spray from a hose or by placing your tray in a bigger tray or container with water.
When the soil is drenched with water, you can move on to the following step.

Planting
Take the microgreens seeds from your seed packet and using your hand spread the seeds evenly across the soil. You need to space the seeds densely so that they will form a layer on the surface of the soil but there mustn’t be any clumps.
Note: usually a seed packet has the correct number of seeds you should put in a tray.
Gently press them into the soil and give them a healthy mist of water.
You don’t need to cover the surface with a thin layer of soil. For this purpose, we are going to use another tray without any holes. The bottom of this tray must be set on top of the seeds and there must be no access to light in the soil.
We recommend placing a weight on top of the cover tray, which will help cauliflower microgreens grow stronger and more evenly.

Growing microgreens
Now we start to grow cauliflower microgreens.
After planting the seeds you need to give them some time to germinate. Usually, it takes about 2 or 3 days. The time can be different according to climatic conditions. After the plants have spouted you still need to give them some time to grow under the cover tray.
On the fifth day, your microgreens will be about an inch tall and very pale. Now you need to move it to a light source. Place them in indirect sunlight or maybe artificial light. Avoid direct sunlight. It will negatively change the flavor of the microgreens.
The light must be hung 2-3 feet directly above the soil and microgreens and turned on for at least 12 hours every day. They are to remain under the artificial light until harvest.

Watering microgreens
Growing cauliflower microgreens is an easy process. However, you need to water them at least once before they harvest. This is not complicated but it still requires a little patience to perform. We will perform bottom watering. This method doesn’t allow bacteria to grow and keeps plants and soil surfaces dry.
Take a holeless tray and fill it with a couple of inches of water. Place the cove tray underneath the growing tray. The soil is going to absorb the water. After that leave the container for 15 minutes and then remove the tray.
The climate conditions may influence the frequency with which microgreens should be watered. Usually, you need to do this every 2 days, but sometimes there is a necessity to do it more often. So keep your eyes on the tray.
Harvest microgreens
After several days you should see bright green leaves with white stems and pink highlights. The plants will be 2-4 inches tall. That’s time to harvest the microgreens.
Use a sharp knife to cut the lower stems in bunches. The best time to harvest cauliflower microgreens is before the emergence of the third leaf.
After harvest time dispose of the waste soil in a compost bin. However, the old roots can be removed and used for another crop.
Storing
If you want to reduce the risk of your microgreens going bad early you need to properly store them. After they have been harvested they tend to change in flavor very quickly. In general, they can be stored only for a week. But they will save their fresh taste only for several days.
Dry them off and wrap them in a paper towel. Use a sealed bag or labeled Ziploc bag and put microgreens in the fridge. You will need to change the paper towel as the microgreens release moisture.
If you see that they turn yellow, it means they are starting to spoil so throw them away.

Growing tips
When you grow cauliflower microgreens you may face such problems as funges. Spraying a lot of water can lead to the growth of mold.
The solution is fairly easy. To solve this issue you will need a water spray bottle with a mixture of water, white vinegar, and hydrogen peroxide. Spray this over the plants. It will stop the mold growth on them.
How to wash microgreens?
Before adding microgreens to your meal you need to wash them. Place them in cool, not cold water, and carefully swirl them around to remove all the dirt. Then place them on a paper towel and leave them to air dry before using.

FAQ
Can you eat cauliflower microgreens?
Of course, you can. They have a nice flavor and contain a lot of nutrients, which makes them ideal for adding to your salad. But don’t forget that they will keep their fresh days only several days after harvest, so it is better to eat them straight away.
What is the healthiest microgreen to grow?
Pea shoots and broccoli sprouts are considered to be the healthiest microgreens to plant. They contain a lot of beta-carotene, which helps our body with vitamin A, vitamin C, and folate. The sprouts contain a lot of glucoraphanin and sulforaphane which reduce the risk of cancer. And both these microgreens are high in minerals and vitamins.
However, all microgreens have their own health benefits. So we recommend planting several types.
What seeds should not be used in microgreens?
Inedible leafy greens are not recommended to be planted. Gardeners mustn’t plant tomatoes, potatoes, eggplant, or okra. Their leaves contain toxic compounds, which are generally inedible and dangerous for human consumption.

Conclusion
As you may see, cauliflower microgreens are easy to grow. The whole process doesn’t take more than 10 days.
If you’ve decided to grow cauliflower microgreens you need to purchase all the necessary equipment and supplies. For beginners, there are special starter kits that you can find in the market. They contain all the stuff you require for growing microgreens, including soil, microgreens seed, and trays.
In the market, you may find such types of cauliflower microgreens as Igloo microgreens, Violetta Italia Cauliflower microgreens, and All Year Round cauliflower.
To plant microgreens space the seeds densely in the soil. Press the seeds gently so that they will make contact with the soil. After you’ve planted them move on to growing microgreens. But before they need some time to germinate.
Nevertheless, microgreens are easy to grow you may face some difficulties watering them. The best way to water them is by performing bottom watering.
You should grow cauliflower microgreens until you see vivid green leaves. Then it is time to harvest. Use a sharp knife or kitchen shears to do this.
Growing microgreens are easy and it is a very good decision, cause they contain a lot of nutrients that help to reduce risk of cancer and heart disease.
Read also: How to grow radish microgreens: a step-by-step guide


