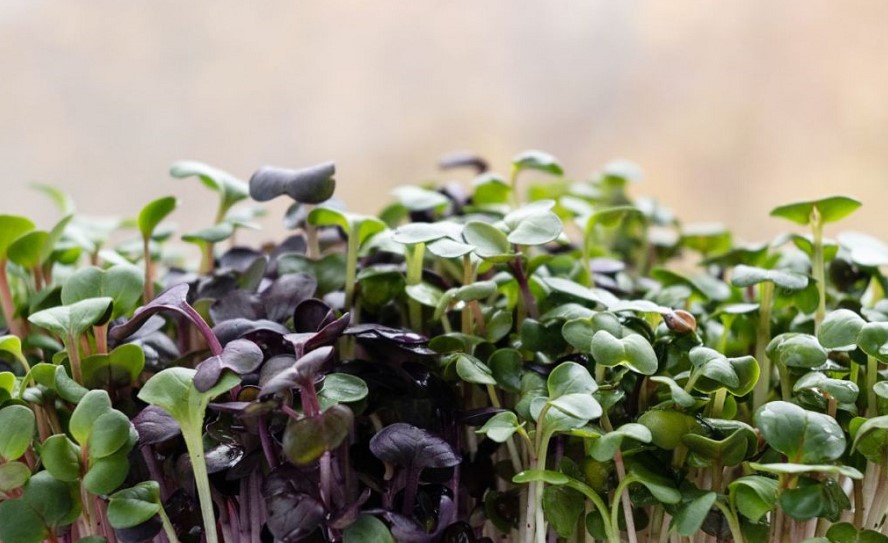
If you want to always have fresh vegetables, without adding harmful substances, you can grow them yourself in the kitchen. Quite often indoors, you can find radish microgreens. Read more about how to grow radish microgreens in this article.
Contents
- 1 How to grow radish microgreens: is it complicated?
- 2 Differences between soil and hydroponics
- 3 What materials are required for growing radish microgreens in hydroponics?
- 4 How to grow radish microgreens: step-by-step instructions
- 5 Harvest radish microgreens
- 6 Storage of radish microgreens
- 7 Radish microgreen flavor
- 8 Benefits of radish microgreens
- 9 FAQ
- 10 Results
How to grow radish microgreens: is it complicated?
Before proceeding with the study of the question of how to grow radish microgreens, it is important to note that there is nothing complicated in the process. You can use regular potting soil, hydroponics, or a special microgreens mix.
Differences between soil and hydroponics
As you know, indoors, people prefer to grow herbs and vegetables in soil or water-based hydroponics. If you decide to use hydroponics instead of regular soil, it is better to use a nutrient medium in the form of mineral wool or coconut coir.
Microgreens are harvested before fertilization.
Therefore, there is no need to use the soil. At the same time, you can be sure that there is no mess in the house. In the manufacture of mineral wool, basalt is used, which is first heated.
After it cools, it turns into compact fiber balls. They help retain moisture. If you prefer more classic growing radish microgreens indoors, you can fill trays or pots with regular soil. In this case, the use of different mixtures that are appropriate for you is allowed.

What materials are required for growing radish microgreens in hydroponics?
If you decide to grow radish microgreens in hydroponics, then first you need to prepare the materials.
How to grow radish microgreens: required items
The list of required items for growing radish microgreens includes:
- radish seeds. Pink-red arrow radish seeds or “China rose” radish seeds are often found. “China rose” radish is a very popular variety of microgreen seeds;
- tray or container. The container is filled with a growing medium in which the radish seeds are placed;
- growing medium. It can be mineral wool or coconut coir. You can also prepare special rugs;
- a container with a sprayer, where water is poured. This is necessary for spraying radish seeds at the beginning of work;
- light source. It must be provided as soon as the leaves form;
- heating mat.
How to grow radish microgreens: step-by-step instructions
Even if you refuse to use the soil, there are no difficulties in the growing process. More details about all stages that help you grow microgreens will be discussed below.
Soil
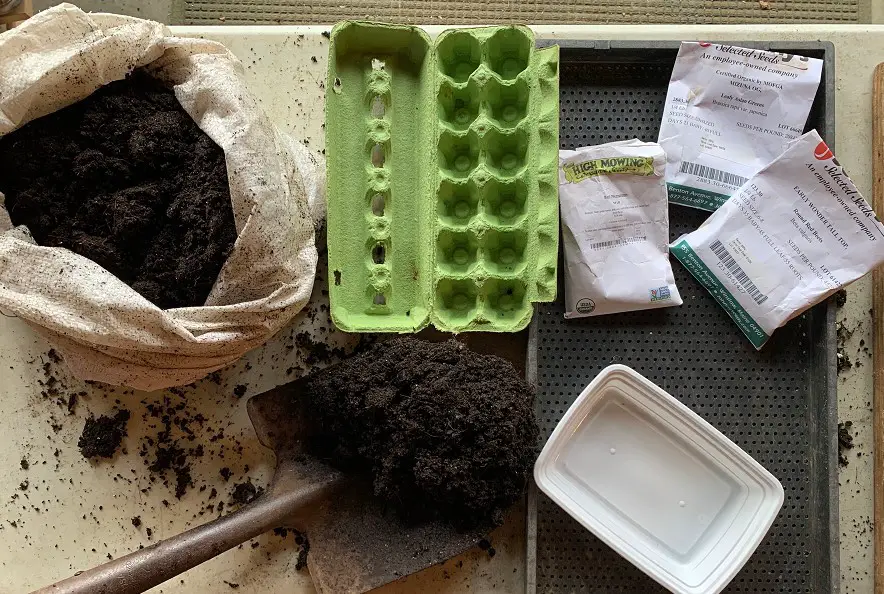
You can use regular garden soil. However, it is best to opt for special mixtures that have been specially developed for growing radish microgreens.
Mixture preparation
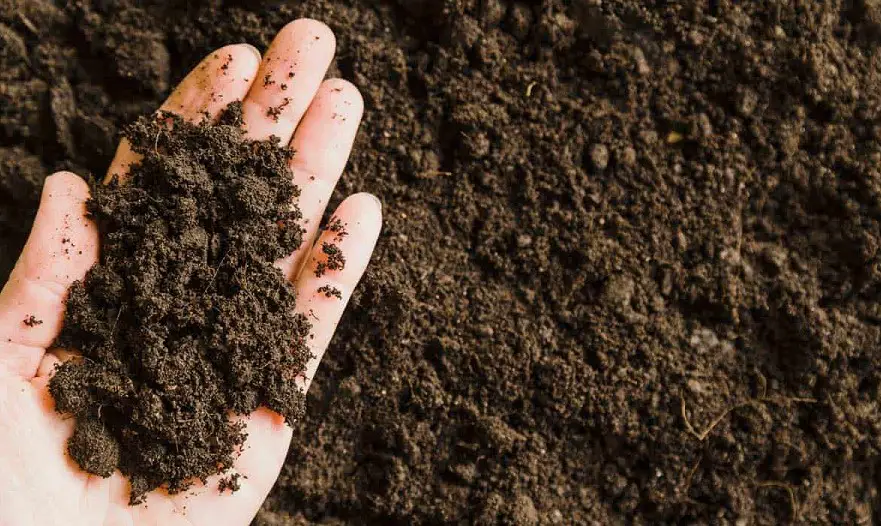
Before you start using the mixture to grow microgreens, regardless of its origin, it must be prepared. It needs to be sifted.
This cleans it of various particles and debris.
Microgreens are delicate. That is why it is necessary to create a favorable atmosphere for growing microgreens. You can pass the soil through a sieve so that fine particles remain in it. A fine kitchen sieve may be used.
Thanks to this, the soil is loose, and the roots do not be blocked during growth. Therefore, radish microgreens germinate better. If you don’t want to stain your kitchen sieve, use special soil sieves.
Purchasing a special tray
Once the soil is prepared, you can start laying it in the tray. It can be any size, depending on your preference. Choose containers with holes at the bottom. Microgreens do not like when the soil is too waterlogged. Excess moisture escapes through the holes.
Almost all trays that are on sale have holes. If you use a DIY tray, you have to manually make holes. The tray must be filled with sifted soil. After it, shake it a little to compact it. The distance from the top to the soil should be 1 cm so that it does not spill out.

Soil watering
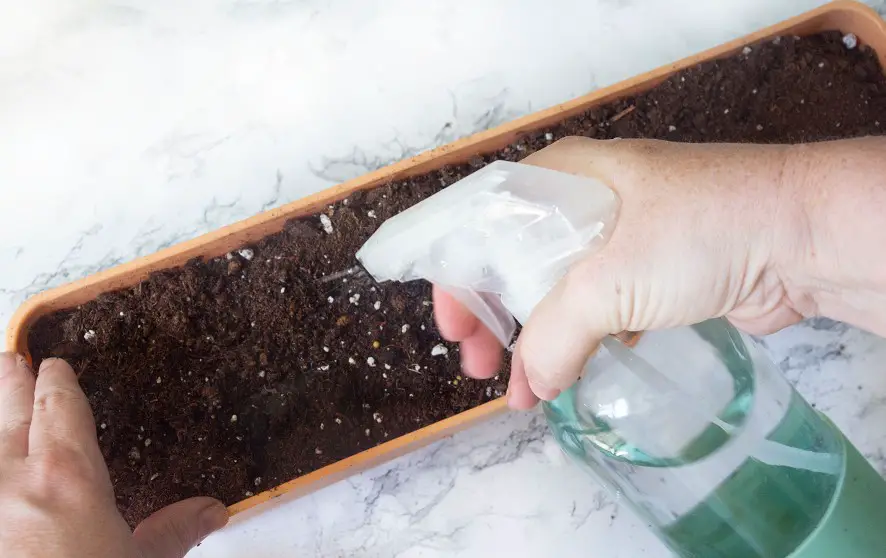
After you need to fill the tray with water. This is a one-time procedure that allows the radish to germinate. Watering should be plentiful. Irrigation can be done in several ways.
The use of a fine sprayer
The first option involves the use of a fine sprayer, which cultivates the soil before planting. This helps prevent soil disturbance. You need to work with a garden spray, which has a setting mode for fine spray formation.
On the market, there are special sprayers that are equipped with a dial.
Using the bigger container
The second method of watering is that the microgreens do not be disturbed after germination. In such cases, it is better to stop using sprays. Otherwise, mold is likely to form.
Due to the increased humidity, fungal spores begin to grow, which causes mold.
This should not be allowed because all microgreens deteriorate. For safety reasons and to prevent problems, it is better to take a larger container that fits a tray of greens.
It needs to be filled with water, and a tray with microgreens should be placed in it.
This allows water to gently flow into the tray, while the greens themselves not be affected by mold. The holes on the bottom ensure proper watering, simulating a smart system that prevents waterlogging.
Planting radish microgreens
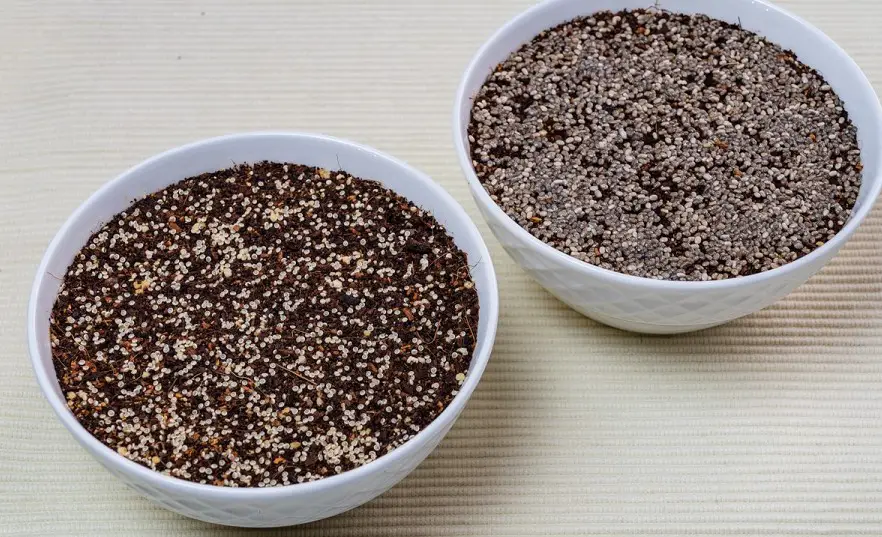
Try to use radish microgreen seeds for planting that have not been previously processed. This prevents chemical contamination. Therefore, it is better to immediately look for seeds that are intended for growing microgreens. Planting the seeds is pretty easy.
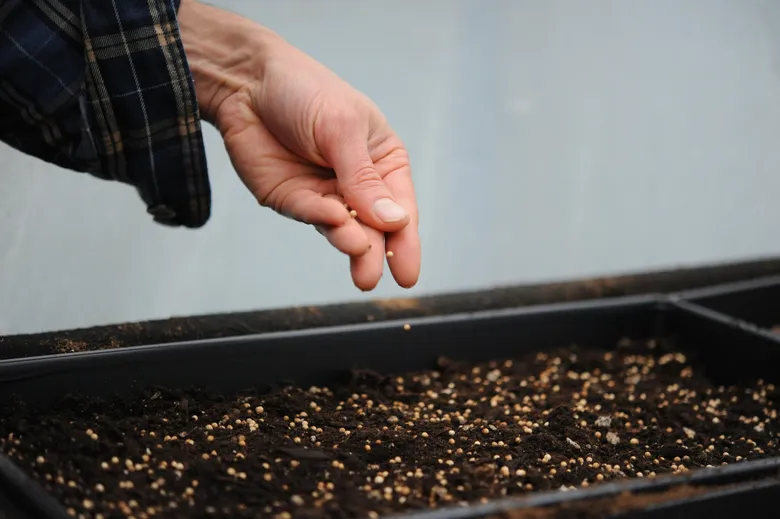
With the help of the watering tray, you can easily scatter the radish microgreen seeds over the ground. This allows the radish microgreens germinate densely without empty patches.
Pushing radish microgreen seeds into the ground
This stage is considered one of the most important. The radish microgreens seeds should not be completely covered, they are only recommended to be pressed a little. Using the palm of your hand, gently press down on the soil to compress the seeds. You cannot bury them because this increases the germination period.
To simplify the work, you can sprinkle the soil a little with water. This allows it to adhere to the seeds, which absorb moisture from the soil. Watering the container is not required again. Once you’ve pressed in the seeds, the planting process is complete.
Seed shelter
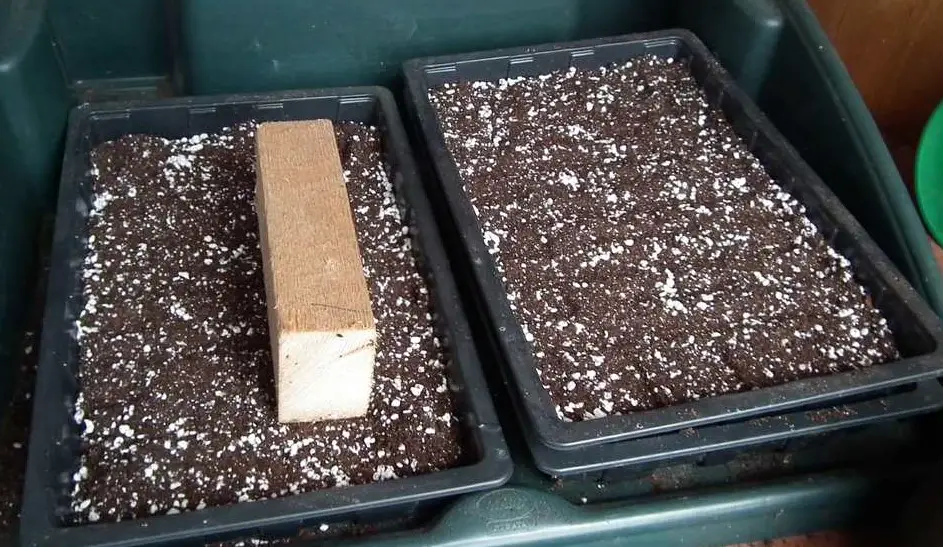
Once the planting process is complete, place the container with radish seed in a dark place with good air circulation. You can also cover the container with radish seed with cardboard. Applying a little pressure to the radish microgreens seeds helps them germinate better. If the plants are healthy and vigorous, they raise the cardboard.
Tray movement
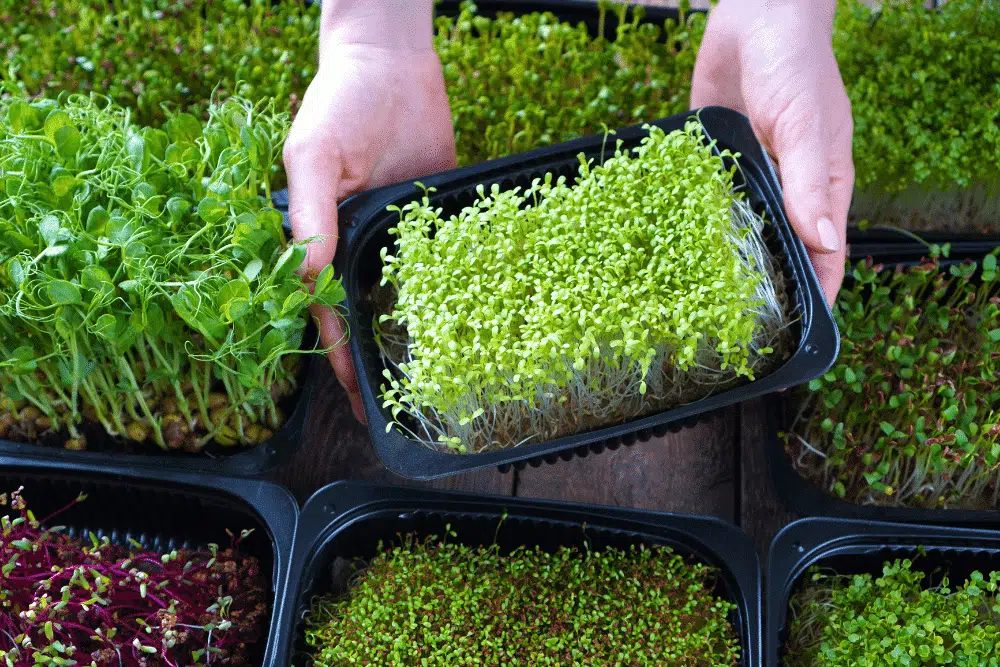
As soon as the seeds germinate, you should rearrange the tray in a well-lit place. On average, germination takes only 3–4 days. As soon as the germination rates are from 85%, the tray should be placed to the light source.
Remember that microgreens do not tolerate direct sun. Direct rays damage delicate leaf plates. In this case, sunlight changes the radish microgreens’ taste. Cultivation is carried out using an artificial light source. You can install fluorescent lights.
It is recommended to put them at a height of 5,9-11,8 inches from the microgreens. This promotes proper plant growth. They grow as they move toward the light. At the same time, growth rates will be much better. Leave the container under the lamp before you can start harvesting.
The installation must not block the free flow of air. You can also make a canopy, leaving the sides open.
Watering microgreens
If you’re bringing your microgreens out into the light, it’s important to make sure they’re properly watered. If watering is carried out at the wrong time, there is a high probability that the plants fall. Even if this happens, you should water the radish so that everything is restored.
To avoid the formation of greenery, it is recommended to water using the bottom pan method. This water the plants quite effectively. You need to water the radish every 2–3 days. The exact timing depends on the climate. If you live in a hot region, then you will have to water the plants every day.
Harvest radish microgreens
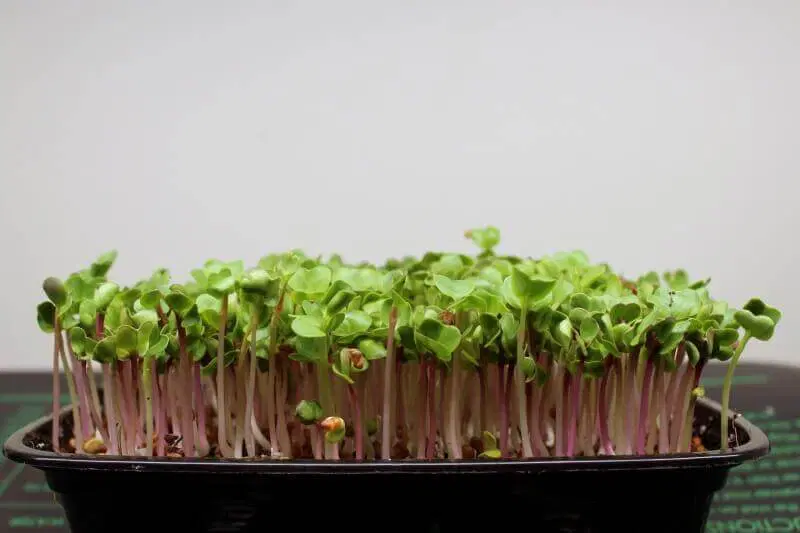
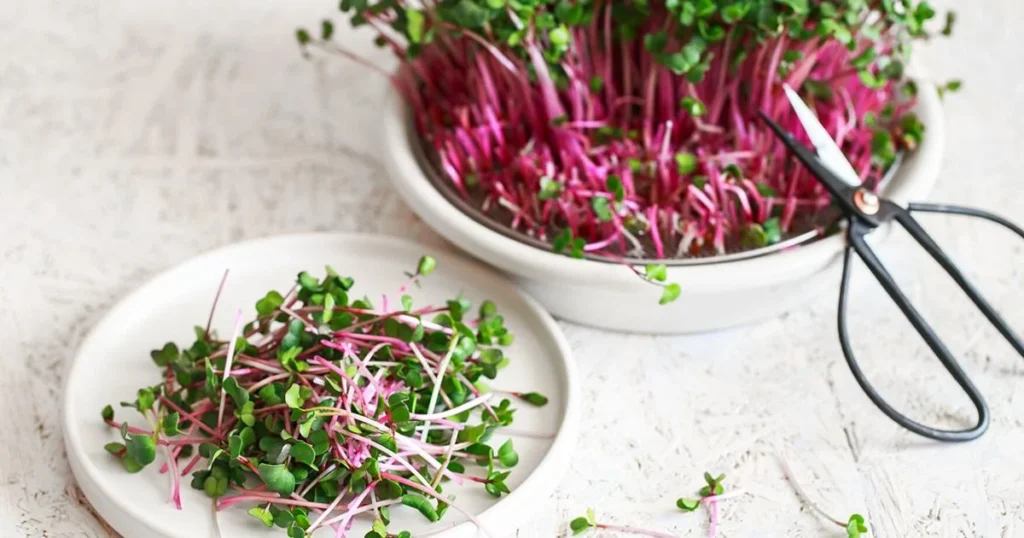
Once the seeds germinate, wait 4 days, after that, it is ready to harvest. Harvesting is subjective, and you should be guided by your preferences. Try to cut the microgreens before the third leaf appears. Thanks to this, you can be sure that the radish has a pleasant and delicate taste.
Harvesting is done with sharp kitchen scissors. You need to cut the stems a little higher than the ground level. Once the crop is harvested, the microgreens do not grow back. Let the soil dry out before planting a new crop.
Storage of radish microgreens
It is very important to learn how to store radish microgreens properly. If you cut in small portions, then you must be washing radish microgreens and use the greens immediately. Then you do not have to store them. If you grow radish microgreens in large volumes, then you need to store them properly. The best taste indicators are observed only if the leaves are only cut.
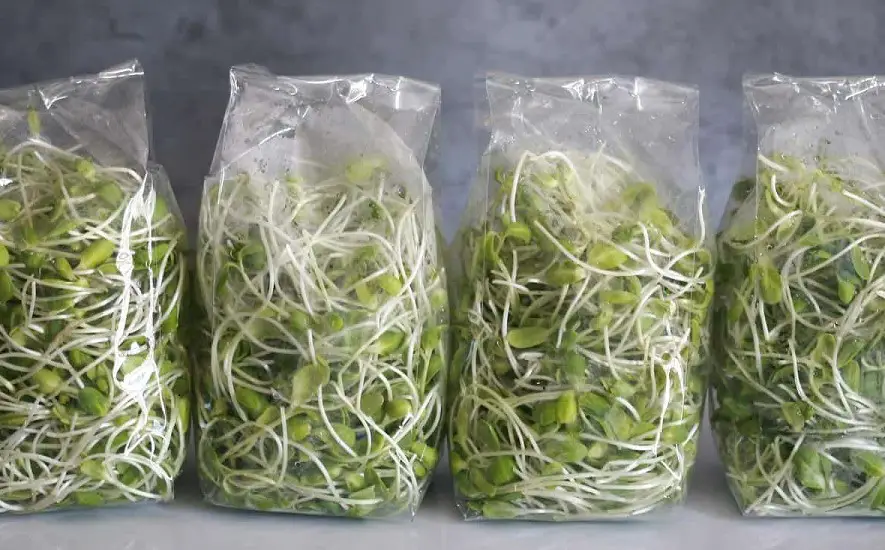
Over time, the taste begins to deteriorate. Try to use cut leaves 3 days before harvest. To do this, the leaves must be placed in bags that have a zipper.
If the air in the region is not entirely clear, you may have to rinse the leaves first. However, it all depends on your wishes.
Radish microgreen flavor
Greens have a slightly peppery and spicy taste. You can add it to salads or sandwiches. Radish microgreens look great in soups and main dishes. You can sprinkle roast.
Benefits of radish microgreens
As you know, microgreens are rich in nutrients. Therefore, it is very useful for the human body. Radish microgreens contain a large amount of vitamins A, C, K, and E. There is a vitamin B complex, calcium, and folic acid.
Regular consumption
Therefore, regular consumption of microgreens improves vision, the immune system, and bone tissue. It also helps fight free radicals and block the aging process.
Thanks to the content of folic acid, radish microgreens are beneficial for pregnant women.
Radish microgreens are an excellent immune booster. The main thing is to use it on an ongoing basis. The product helps to start digestion, so there are no problems with the stomach and intestines.
FAQ
When it comes to growing radish microgreens, many questions can be asked.
How long do radish microgreens take to grow?
It should be noted right away that growing radish microgreens is quite simple. Virtually no preparation is required. It is possible to harvest in a week and a half.
Do radish microgreens regrow after cutting?
As mentioned, once cut, radish microgreens will not grow back. As you know, all the energy of plants is aimed at producing the first few pairs of leaf blades. If you cut the leaves, then the energy will not be restored, so they branch again.
Can you grow radishes as microgreens?
You can use different varieties of radishes that are considered edible. It is allowed to grow even daikon radish seeds. Daikon radish microgreens are also very useful. You can use daikon radish microgreens as usual greenery.
The name of some varieties is considered “sprouting”. After all, radish sprouts are characterized by rapid growth. At the same time, they do not need processing and are distinguished by excellent taste indicators.
Results
As you can see, growing radish microgreens are easy to work. The process is quite easy and fast, no matter what technology you plan to use. Compliance with all the rules described in this article will help you quickly get the desired result, and after 10 days enjoy delicious and fragrant herbs.

