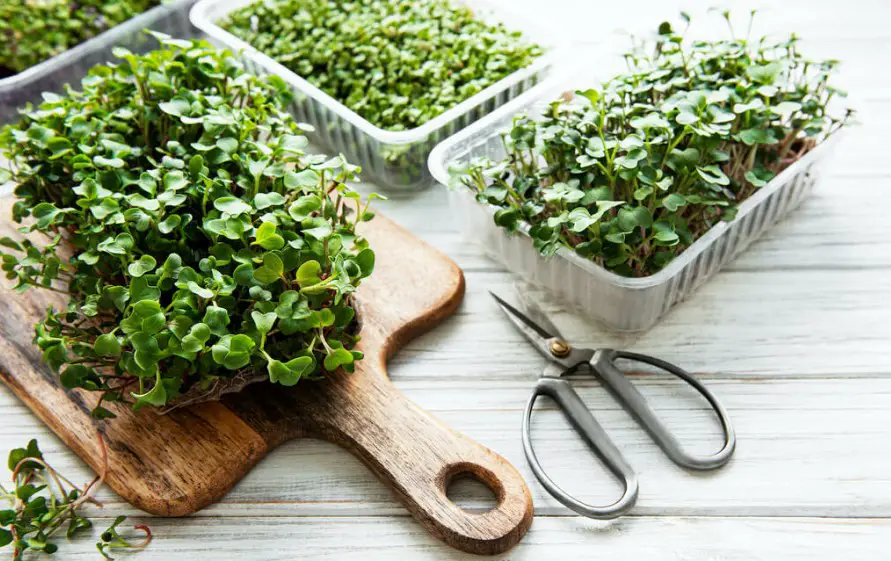
Microgreens are rich in nutrients, including vitamins and minerals, and are often used in healthy diets.
Many types of microgreens are relatively easy to grow, regardless of your experience level as a gardener. Some of the easiest microgreens to grow include radish microgreens, turnip microgreens, arugula microgreens, broccoli microgreens, and sunflower microgreens.
Contents
Effortless microgreens: the best choices for beginner gardeners
Microgreens are young, edible greens that are typically harvested when they are just a few inches tall. They are grown from various seeds, including those vegetables, herbs, and grains.
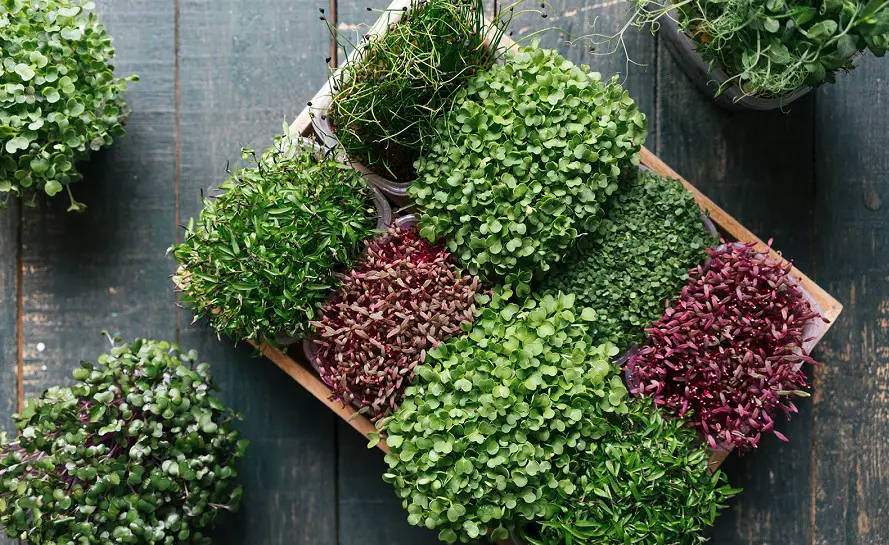
Types of microgreen
There are a few variousnesses of microgreens that can be grown from seeds, including arugula, basil, cabbage, cilantro, kale, mustard, sunflower, and wheatgrass.
They can have intense flavors that range from spicy and pungent to slightly sweet and nutty flavors, and they can be used in a mixture of cuisines.
Is it possible to grow microgreens at home?
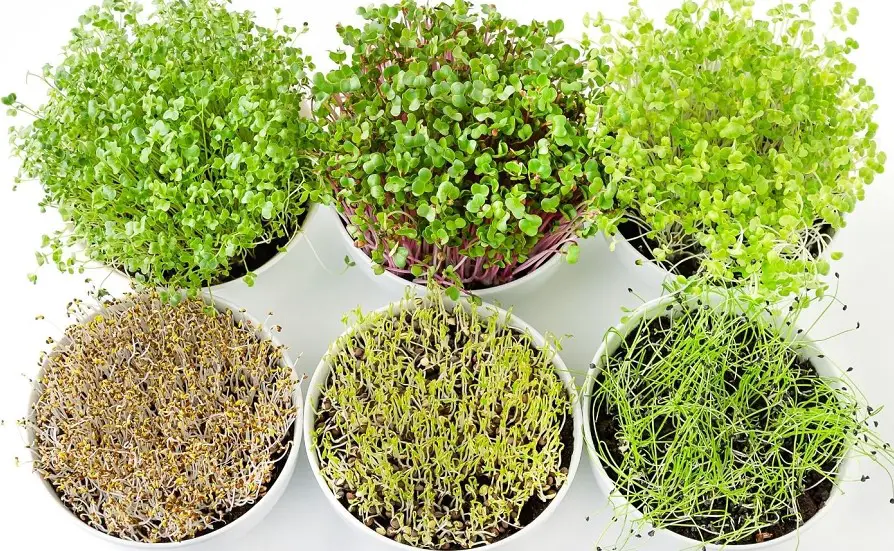
Yes, it is possible to have a microgreens farm at home.
Microgreens can be grown indoors or outdoors, and they can be grown in an assortment of containers counting trays, pots, or even recycled containers such as cardboard boxes or plastic bins.
They are relatively easy to grow and can be a fun and rewarding hobby for home gardeners.
Beginner steps to growing microgreens
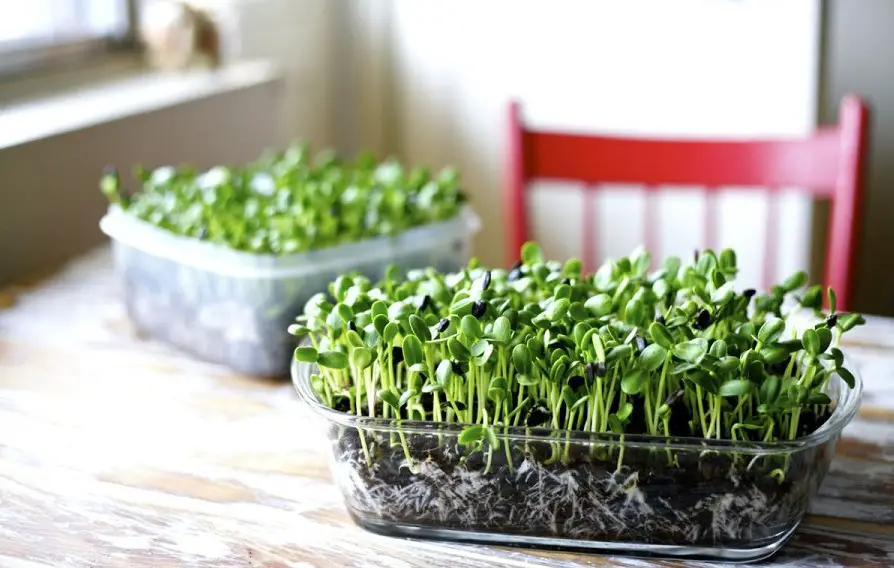
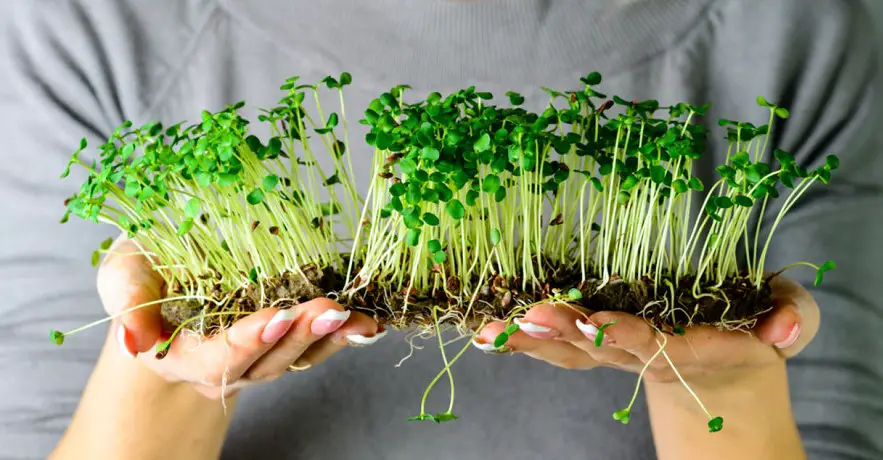
Microgreens are typically grown in containers or trays, and they are typically grown from seeds that are sown directly into the soil or a growing medium.
To grow microgreens, you will need a container or tray, seed-starting soil, and your chosen seeds. Microgreens seeds include sunflower seeds, radish seeds, pea seeds, and other microgreens you would like to grow.
Step one
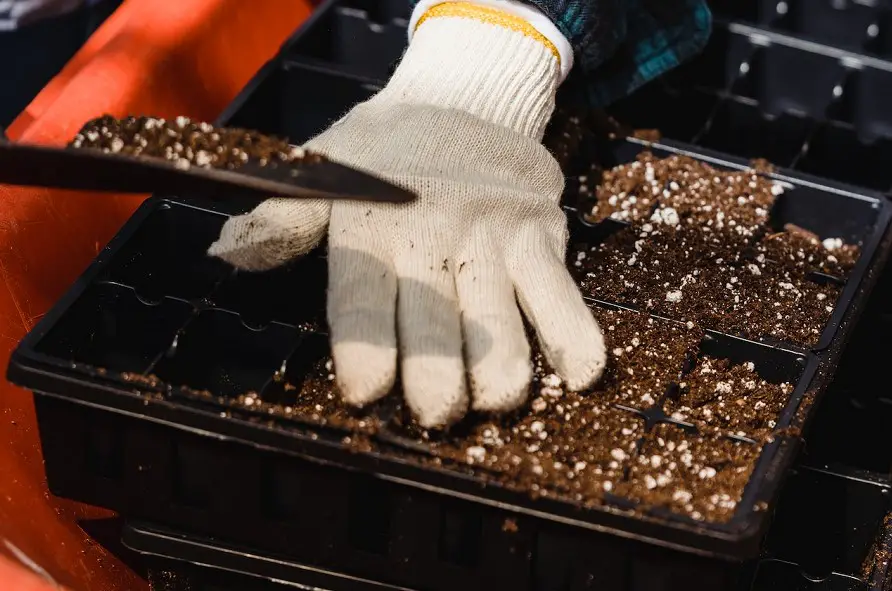
Fill the container with soil, sprinkle the chosen seeds on top, and water them lightly.
Step two
Place the container in a sunny or partially shaded location based on what your microgreens require.
Step three
And water it regularly to keep the soil moist.
Note
Microgreens typically take about 7 to 14 days to germinate and can be harvested when they reach about two to three inches in height.
Most microgreens are typically harvested when they are just a few inches tall, and they can be harvested by cutting them off at the base of the stem.
When harvesting microgreens, be sure to handle them gently to avoid bruising or damaging the tender leaves.
How to choose your microgreen?
To choose the right microgreens to grow, consider the flavors that you enjoy, the nutritional value of different types of them, the ease of growing them, the space and equipment you have available, and the demand for different types of microgreens in your area.
Suppose your preferences and resources when deciding which one to grow.
Here is a quick overview of some easy-to-harvest greens to choose what might become your favorite microgreens.
Pea shoots
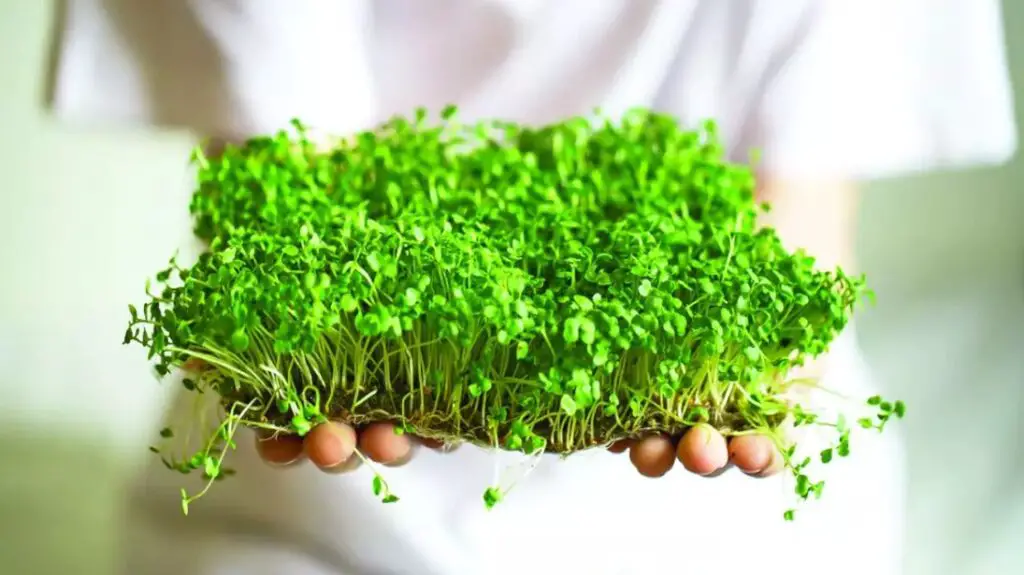
Pea shoots can be considered the healthiest type of microgreen, which we sometimes incorporate into our seasonal microgreen club.
Pea microgreens contain folic acid and vitamin C.
Pea microgreens can be eaten raw or cooked, and pea shoots can be used in a mixture of dishes to add mild flavor.
Radish microgreens
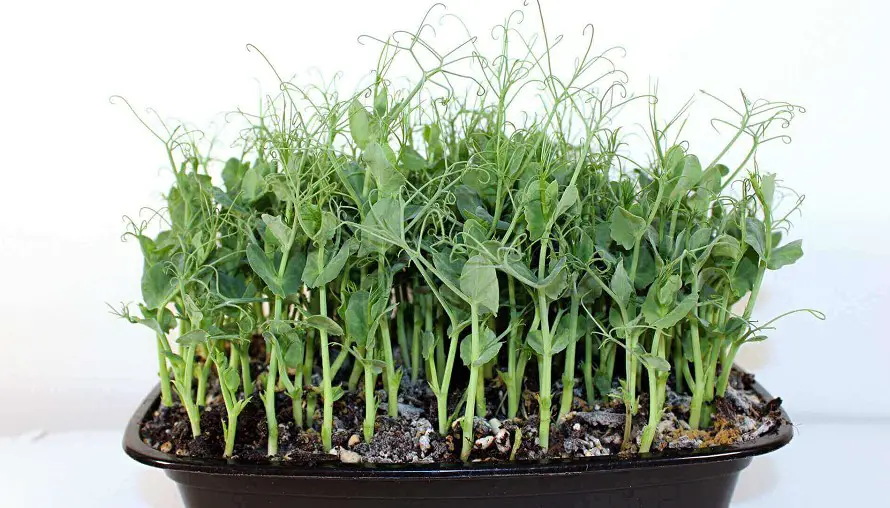
Radish microgreen is the easiest microgreens to grow – it has an amazing yield and fast-growing option for home gardening. Plus, they are incredibly spicy with an intensely spicy taste, which chefs will like.
Radish microgreens also contain incredibly good nutritional value and can be grown in a sunny or partially shaded location.
They should be harvested before their first bright green leaves develop, and they add flavor and crunch to a variety of dishes, including sandwiches and salads.
There are also red varieties of radish microgreens available.
Broccoli microgreens
These microgreens are generally considered to be easy to grow microgreens and are a popular choice for home gardeners.
They have a mild, broccoli-like flavor and are a good source of nutrients including vitamins C and K, as well as fiber.
They typically take about 7-14 days to germinate, and you can harvest broccoli microgreens when they reach about 2-3 inches in height.
Arugula microgreens
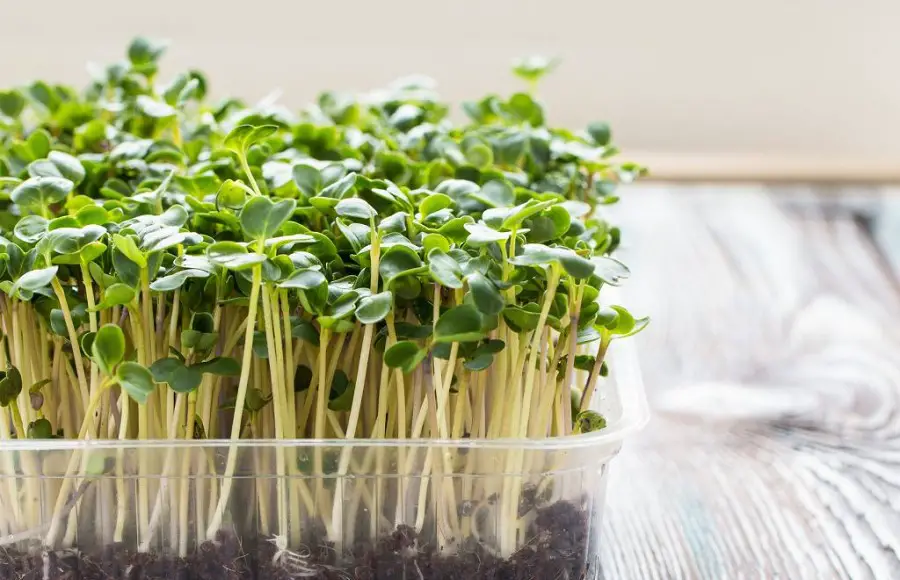
Arugula microgreens are another easiest microgreens to grow on your own. They have a spicy, mustard-like flavor and can be grown in a sunny location.
Arugula has mucilaginous seeds that form a gel-like coating when they are exposed to water, which helps keep them moist and encourages germination.
You may not need to mist these seeds as frequently as other microgreens, but it is still recommended to check on them twice a day during the initial stages of growth. Keep the seeds moist and covered until they have fully germinated.
They are typically ready to harvest after about 10 days or when they reach about 3 inches in height. Use clean, sharp scissors to cut the microgreens and enjoy them fresh.
Microgreens are a rich source of nutrients such as vitamin B6, amino acids, iron, and calcium. They have a distinctive, spicy flavor that is similar to that of mature arugula greens.
Cabbage microgreens
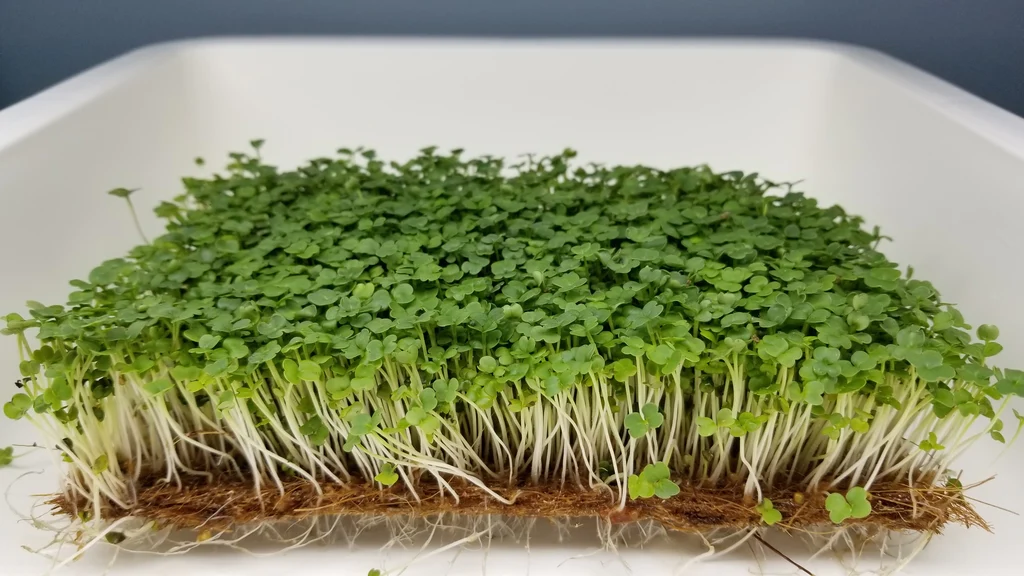
Cabbage microgreens are crisp and crunchy, with a mild cabbage flavor. They are easy to grow in a sunny or partially shaded location. It takes them about 10-14 days to mature.
They are similar to Vienna Kohlrabi microgreens in terms of ease of cultivation.
Mustard microgreens
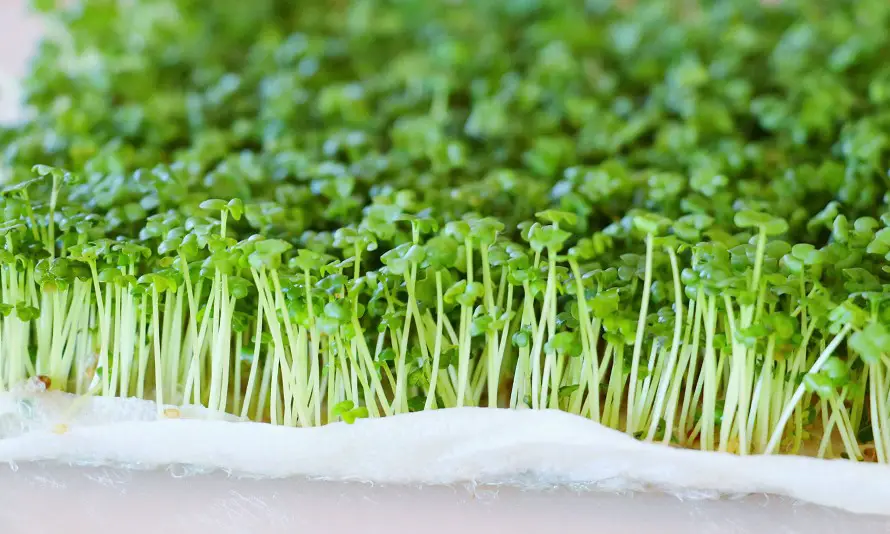
They are spicy and flavorful and easy to grow in a sunny location.
The microgreens are quick to germinate and grow, and they have a mild, spicy flavor with hints of horseradish.
They are tender and succulent, and they can add flavor to salads and other dishes. Mustard microgreens can also be blended into smoothies or juiced for a nutrient-rich drink.
FAQ
Which microgreen is most profitable?
It can be difficult to determine which microgreen is the most profitable, as profitability depends on a variety of factors including demand, price, and production costs.
Additionally, the profitability of particular microgreen seeds may vary depending on your location and the local market conditions.
Many microgreens that are widely popular and in high demand, such as arugula or kale, may also be more profitable due to the larger market for them. So, to start a microgreens business it is crucial to research the easiest microgreens to grow.
To determine which microgreens may be the most profitable for you, it may be helpful to research the local market and demand for different types of microgreens, as well as the cost of production and potential selling prices.
You may also want to consider factors such as the fastest growing microgreens, for example, radish and different harvesting types of microgreens, as well as your preferences and interests as a grower.
What is the healthiest microgreen to grow?
Generally, pea shoots can be considered the healthiest type of microgreen. While all microgreens can be a healthy addition to your diet, the most beneficial one for you will be the one that provides the nutrients and vitamins your body needs.
Thus, it is difficult to determine which specific microgreen is the “healthiest” to grow, as the nutritional value of different microgreens can vary depending on the specific type of microgreen and the growing conditions.
To maximize the nutritional value of your microgreens, it is important to choose high-quality seeds and grow the microgreens in the best possible conditions.
Conclusion
Growing your microgreens can help you ensure that you are consuming greens that have not been treated with harmful chemicals. Microgreens are a delicious and healthy addition to any home garden.
They are easy to grow, packed with nutrients, and add flavor and color to dishes. These 6 microgreens are among the easiest to grow, making them a great choice for beginner gardeners or those with limited time or space. Whether you are looking for a quick and flavorful garnish or a nutritious boost to your meals, these microgreens are sure to impress.
Additionally, growing your own microgreens can help reduce your carbon footprint and save money on your grocery bill.
So why wait? Start growing your own microgreens today and enjoy the benefits of fresh, homegrown produce all year round!

