In recent years, growing beet microgreens have become quite popular. Thanks to a little effort, summer residents get a nutritious and healthy product. Beet microgreens deserve special attention.

Contents
Information about beet microgreens
It should be noted that beet microgreens belong to the same family as spinach. Sugar beet is the most sought-after, which helps produce sugar. However, garden beets are grown as microgreens.
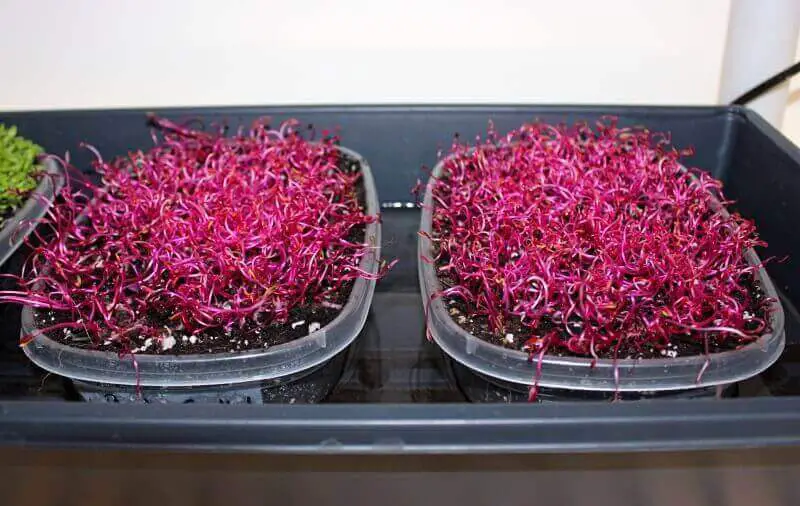
Beetroot is meant as a root crop. It can be consumed after cooking or raw. In almost all dishes, a fleshy root of a scarlet or purple hue is used. And many ignore the leaves.
The leaves can be fried or boiled, and get an excellent vegetable side dish. You can substitute beet leaves for spinach. A common cultivar is Bull’s Blood, which has deep red leaves with green dots. Microgreens are small beet tops.
Benefits of beet microgreens
Beet microgreens are a great option if you want to make your diet nutritious and healthy. Greens contain many vitamins, as well as useful chemicals of organic origin. The content of antioxidants that prevent oncology is noted.
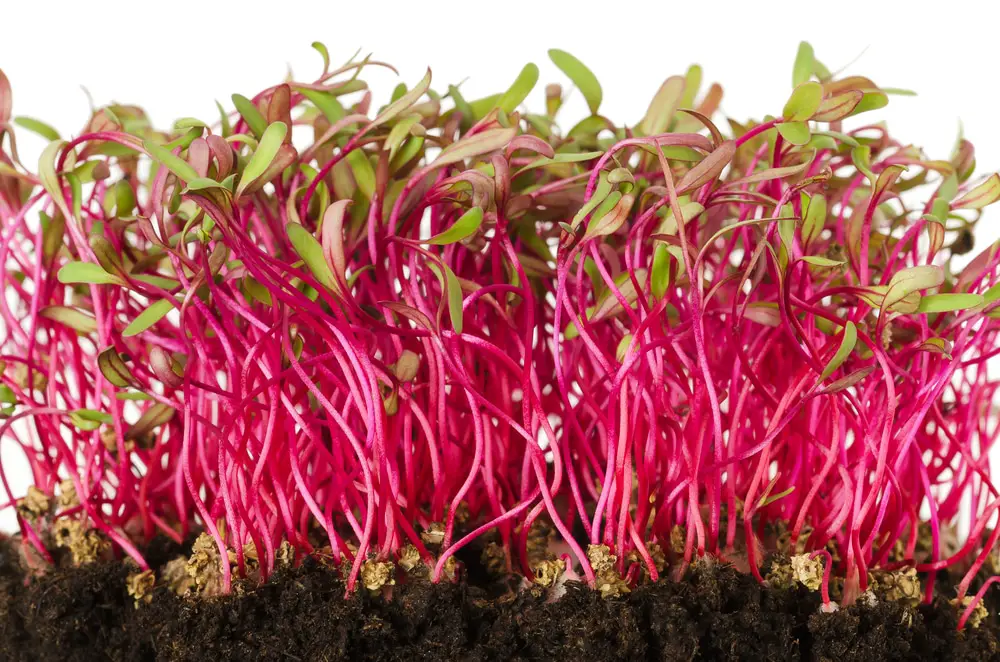
Beet microgreens contain vitamins, minerals, proteins, dietary fiber, and carbohydrates. There are only 22 calories in 100 g of fresh leaves, so this is an excellent product for a diet.
The number of proteins reaches 2.2 grams, and carbohydrates – 4.3 grams. The presence of 0.1 grams of fat is noted. Read more about the benefits of beet microgreens below.
Strengthening bones
Beet microgreens are high in vitamin K. When combined with protein and calcium, it helps strengthen bones. If you eat beet microgreens regularly, you can prevent hip fractures and osteoporosis.
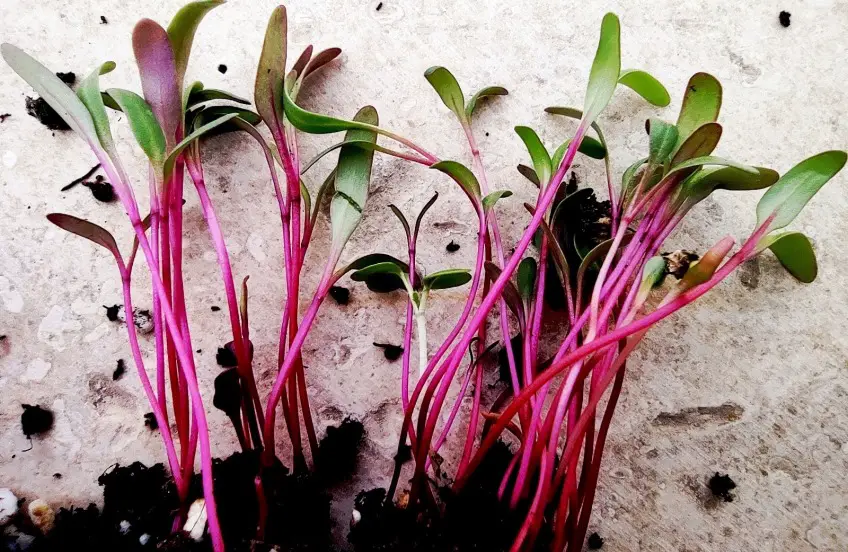
Skin and vision improvement
Even 100 g of fresh beet microgreens helps to saturate the body with the necessary amount of vitamin A. This vitamin is designed to improve the skin, as well as maintain excellent vision.
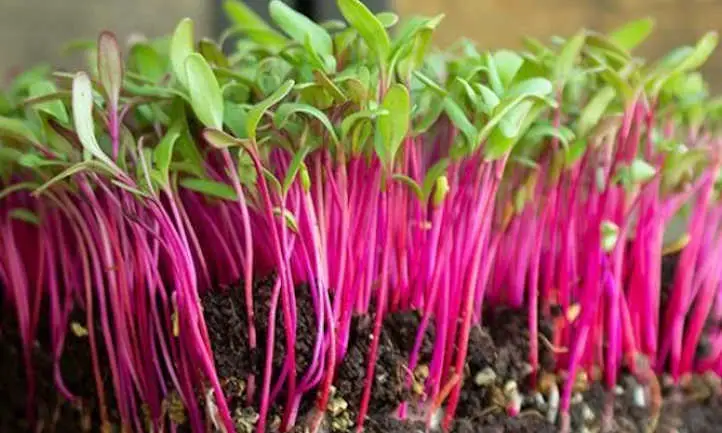
Vitamin A helps turn food into energy so you feel good all day long. At the same time, it strengthens the immune system and helps to properly develop bones.
Strengthening immunity
It should be noted the content of vitamin C. It is aimed at strengthening the immune system and preventing cancer. At the same time, the vitamin promotes the production of collagen, which strengthens the vascular walls, and helps wounds heal.
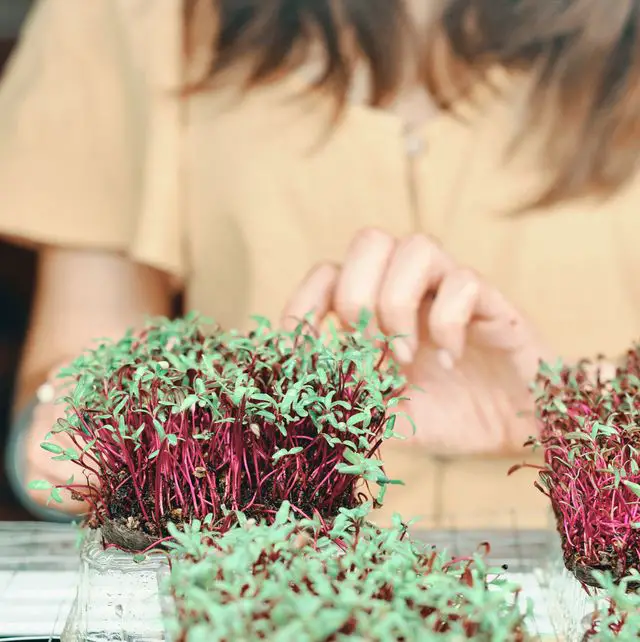
Grow microgreens and improve heart health
Beet microgreens contain potassium. It helps to normalize blood pressure as well as heart rate. It is also the best option for preventing hypertension.
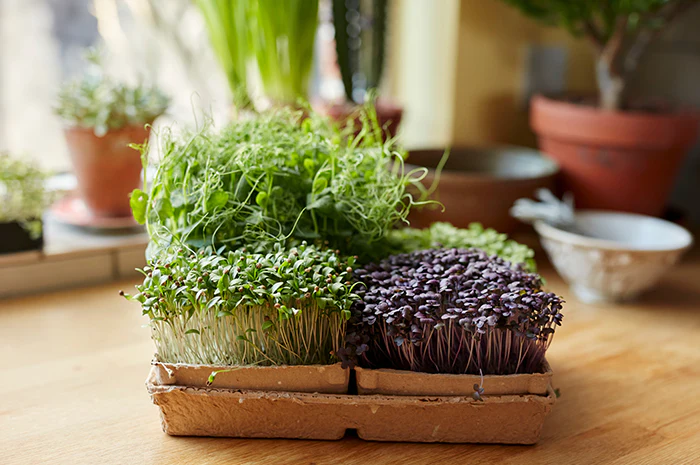
Anemia prevention
It also contains greens. According to research, beets contain more iron, even compared to spinach. Due to iron, oxygen is better transported throughout the body, so this starts the process of producing hemoglobin. This substance makes blood cells healthy.
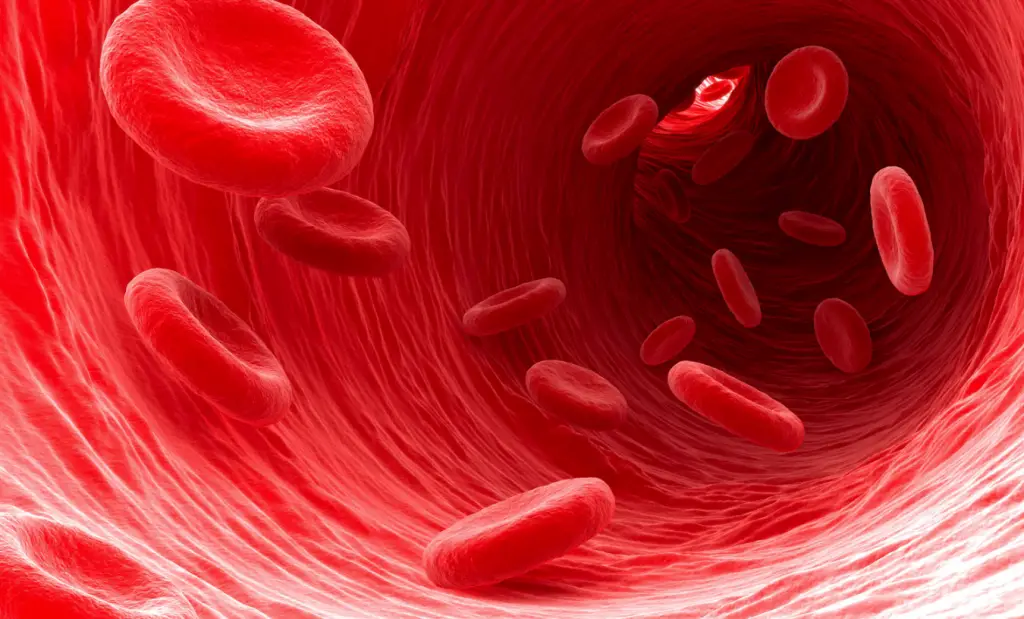
If you have an iron deficiency in your body, you are more likely to develop anemia. Often people who refuse to eat meat are subject to this. Therefore, be sure to include some beet microgreens in your diet.
Grow microgreens and improve digestion
Beet microgreens contain dietary fiber, which may or may not dissolve. If you are eating beet microgreens enough, you can support intestinal bacteria, which normalizes digestion.
Grow microgreens and help prevent cancer
The red color of beets is due to the content of betalains and phytonutrients. These are natural and strong antioxidants that do not allow cells to oxidize. Oxidation occurs due to exposure to toxins and free radicals. They also help fight various inflammations.

Beet microgreens also contain betalains. This is a powerful component that helps to remove toxins.
Improving heart and vascular health
Thanks to their nitrate content, beet microgreens help increase oxygen flow. This is because the veins and arteries expand. The pressure decreases and the blood will circulate better.

Features of growing beet microgreens
The nutritional value of the beet microgreens has been discussed earlier. Growing beet microgreens at home are not difficult, even if you have no experience.
Grow beet microgreens: the first stage
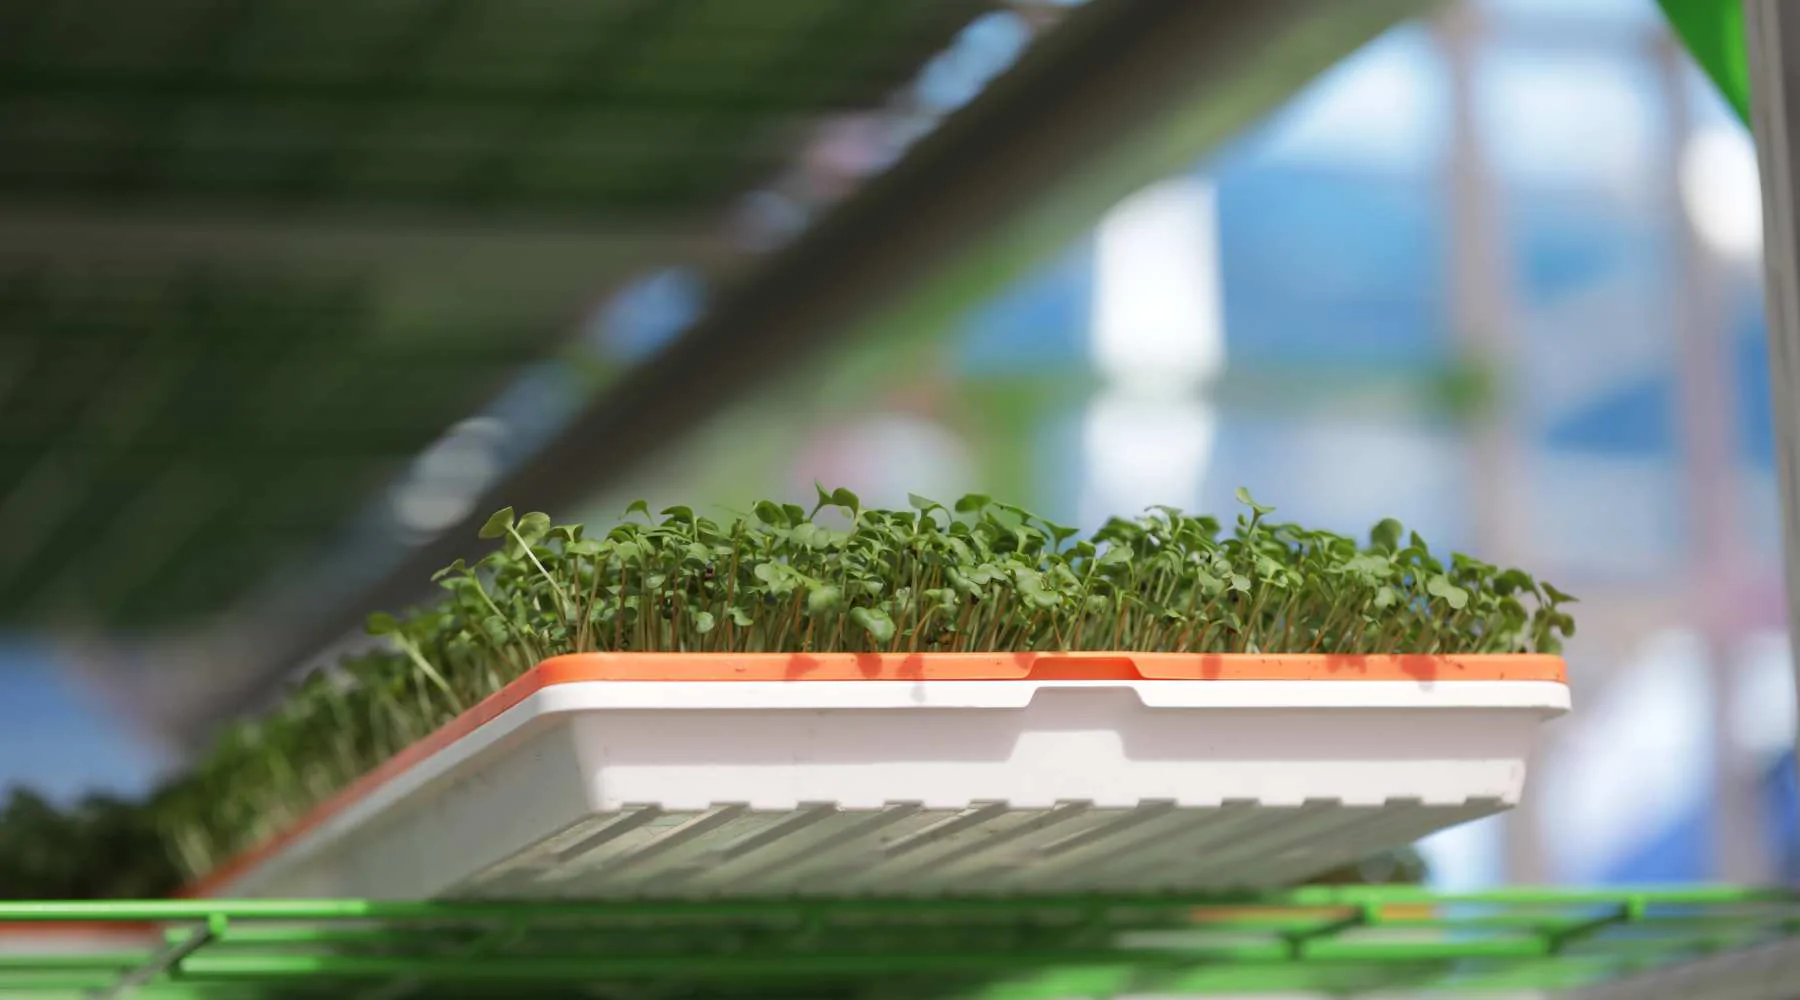
First, you need to prepare the mixture for the pots. Choose premium quality products. After the mixture, you need to fill the tray. Choose containers that have holes in the bottom. This helps absorb moisture if you are bottom watering.
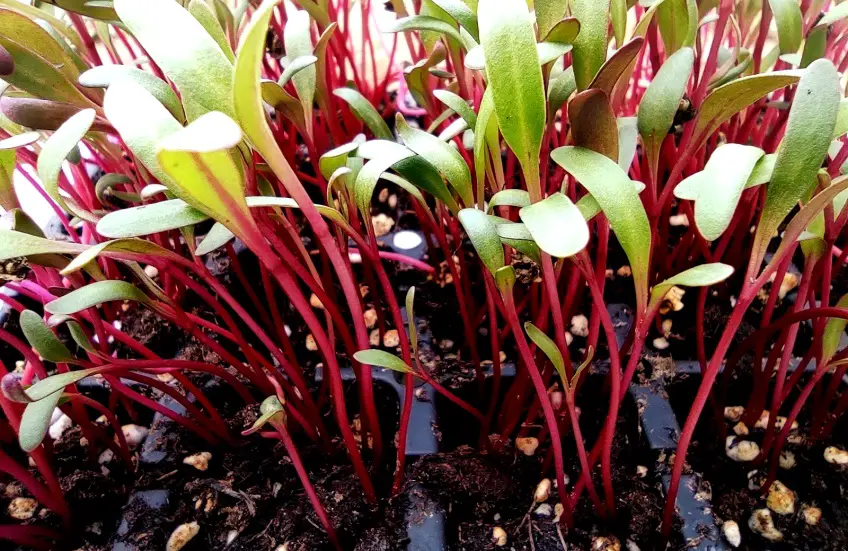
This irrigation option is the most effective when growing beet microgreens because the tops will not be damaged. The soil has to be compacted in the tray and then leveled slightly below the top of the container.
Second phase
Using a spray gun, you have to moisten the surface of the soil. You need to work with water that does not contain chlorine. Therefore, tap water will not be appropriate. As soon as the water is absorbed, the surface should be sprayed again. If irregularities have formed, they should be leveled.
Third stage
Some gardeners prefer to soak the beet seeds. On average, the procedure lasts from 8 hours to a day. However, you must understand that the soaking process does not always help to enhance germination. However, you spend your time at work. Therefore, soaking is optional.
One ounce contains about 1700-1800 beet seeds. In 1 gram there are about 65 beet microgreens seeds. Planting beets is carried out so that 9-10 seeds are consumed per 1 square inch.
If the container for growing microgreens is 37.5 square inches, you need to harvest 5.2 grams of beet microgreen seeds. This guarantees excellent density.
You can place the microgreens seeds in a special shaker. This helps distribute the microgreens seeds evenly over the surface. If you will pre-soak the seed, then you should lay the seeds on the surface by hand. This requires additional time and effort.
Many people are afraid to use shakers because beet seeds are large and irregular in shape. However, this does not prevent them from passing through the hole in the container.
Grow beet microgreens: fourth step
Once you have prepared the surface for growing microgreens, you can start planting. As already mentioned, you should use a shaker to scatter the seeds over the surface. You need to work in a circular motion, moving around the tray. You can support the container with one hand so that the beet microgreen seeds do not spill out of it.
Try to evenly distribute the seed over the surface. It is possible that unscrewing the top of the bottle is required. This removes the remaining seeds that may have accumulated on the walls. As soon as you get them, spread them with your finger over the places where there are voids.
Moving beet seeds is pretty easy. This is due to their large size. If you pre-soaked the seeds, as mentioned, you have to do the work entirely by hand. Don’t worry if you spread the seeds unevenly. As soon as the beet microgreens seeds germinate and the bushes become large, the voids are filled.
Fifth stage growing beet greens
It’s time to start preparing the beet microgreens seed for germination. First, the seed hulls must be plentifully moistened with water, which is best poured into a spray bottle. Make sure that the seeds do not fall out of the tray. Water helps the seed hulls not only germinate but is better fixed in the soil.
Next, you need to put the container with the microgreen seeds in a special tray for watering. These are special containers in which there are no holes at the bottom. This improves water retention. Choose a watering tray that is slightly larger than the microgreen container.
After the container with beet microgreens seeds should be covered with a lid. Try not to press it too hard. Lids can be transparent. If you only have opaque options, you can use a kitchen towel or a piece of cardboard. This is enough to cover the seeds.
If you cover the seeds, they will not be negatively affected by sunlight until they germinate. You can put a load on top. It holds the cover so that the plants will take root in the soil. You can use kettlebells that weigh 5 pounds.
Don’t be afraid that the seeds won’t germinate. The microgreen has enough energy to raise the cover. This happens as the plants grow.
Grow beet microgreens: sixth step
After a few days, you need to pause and not touch the seeds at all. During this time, they will grow. Due to the presence of the coating, there is enough moisture for the optimal growth of the seed.
Seventh step
After a few days, you can inspect the seeds, as well as check the moisture indicators in the container. If the mixture seems dry, it needs to be watered. Again, it’s best to use a spray bottle. When growing beet microgreens, the cover can only be removed 5-6 days after planting.
However, it is better not to rush, and focus on the growth rate. If the plants germinate well and quickly, then you can remove the lid. This allows the seedlings to get enough light for even more vigorous growth. If the growth rate is insignificant, you need to check the soil.
If it is dry, it again needs to be watered using a spray bottle. Next, you have to cover the container with a lid. Leave the seeds for a few more days to germinate, then recheck.
Eighth step growing beet greens
Once you have determined that the blood beet microgreens have begun to sprout and take root, you have to provide them with enough light. Gardeners have not yet been able to determine which lighting options would be appropriate. However, the requirement remains one – enough light.
As you know, light is a source of energy, thanks to which growing microgreens are more vigorous. You can put the containers in a place where there is enough sunlight. The main thing is that it should not be in direct sunlight. Inexpensive LED lighting is allowed, as well as special grow lighting.
Don’t worry, you can use what you have at hand. If you notice that the bushes have begun to flatten or curl when exposed to light, you should not immediately panic. Over time, everything will return to normal, and the plants straighten up and become more intense in hue.
If you determine that the soil is rather dry, you should water it again with a spray bottle. However, this should be the last time. Do not spray the soil, even if it is slightly damp.
Ninth stage
Now you should deal with the provision of bottom watering. In this case, as already mentioned, a pallet will be required. First, you need to remember how much a dry tray weighs. This lets you know when to water.
Pour water into the bottom tray so that it is ¼ inch. You need to put a tray with plants in it. Leave it like this for a while so that the water begins to soak in. Thanks to this watering system, the leaves and stems remain dry. This prevents mold and disease.
It is possible that for the first watering, you have to add water. This is because the mixture with which the tray is filled is dry. However, further addition of water may not be required. Weight checks should be done at 1-day intervals to ensure watering is needed.
At the same time, it is important to focus on air quality and humidity indicators. It all depends on your region.
Tenth step
It’s time for the harvest. Often this happens 12-15 days after planting. It makes sense to harvest when the height of the plants is 1,18 inches. You can collect greens at the stage of cotyledon formation or when real leaves are formed. There is no difference in blood beet microgreens taste or texture.
As soon as true leaves begin to form, the amount of moisture in the stems and leaf plates is reduced. Therefore, these parts become more solid so that the plant goes upright and does not fall. If you do not need microgreens now, do not rush to remove them.
However, as soon as the first leaves form, it is better to start harvesting. You can store it in the refrigerator.
How to harvest properly?
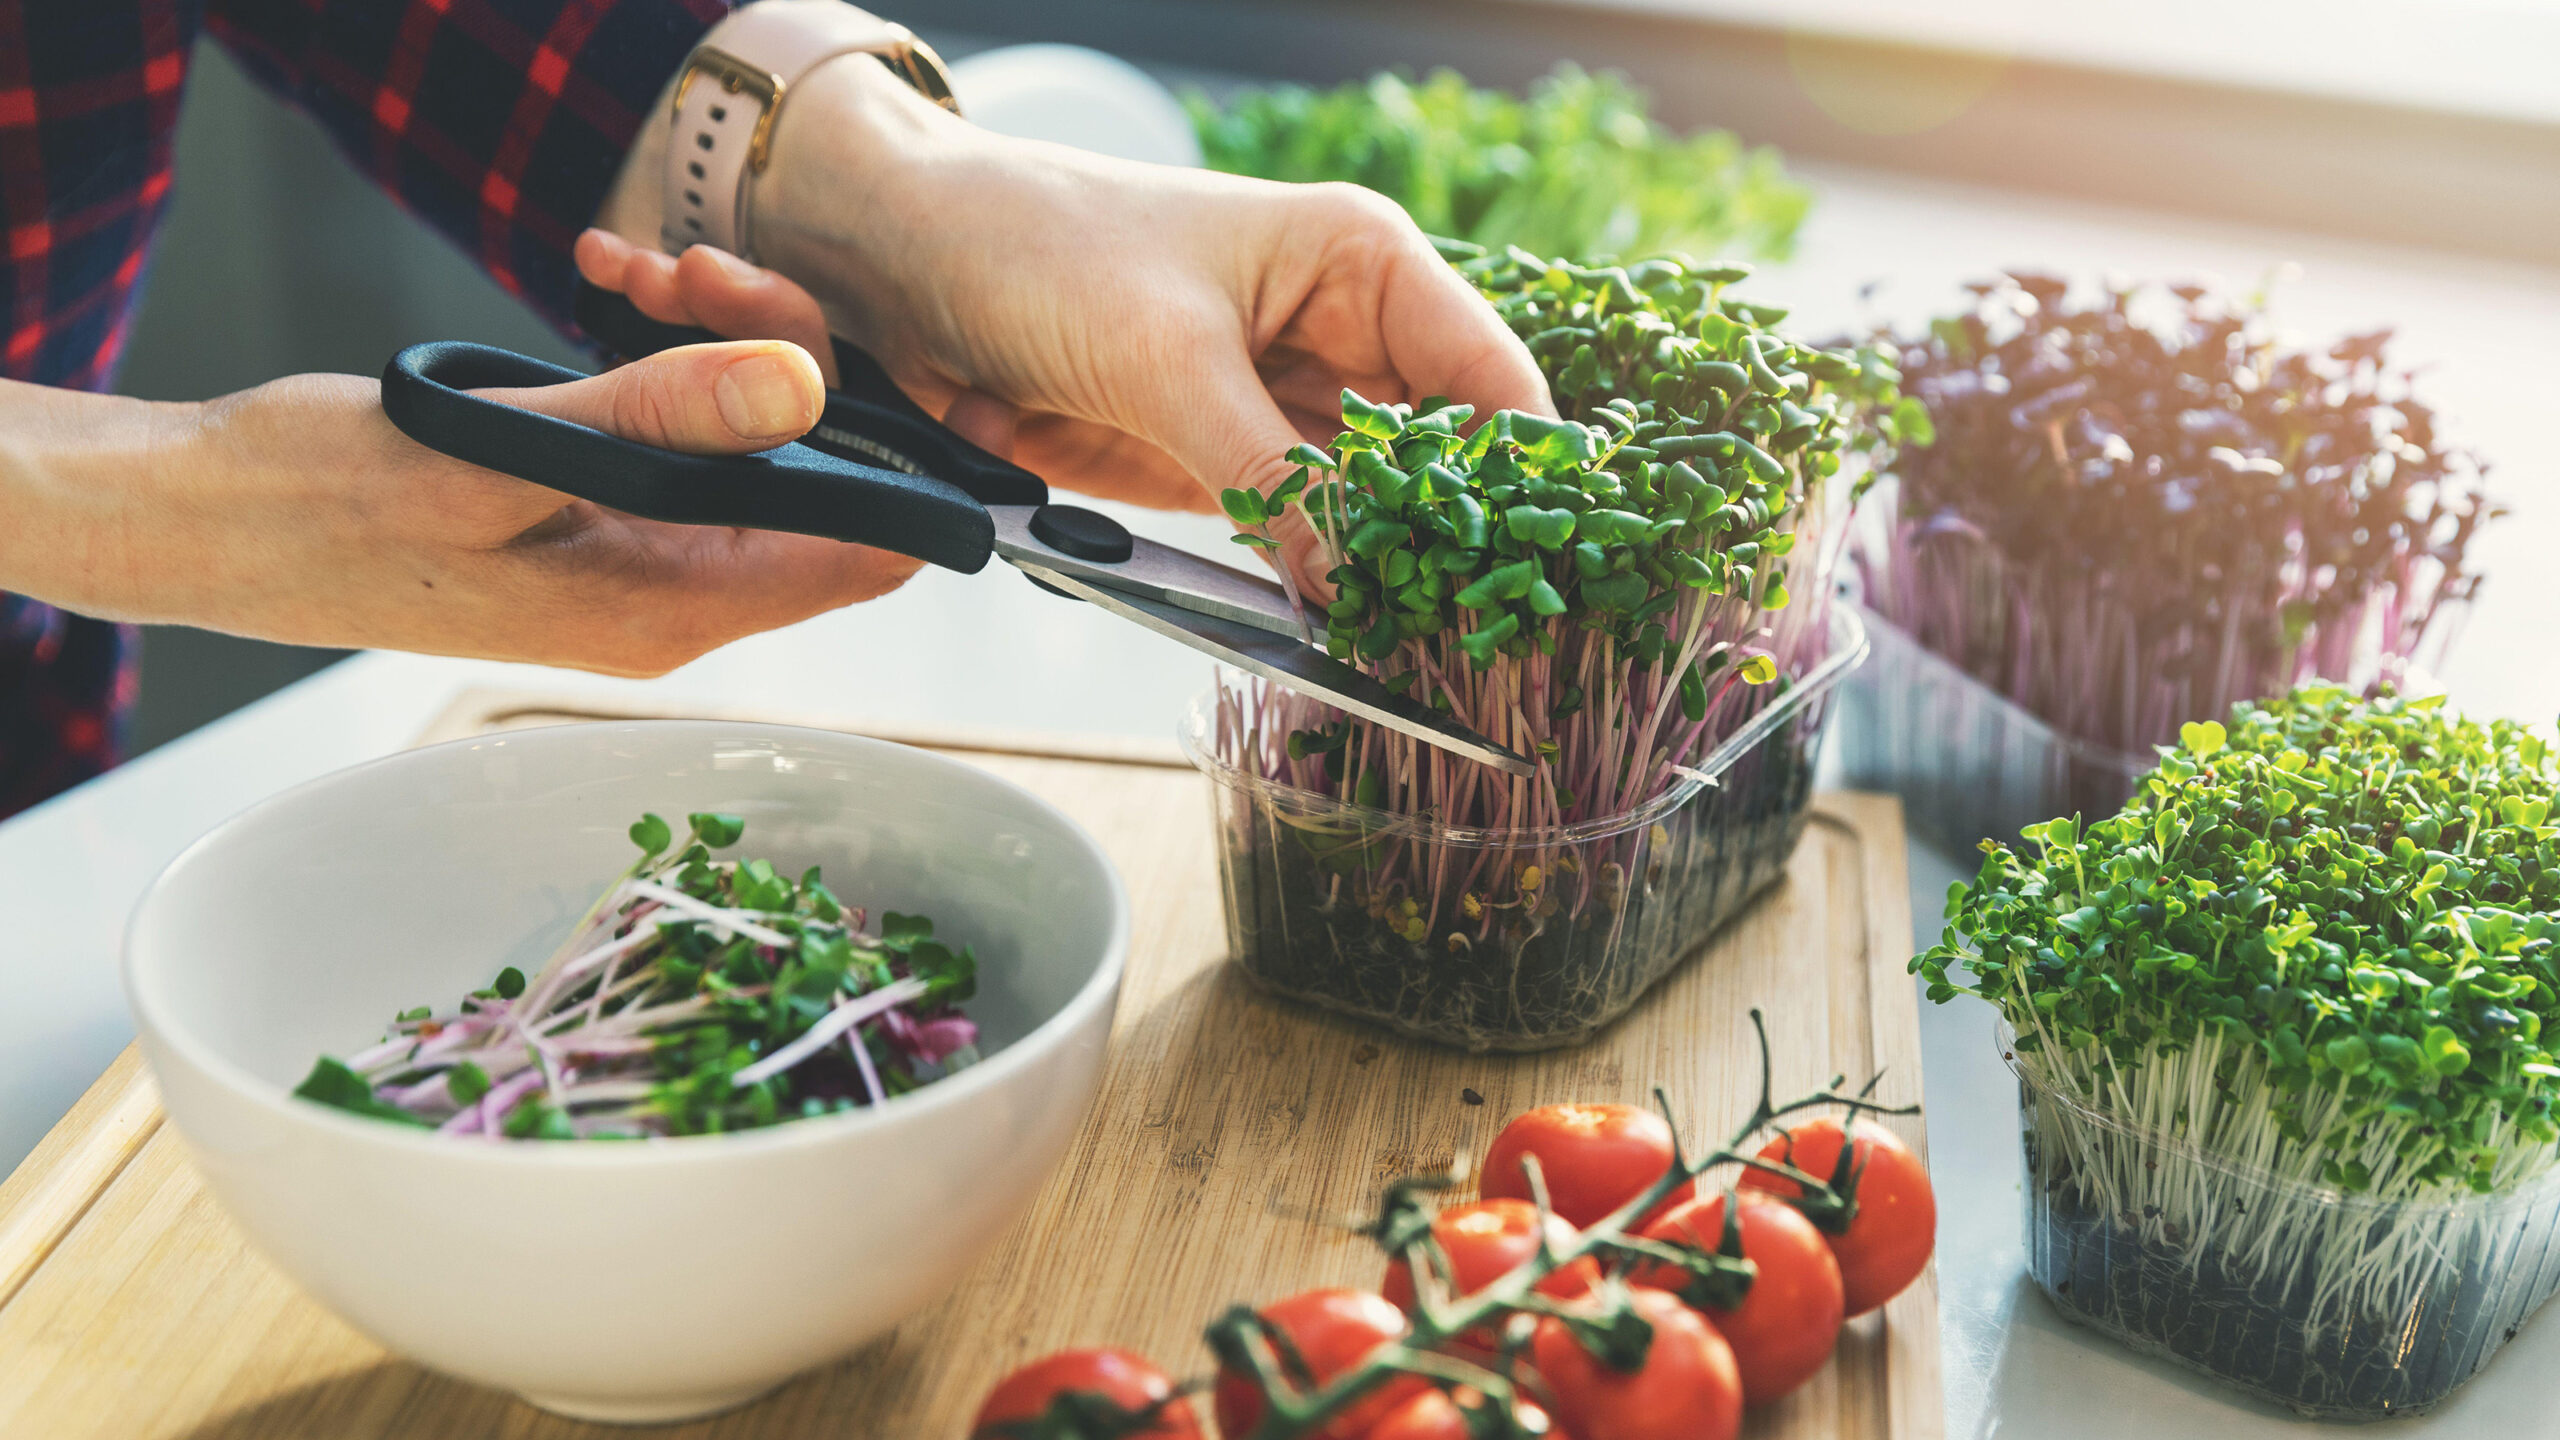
You will need to place the tray at an acute angle to the cutting board and use stainless steel scissors to start cutting the greens. This should be done just above the ground. Don’t touch the soil. If a little soil gets in, it’s not a problem.
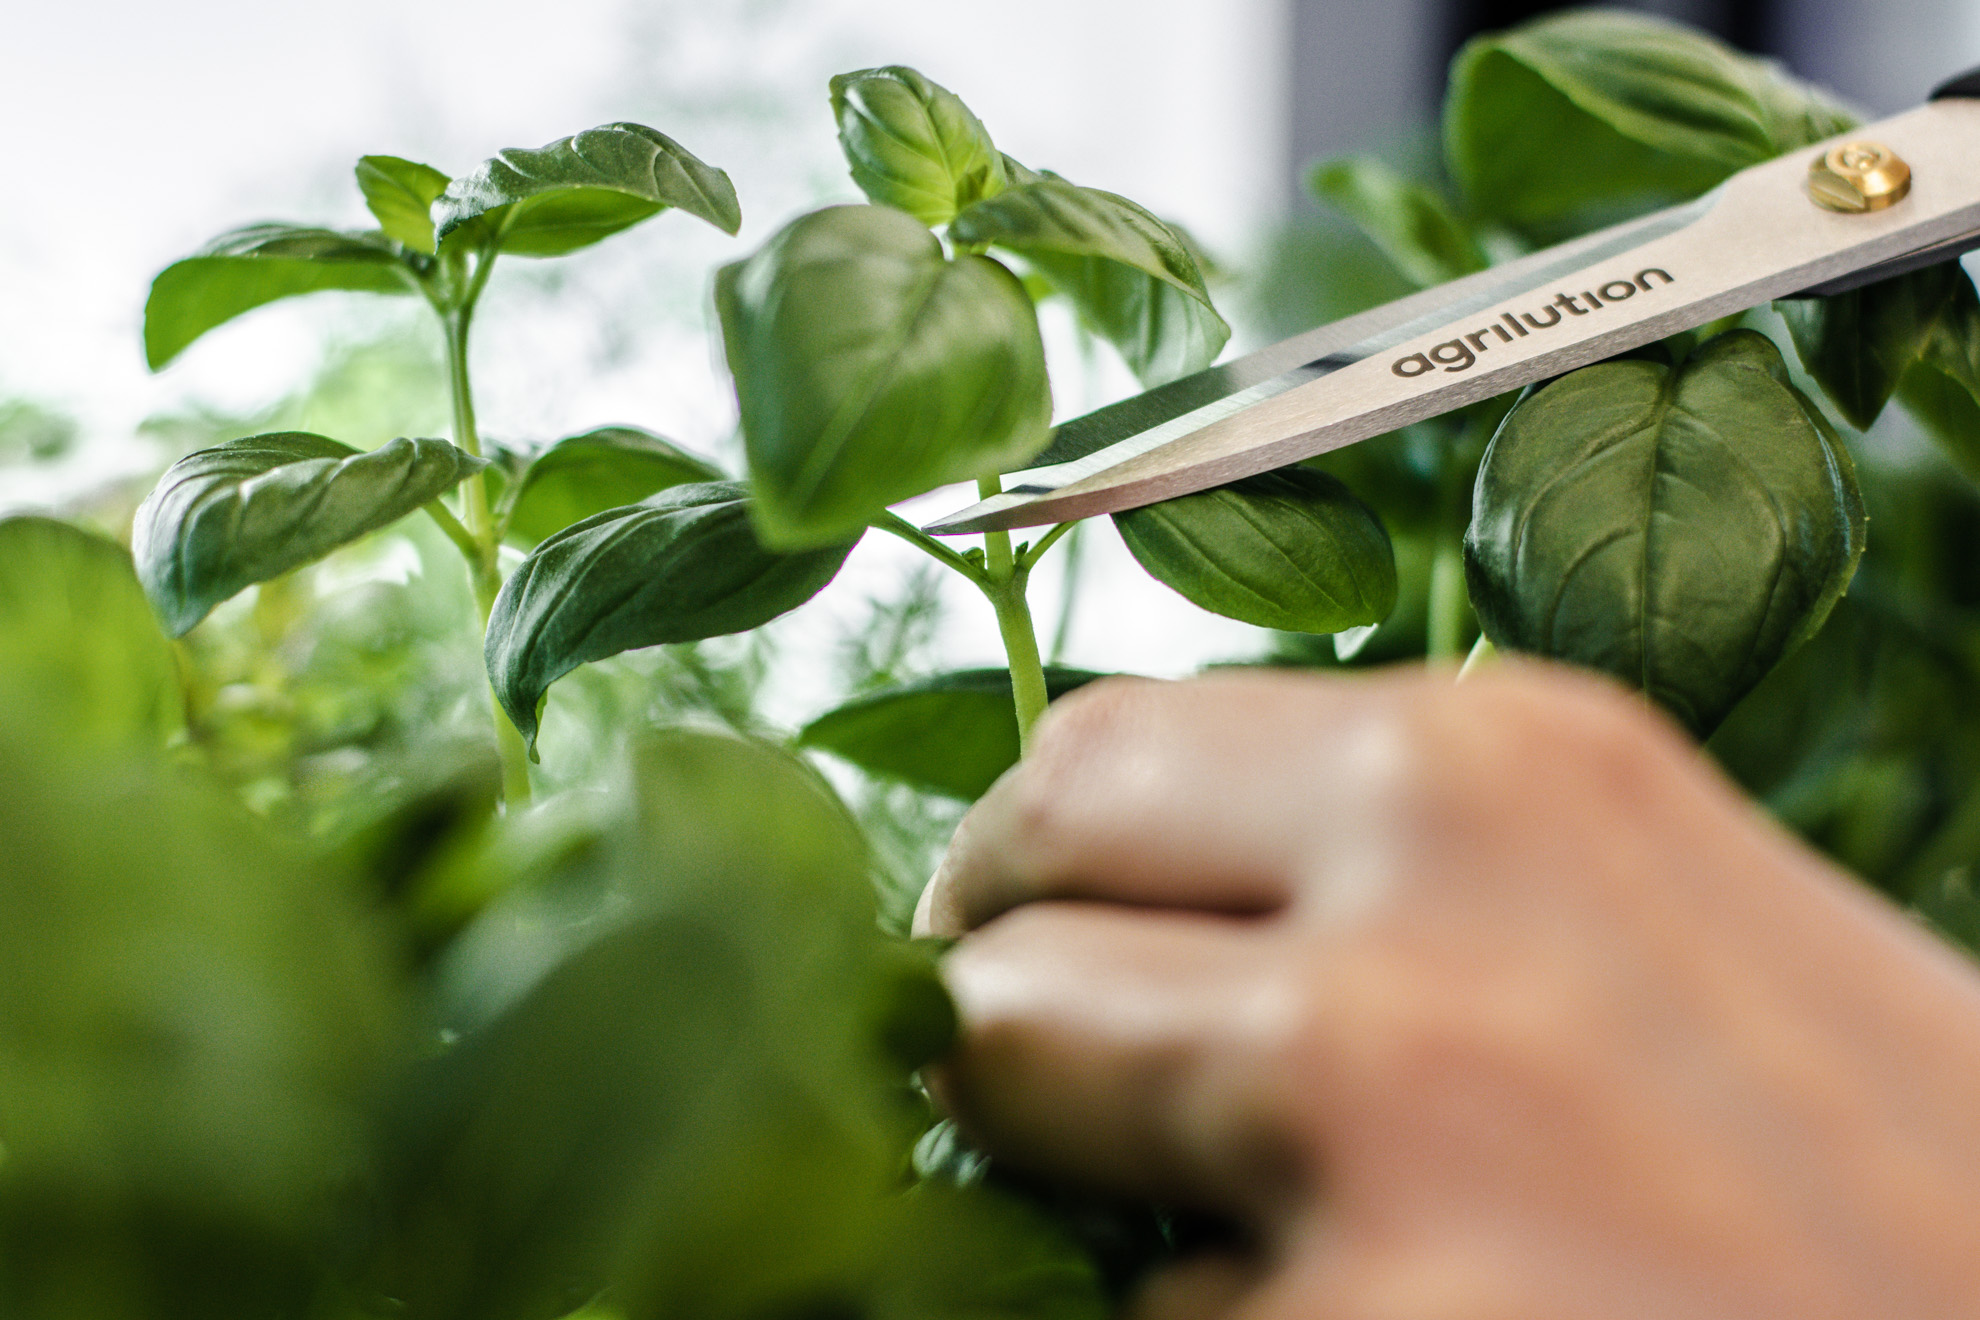
You will need to shake the beets with your hands to remove soil particles. It is not necessary to wash the herbs before use. However, you must be sure that there are no bacteria on it. Cut as many greens as you plan to use at a time. After that, put the tray in a well-lit area so that the bushes can recover.
How to store beet microgreens properly?
You can consume beet microgreens right away. First, it is recommended to rinse it, then add beet microgreens to main dishes, salads, and sandwiches. If you want your greens to last longer, you don’t need to wash them right away.
When dry, it lasts longer. Close the greens in airtight bags and place them in the refrigerator. Under these conditions, blood beet microgreens can be stored for about 7 days.
FAQ
When faced with blood beet microgreens, people often have a variety of questions. The answers to them will be presented below.
Can you eat beet microgreens?
Foliage beet microgreens have excellent taste, so you can safely use them as food. This is a great option for making salads or sandwiches.
What are microgreens good for?
If you regularly consume beet microgreens, you can saturate your body with beneficial organic chemicals and antioxidants. At the same time, beet microgreen contains many vitamins and mineral components that have a positive effect on all body systems.
Are microgreens beets?
Yes, beet microgreens are the same beets, only the tops are small.
What is the healthiest microgreen to grow?
The benefit is that the composition contains vitamins, beta-carotene, and folic acid. These are the blocks that help build the human body. It should be noted the content of fiber, which helps to normalize digestion.
Results
As you can see, beet microgreens are easy to grow. At the same time, you can be sure that the house always has healthy and tasty greens that will allow you to prepare a variety of snacks.


You only wrote about the soil method, but is it possible to grow beetroot microgreens without soil? It seems to me that this would be a cleaner option. And in this case, the earth will definitely not fall into food.