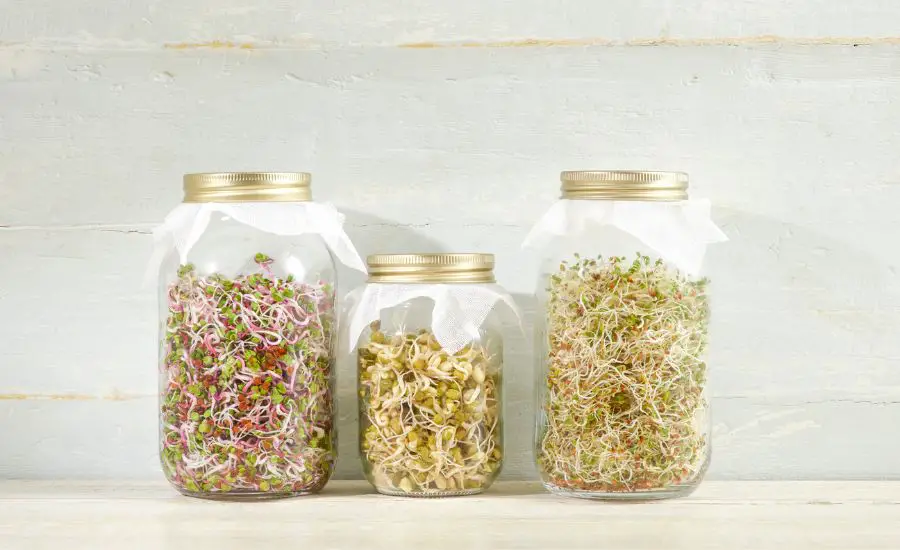
Microgreens tend to become more and more popular, thanks to the vitamins and minerals that they contain. Many people buy them in grocery stores, but some people grow them. Usually, people grow them in the trays with solid, like a master gardener, but is it the only way to grow microgreens? No, absolutely not.
Now a lot of people grow them even in a jar, and this way has proven its efficiency. But the answer that some beginners in growing can ask is: “How to grow microgreens in a jar?”
If you want to know the answer to the question and grow your own microgreens, then this article will definitely help you.
Contents
- 1 Growing microgreens in a jar: should you even do it?
- 2 What you need for growing sprouts in mason jars
- 3 How you should grow sprouts in mason jars: a detailed instruction
- 3.1 Step 1: Take a mason jar for growing sprouts
- 3.2 Step 2: Prepare the screen material for your mason jar
- 3.3 Step 3: Water and nutrients
- 3.4 Step 4: Prepare the water and the jar
- 3.5 Step 5: Place seeds on the screen material
- 3.6 Step 6: You need to spray water on the seeds from a spray bottle
- 3.7 Step 7: The jar must stay in a dark place for a while
- 3.8 Step 8: Place the jar with sprouted seeds under direct sunlight or a grow light
- 3.9 Step 9: Pour more water into a jar
- 3.10 Step 10: The result of the growing process
- 3.11 Alternative method:
- 4 Frequently Asked Questions
- 5 In conclusion: everyone can grow microgreens
Growing microgreens in a jar: should you even do it?
Before we come to detailed instructions on growing microgreens, we need to understand if it is actually the right thing to do.
It is appropriate for you if you just want not very much microgreens, that you grow only for yourself, for consuming at home.
It is appropriate if you do not grow microgreens for commercial purposes because otherwise, it would be wiser to buy trays.
Growing microgreens in a jar does not require significant effort, unlike growing microgreens in a tray, the only disadvantage is that you just will not have a lot of microgreens at the end.
So, answering the questions, you should do it, if it is suitable for your purposes, for what you want to get eventually.
What you need for growing sprouts in mason jars
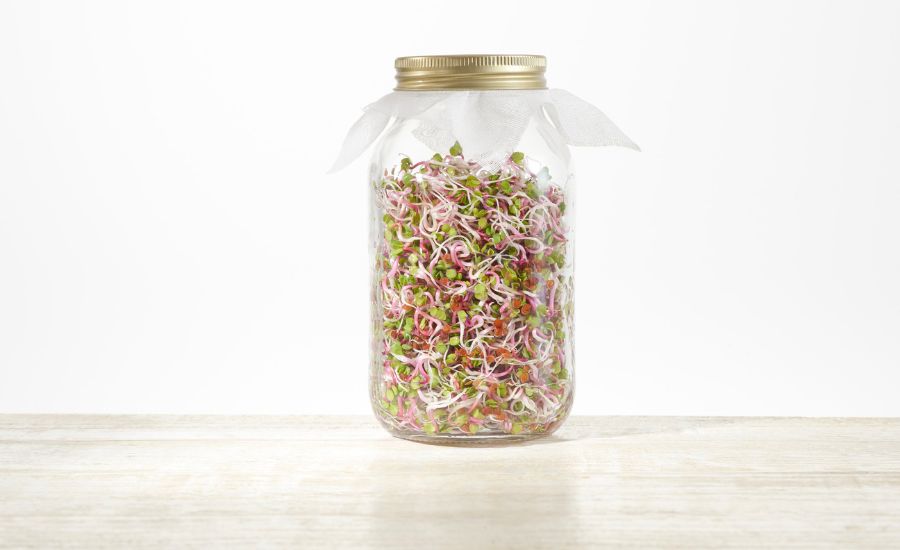
To grow sprouts and grow microgreens in a jar you need seed sprouts, like broccoli sprouts, mung bean sprouts, pea sprouts, and a sprout salad mix, and you need a jar, most likely a mason jar or a potting mix. You also need a straining jar cover, a lid, hydrogen peroxide, and just some water.
Most likely, almost all of these things to grow sprouts you already have, except sprouts, like broccoli sprouts, which you will have to buy in health food stores, and if you don’t, you can buy them not paying a lot of money.
Why are mason jars optimal jars for growing sprouts?
Many prefer to use mason jars, especially when they grow sprouts, like pea sprouts. Let’s figure out why that is so.
Growing sprouts in mason jars helps you to save space because mason jars can be even medium size but still take not very much free space.
Another advantage is that you can easily move it to another place without any effort, which you cannot say about growing microgreens in a tray.
Then, when you grow sprouts, like broccoli sprouts and pea sprouts, in mason jars you do not have to spend much water, unlike watering microgreens from time to time in a tray. The best way of it is increasing microgreens hydroponically.
Another feature of growing sprouts in mason jars is that it has a pleasant appearance, which many growers notice. So, if you want to decorate your home with something special, this is also a good option for you.
Which sprouts you can try
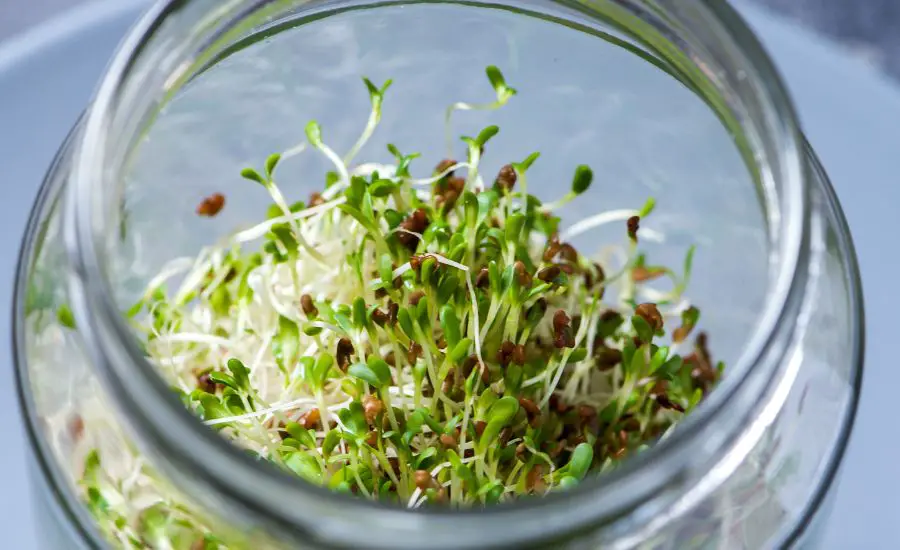
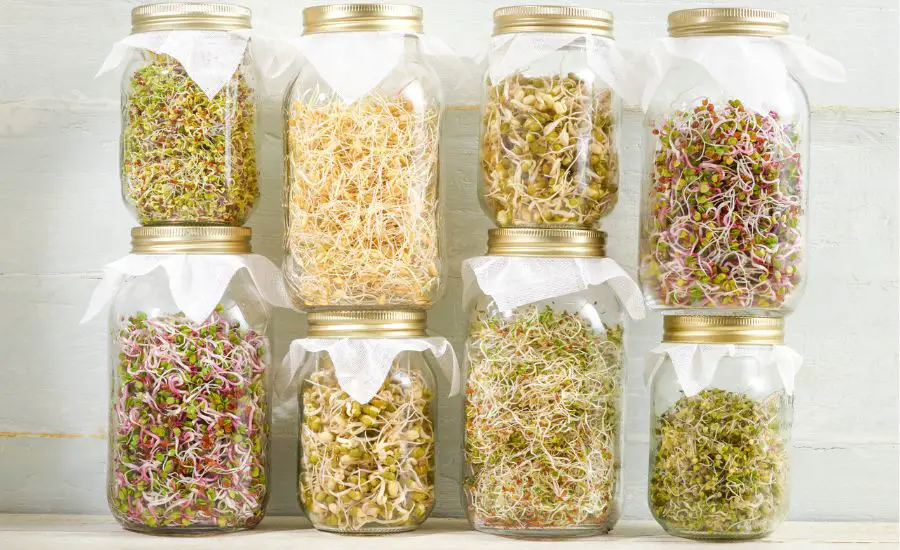
There are a lot of very different kinds of sprouts that you can grow yourself in a jar. You can try to grow those that you need and like.
For instance, you can grow bean sprouts, alfalfa sprouts, broccoli sprouts, green pea sprouts, mung bean sprouts, and sunflower sprouts. Choose what you like. Many people start growing sprouts with broccoli sprouts and pea sprouts.
How you should grow sprouts in mason jars: a detailed instruction
Now, let’s figure out properly which steps you should take to grow your own sprouts. Read the instructions carefully and follow them wisely.
Step 1: Take a mason jar for growing sprouts
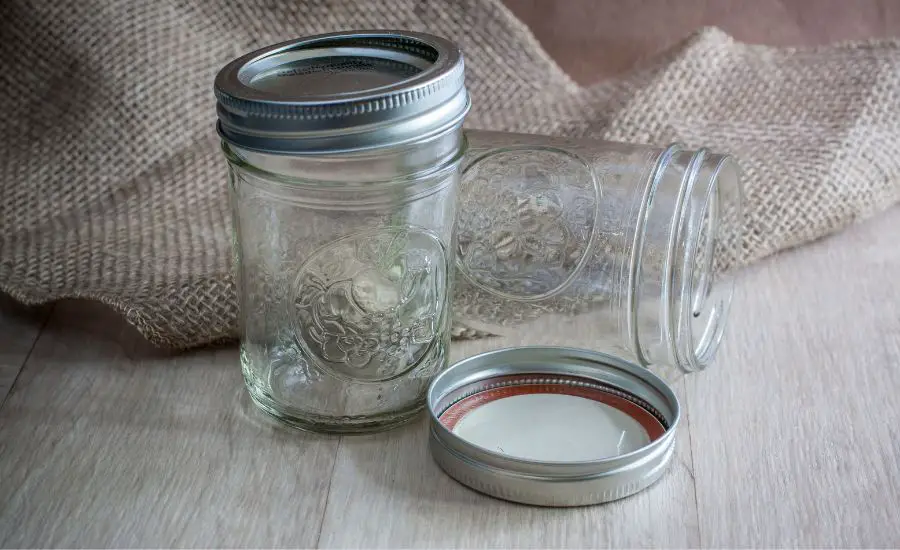
Firstly, you need to get a mason jar, but it has to be a wide-mouth mason jar. With such mason jars, you will have more space and more opportunities to place the seeds of your microgreens.
Without it, you will have obstacles from the beginning to the end.
Step 2: Prepare the screen material for your mason jar
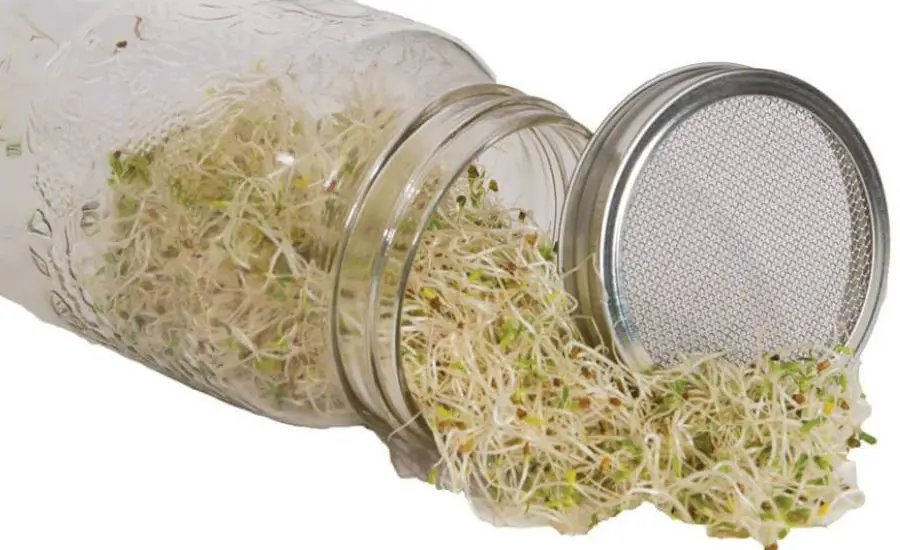
To prevent seeds from falling down, you need a screen material. Sometimes it is hard to find an appropriate screen material that would fit the mason jar lid perfectly.
But you require it.
If you cannot find a suitable screen material, then follow the next instruction: you need to find a screen material, which size is close to the size of the lid of the jar, and then you have to cut it, so that the screen material would be perfect to the jar lid.
Do not forget to find a screen material that would be perfect for the seeds you use, depending on the size of the seeds, like your broccoli seeds or seeds of the pea sprouts.
Step 3: Water and nutrients
Now it is time for you to prepare water. You require water because your sprouts will grow in the water, it is a hydroponics way to grow them.
But it is not just water, you also have to add nutrients to the microgreens because they help microgreens to grow healthy and without any problems.
So, to provide warm water with nutrients, you need to add two teaspoons of them per gallon of water.
As you can see, accurate measuring depends on the size of your jar and on how much water you use.
You should measure it wisely, so there would be an absolutely accurate amount of nutrients in the water.
Because adding more nutrients doesn’t mean providing your seeds with the healthiest way of growing.
Step 4: Prepare the water and the jar
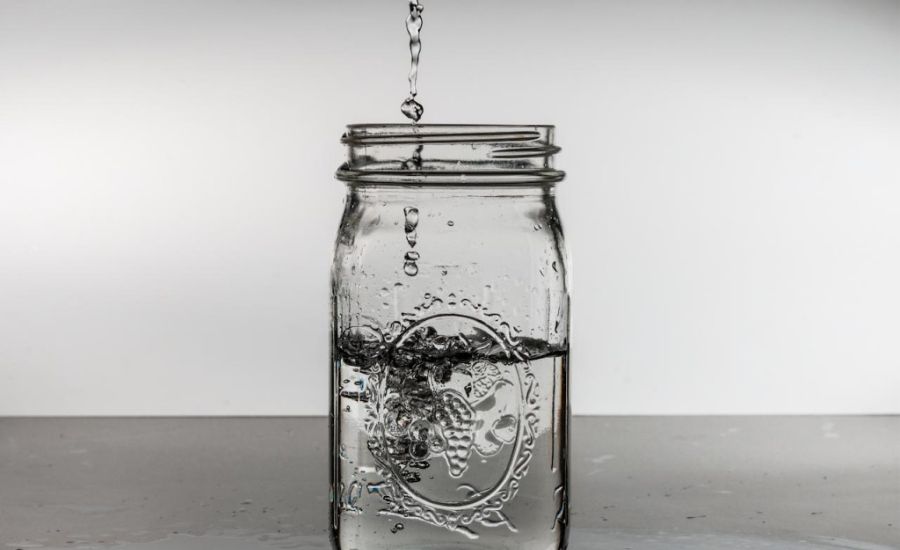
In this step, you need to ensure that you fully finished the water and nutrients step, pour water into a mason jar, and then put the screen material in the jar.
Then place the ring of the jar on top of the mason jar, and fix it there.
Now you are prepared to place the seeds in your jar.
Step 5: Place seeds on the screen material
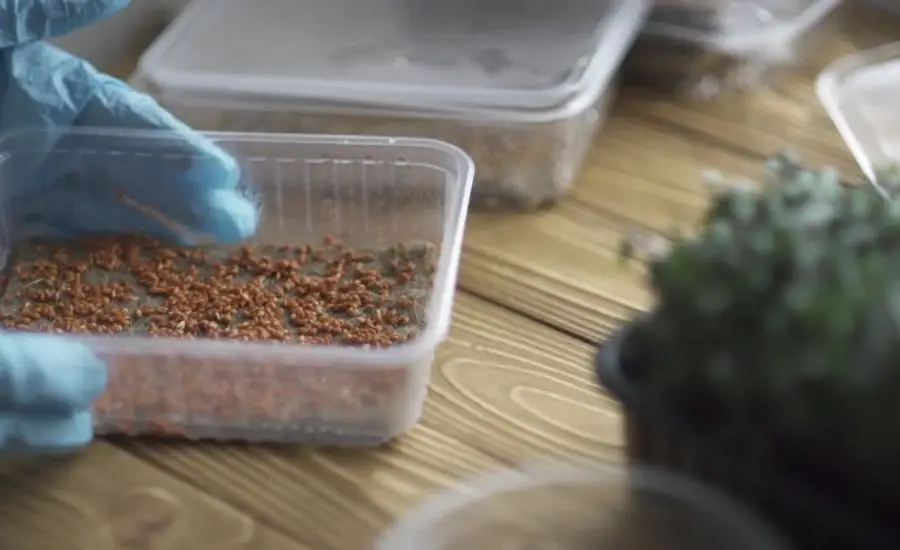
Now, in this step, you need to sprinkle the sprouting seeds on the screen material so that there would a perfect amount of seeds.
To measure it, you have to take ½ teaspoon which is full of the seeds, and then put them on the screen on the jar.
When you have done, then, you need to spread out all the seeds evenly on the screen.
Step 6: You need to spray water on the seeds from a spray bottle
So, when all the seeds are placed where they should be, you must spray water on them a bit, but not too much, only to get the seeds wet.
When you have done it, you can finally close the mason jar by covering it with the lid.

Step 7: The jar must stay in a dark place for a while
You have done all the main steps, and now you need to do only several easy steps.
First of all, you have to place your mason jar with the seeds in the dark area, where they should stay for five days, and not less.
Why should you place them there, away from the light? It is so because you need to let the seeds of your microgreens germinate so that they could sprout.
You can choose whatever place you want, but you should be sure that the temperature there, is around seventy degrees Fahrenheit. Otherwise, your sprouting seeds will not grow healthy.
You need to keep them wet, so you have to open the lid of the jar and spray the sprouting seeds with water occasionally, to ensure that they will not be completely dry.
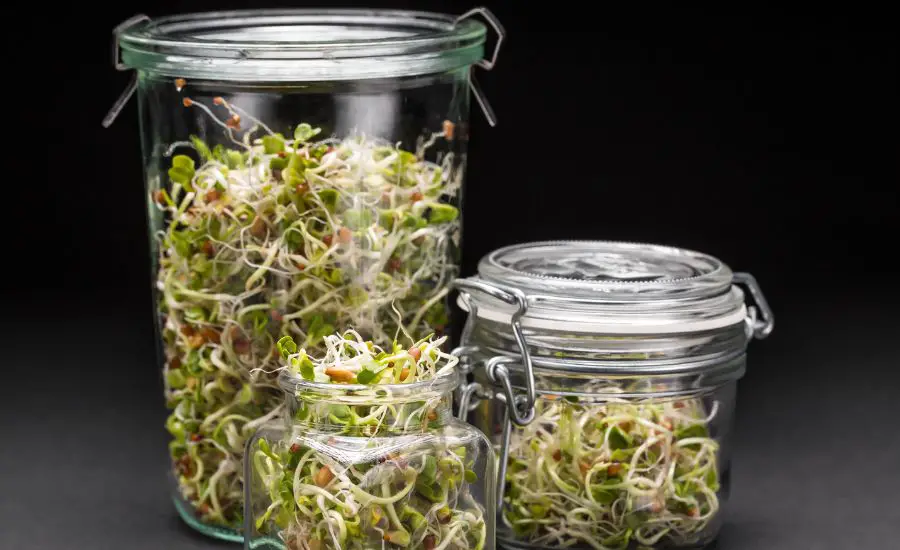
By the end of the five days, you will see that there are your own sprouts in a jar that grow from the seeds.
Sprouting seeds will be healthy and without any mold, if you don’t spray too much water on them during the whole time.
Step 8: Place the jar with sprouted seeds under direct sunlight or a grow light
When the five days are finally over, you can change the location of your jar with the germinated seed. There may be sprouting lids. Because the sprouts in a jar are getting bigger every day, you need to give them more space. To do that, you just need to remove the jar lid and let the sprouts grow further.
And you need to move your jar with sprouts to a place where they can have access to the sunlight or fluorescent light if you do not have a place with appropriate natural lighting.
The sprouts need sunlight for the photosynthesis process.
But you should note and do not forget to place the mason jar in a place where the temperature will be still optimal, still no more or less than about seventy degrees Fahrenheit.
Otherwise, sprouts will be in uncomfortable conditions and can die.
Step 9: Pour more water into a jar
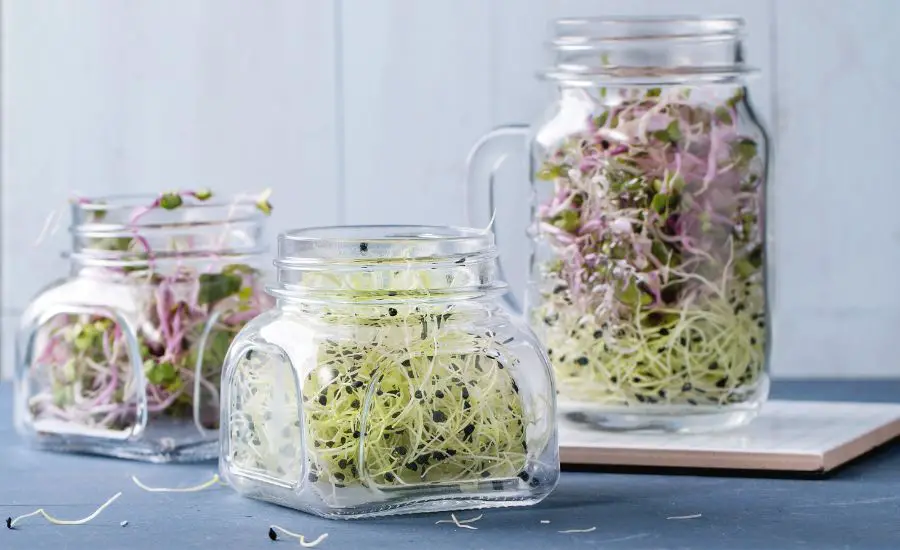
It is quite natural that when the sprouts keep growing along with their roots, they will require more water.
You may notice after several days that there is less water in a jar with sprouts than it was on day one.
Do not worry, there is nothing wrong. You only need to pour more water into a jar but do not pour too much.
Step 10: The result of the growing process
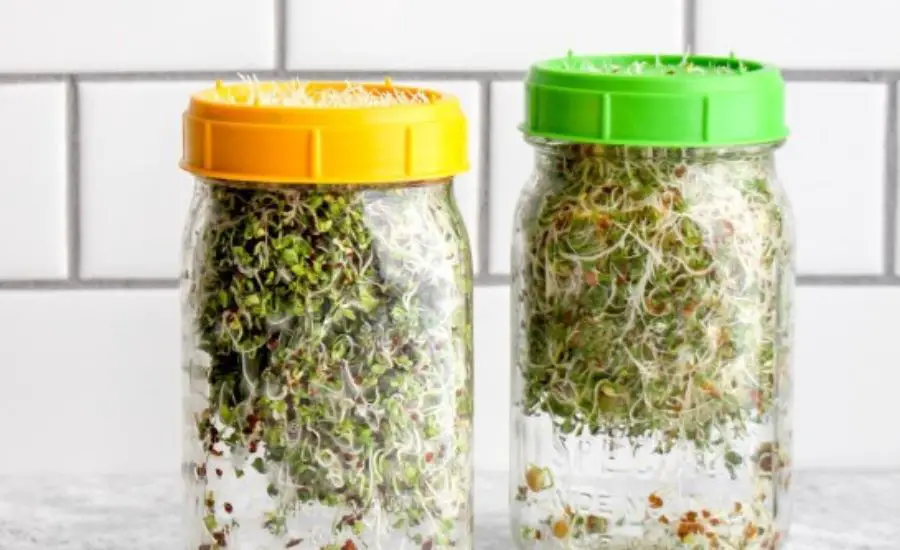
When you see that there are beautiful green leaves at the steams of your previous sprouts, it means that all your efforts have given you a result.
The microgreens have grown big enough, and you can harvest them and enjoy the microgreens.
You need to take a knife or another cutting instrument and carefully cut all the microgreens above the jar top. Do not forget anyone there. And do not cut what you should not cut.
Then you should just easily rinse your microgreens off with a paper towel and after them properly and carefully dry them.
That’s it! You can eat them raw, or you can add them to a dish.
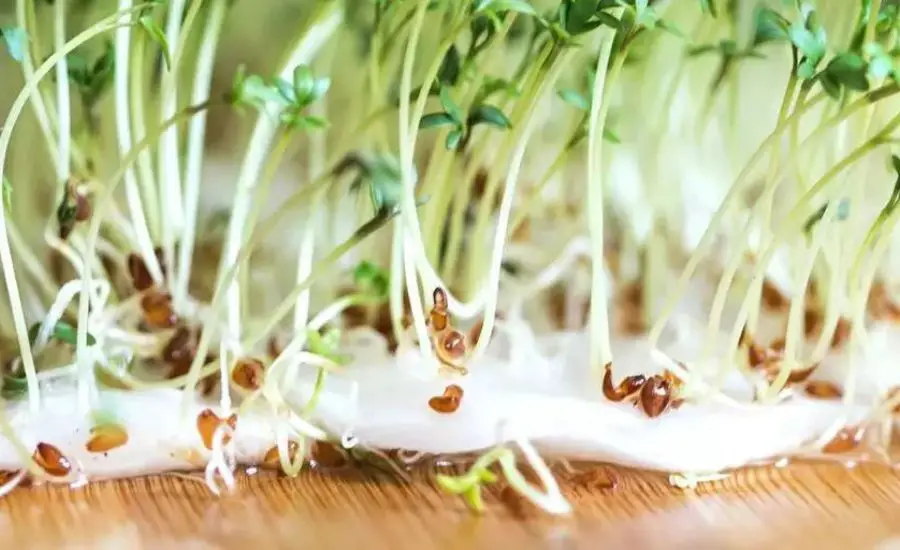
Alternative method:
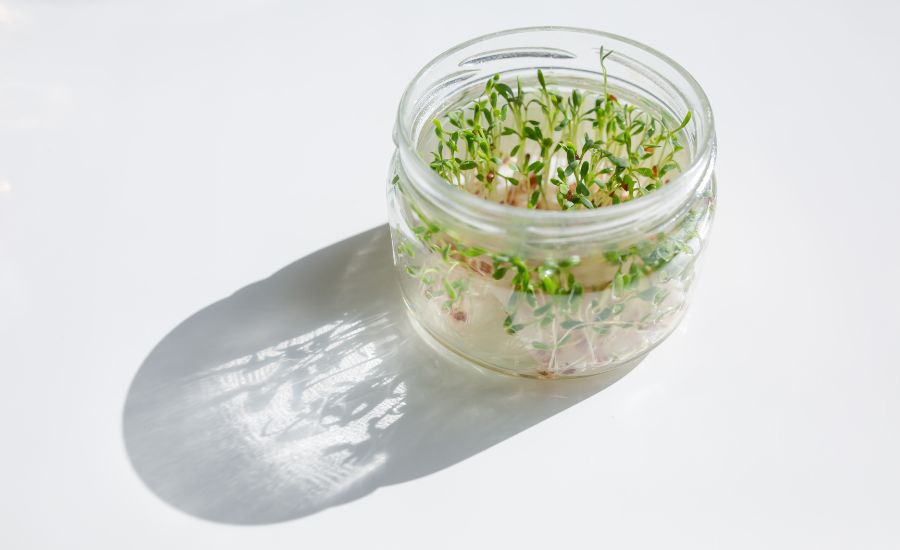
Some people do not use the screen material and let them grow right in a jar in filtered water, which fills half of the jar for a day or two. You can try these if that method is more comfortable for you.
Then you will have a jar with the microgreens inside.
If you follow this, you should at day two get rid of the water and then let the seeds grow after you pour on them twice a day.
After your sprouts have grown a little, you should place them under sunlight or artificial lighting. And then, after a short amount of time, you can harvest.
You can assume that this method is easier. Then you should just try out the method that you like the most.
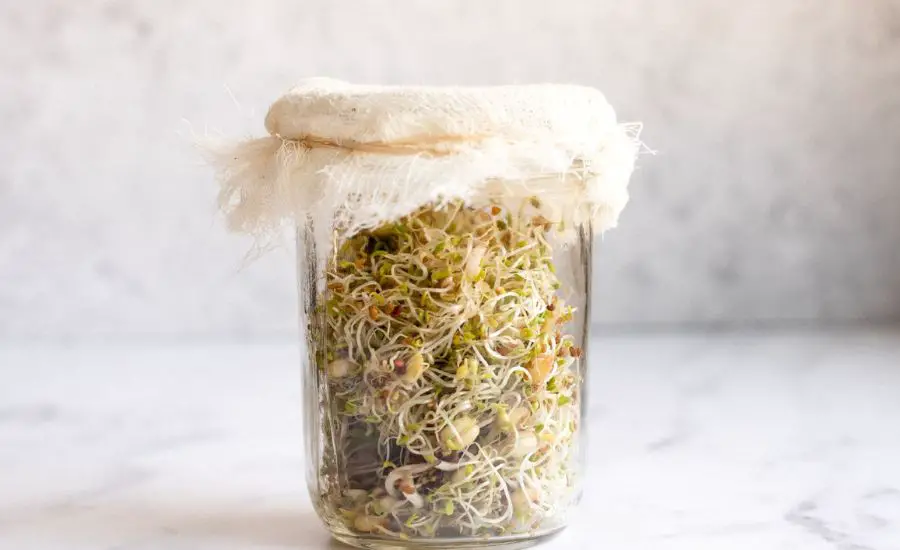
Frequently Asked Questions
How do you start sprouts in a mason jar?
You can prepare mason jars, clean the seeds, put them in a jar, and rinse them with filtered water, not tap water, twice a day for a while until you see that you can harvest when they turn green.
What are the disadvantages of microgreens?
The main disadvantage of microgreens is that it takes time and much work to grow them. You need to look after them almost every day and ensure there will be no mold or disease on your microgreens. And after all of this work, you can harvest them only once, and then start everything from the beginning.
In conclusion: everyone can grow microgreens
Growing microgreens in jars is an incredibly easy process, which requires not many resources. The only thing that you can lose is your time. You should just look after them and carefully follow all the instructions to harvest these useful microgreens.
Learn More: How to Grow Sprouts in a Jar in 5 Steps

